As former hiker newbies, we intimately know the challenge of finding great hiking gear. Just in the past year (2025), we hiked hundreds of miles on the trails, putting our hiking gear for beginners to the test and refining what works and what doesn’t. We’ve hiked across the United States and internationally, over a wide range of terrain, weather conditions, and trail distances.
Over the years, we’ve slowly upgraded our budget hiking pieces to higher-quality options, so we know what to look for at various price points. Below, we share our top picks for hiking gear for beginners, suitable for any budget, and explain the key features to look for so you can make an informed choice with confidence.
At the end of this post, we share an easy-to-print checklist of beginner hiking gear from this post. If you have any questions, please leave a comment below and we’ll do our best to provide tailored advice.
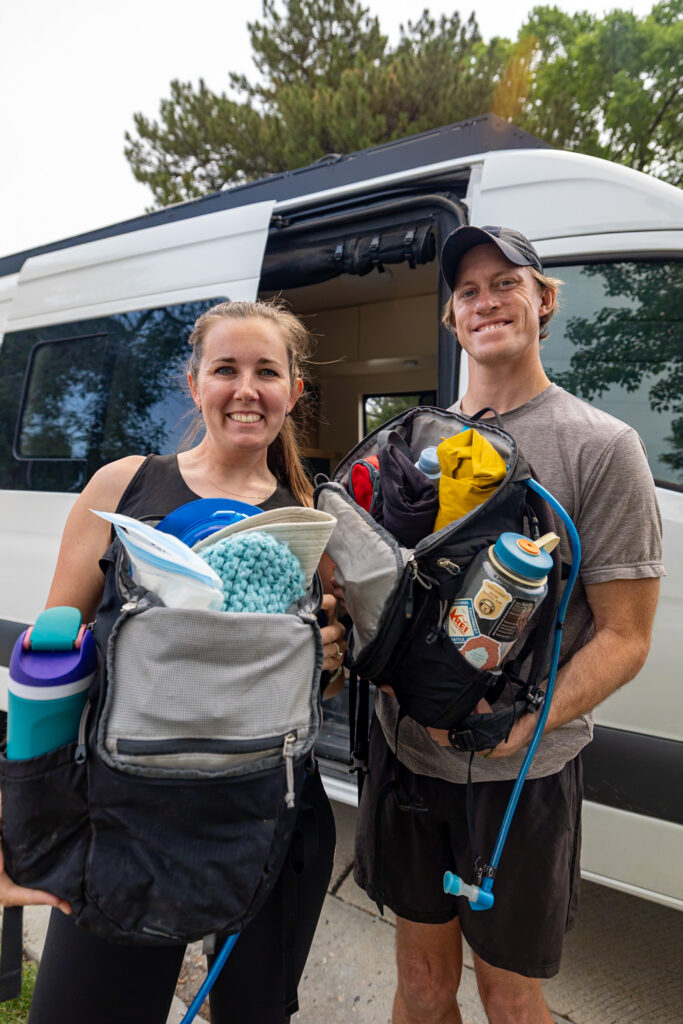
Note: We use affiliate links which provide us a little kickback each time you use one of our links and make a purchase, without any additional cost to you. We do not recommend products that we don’t already love or have heard great things about, so you can trust we’re only suggesting great products to you.
While some hiking gear is best to buy new, other gear is good to get used, borrowed, or rented to help give you insight into what works for you and what doesn’t.
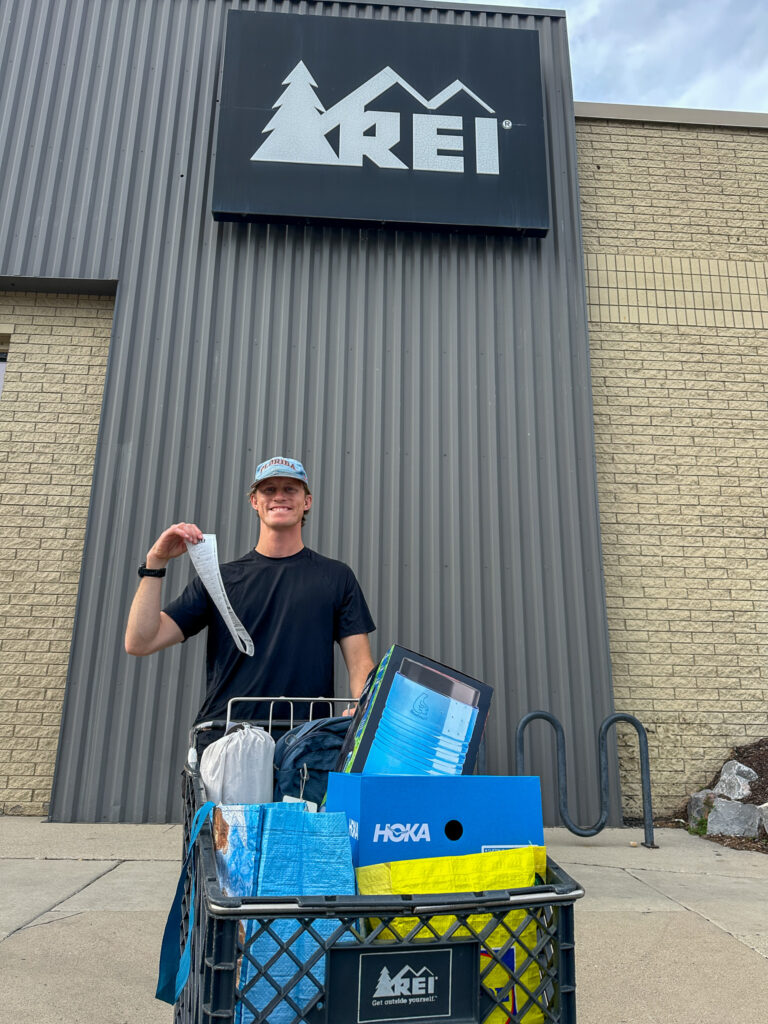
Some of our favorite ways to purchase hiking gear on a budget are through REI Outlet and REI Re/supply, which sell pre-owned gear at discounted prices. As REI Co-op Members, we gain access to REI Re/supply and great deals throughout the year, including multiple 20% off one full-price item. We’ve intentionally used these coupons throughout the years to acquire expensive gear!
We also love shopping for pre-loved gear through Patagonia Worn Wear and Lululemon Like New. We also enjoy searching GearTrade, which specializes in used outdoor gear. Lastly, we shop at second-hand stores to find outdoor gear on a budget.
💡 Pro Tip: If you buy new, we recommend REI as they have a very generous return policy in case it isn’t what you expected. REI members can return gear for up to a year after the purchase date.
Please respect the outdoors and Leave No Trace! Before embarking on your outdoor adventure, review the seven principles of Leave No Trace, which include planning ahead and preparing, traveling and camping on durable surfaces, disposing of waste properly (pack out what you pack in), leaving what you find, minimizing campfire impacts, respecting wildlife, and being considerate of others. Abiding by these principles helps keep these places beautiful so others can enjoy them for years to come!
Day Hiking “Ten Essentials”
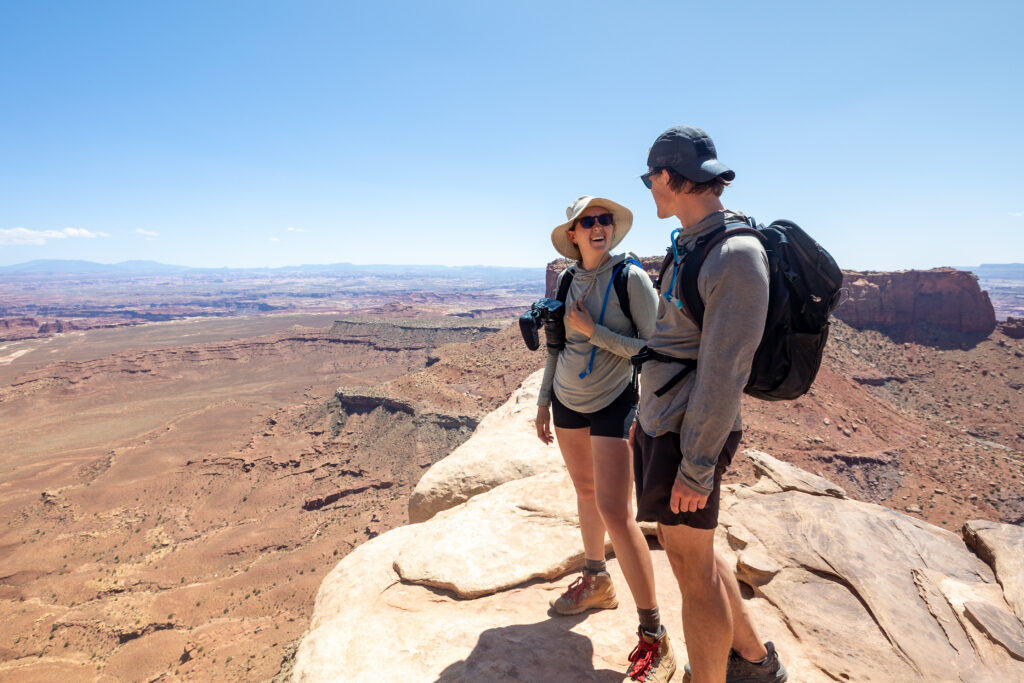
The ten essentials are the hiking must-have items for staying safe on the trail. These are the first items you’ll need. The day-hiking ten essentials include a first-aid kit, headlamp, sun protection, multi-tool, fire, navigation, shelter, extra food, extra water, and extra clothing. We have an entire post reviewing the Ten Essentials, but we will also list them throughout this article. Over time, we’ve upgraded our ten essentials kit as we’ve hiked more and started tackling longer, more challenging hikes.
Beginner Day Hiking Essentials
Backpack
One of the first things you’ll bring with you on a hike is a backpack. As a beginner hiker, we recommend starting with the bag you already have, since it’s the most budget-friendly option, and you can figure out your hiking style. As you continue hiking, you might find yourself wanting a hiking backpack with features that hiking-specific backpacks have. Some specific features that make a backpack good for hiking are as follows:
- A waist belt strap and chest strap. This will keep your backpack closer to your back as you hike up and down, making it more comfortable and easier to hike with.
- A water bladder holder. This will keep your water bladder elevated and route the drinking straw, allowing you to easily drink water without having to take your bag on and off.
- Lightweight. The lighter your bag, the longer you’ll be able to hike!
- Breathability and Fabric. Hiking backpacks will be breathable, keeping you cool, and have high-quality, long-lasting fabric, allowing you to set them down on rocks without worrying about tears.
- Structure. Larger capacity hiking backpacks often have a rigid structure to reduce the weight on your back.
- Rain Cover. Many hiking backpacks have a small rain fly in a compartment, so just in case it rains while you’re out in nature, it doesn’t affect your hike.
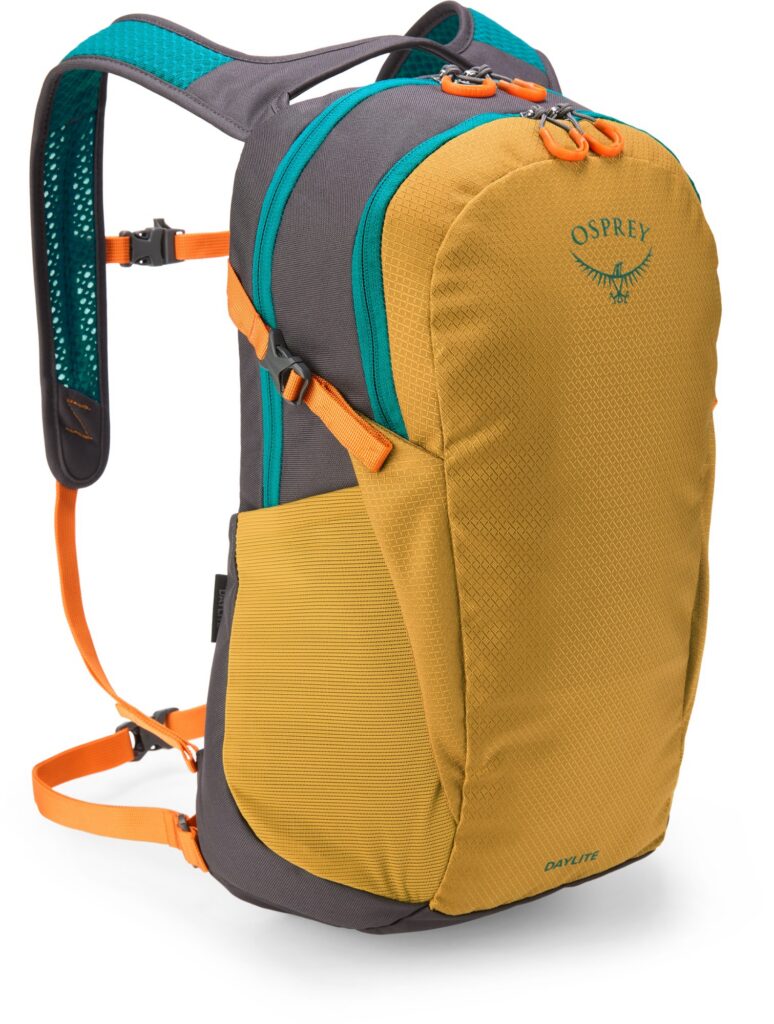
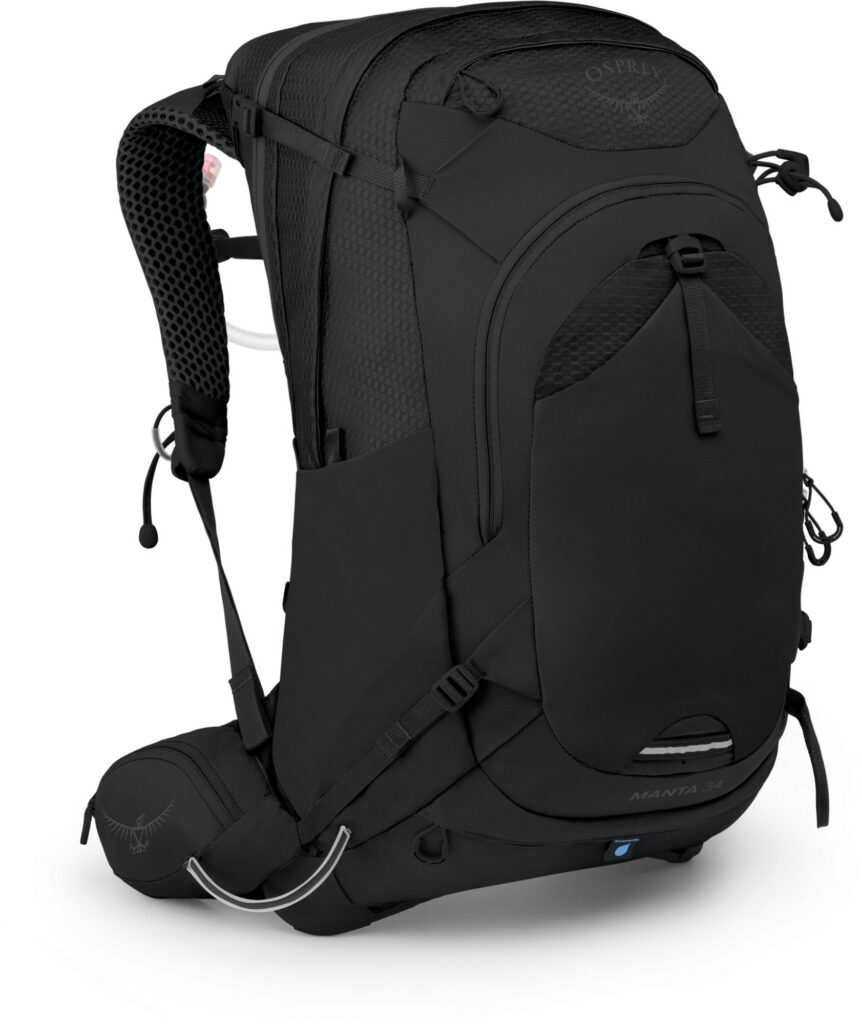
Backpacks come in a variety of sizes. Selecting the right backpack depends on the length of the hike and the amount of gear you plan to bring. In our experience, we recommend a 20L to 30L backpack for most day hikes. You’ll also notice that larger backpacks come with more structure.
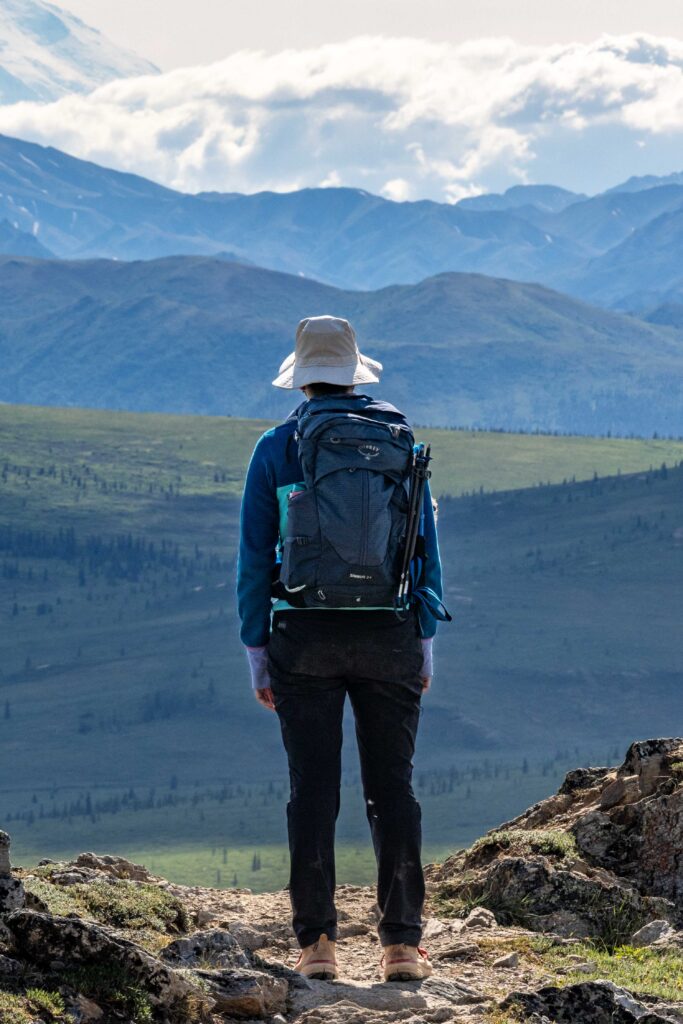
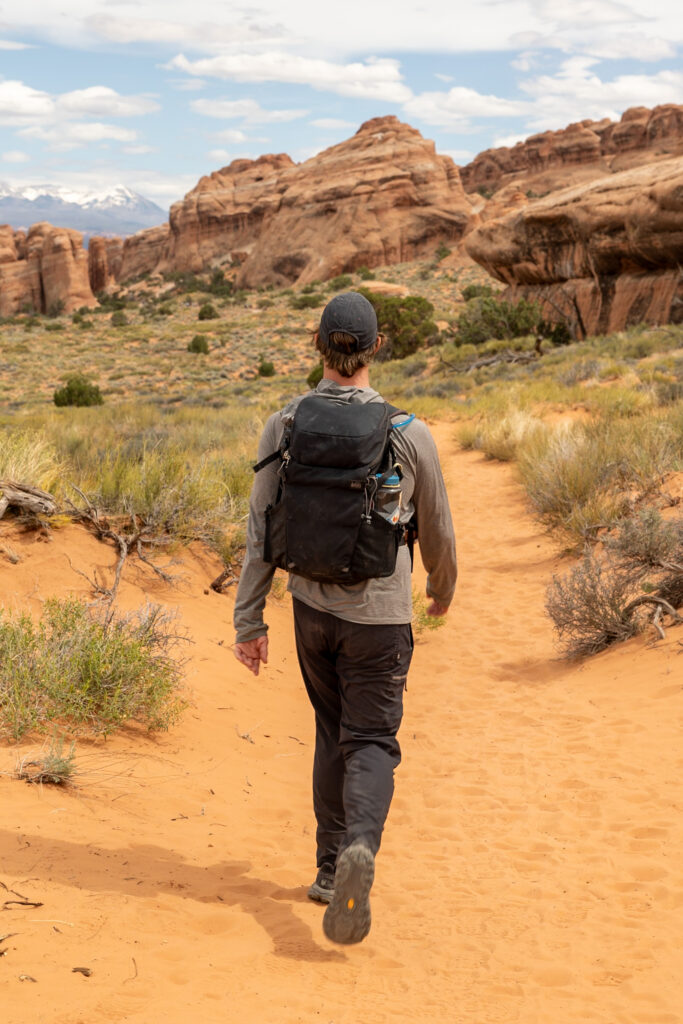
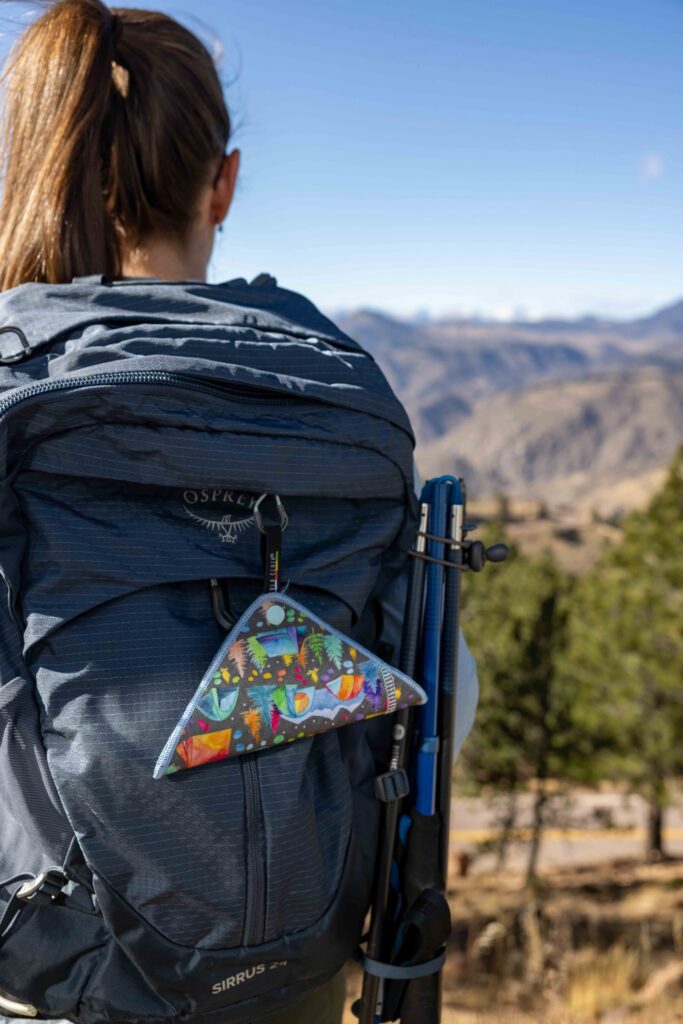
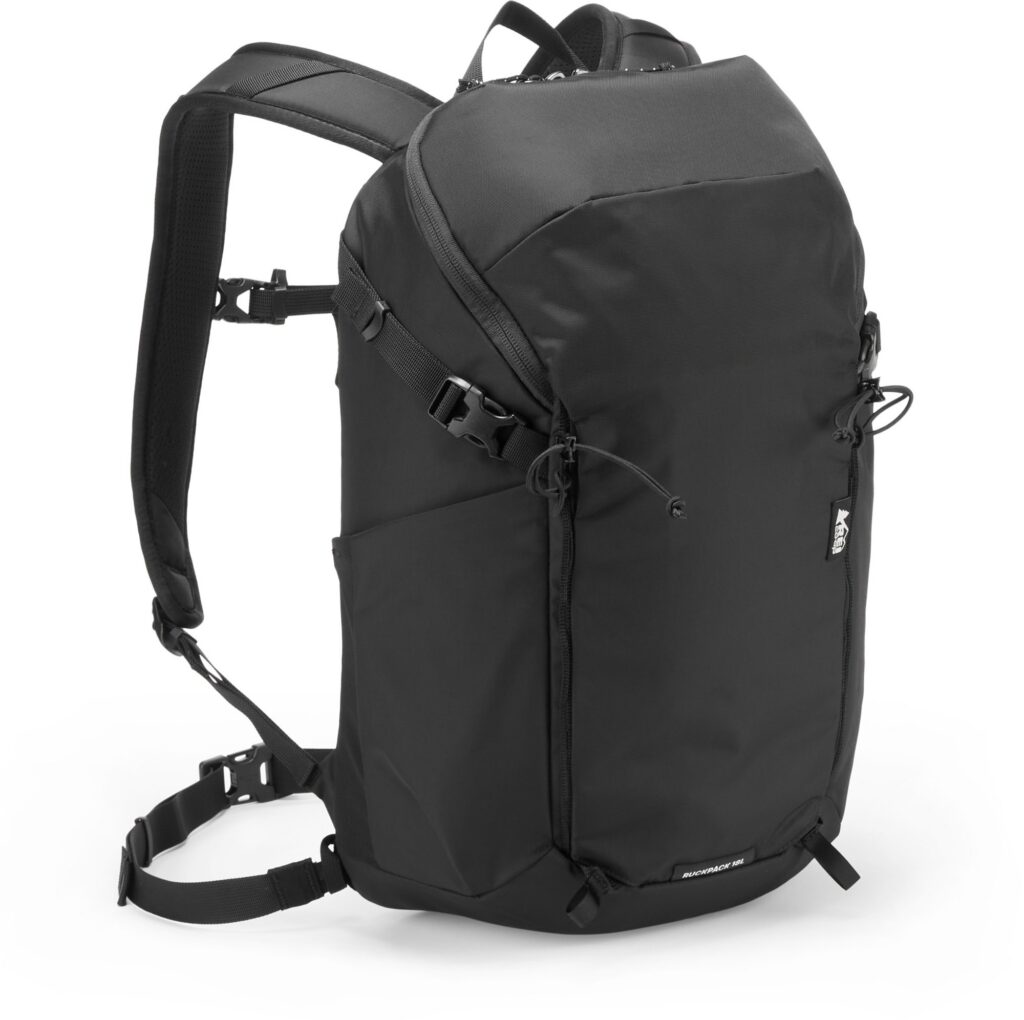
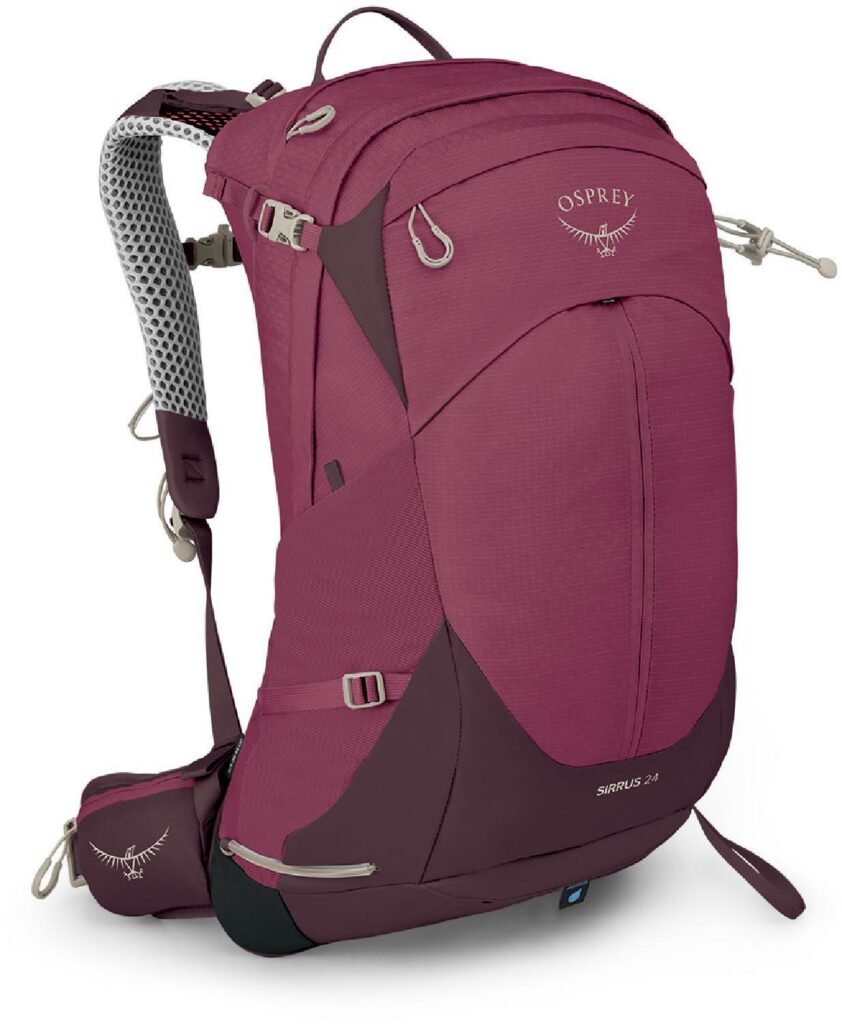
I started off using the REI Ruckpack 18, which was great for short hikes of 3 miles or less. As we hiked further distances with varying temperatures and trail conditions, I upgraded to the Osprey Sirrus 24 pack and absolutely love it! The larger pack has more structural integrity, which helps balance the weight on my back. It features a larger and more comfortable waist strap, includes a rain cover, and provides more space as I add or remove layers throughout the day. Both of these packs have a dedicated section for the water bladder, which is a great feature.
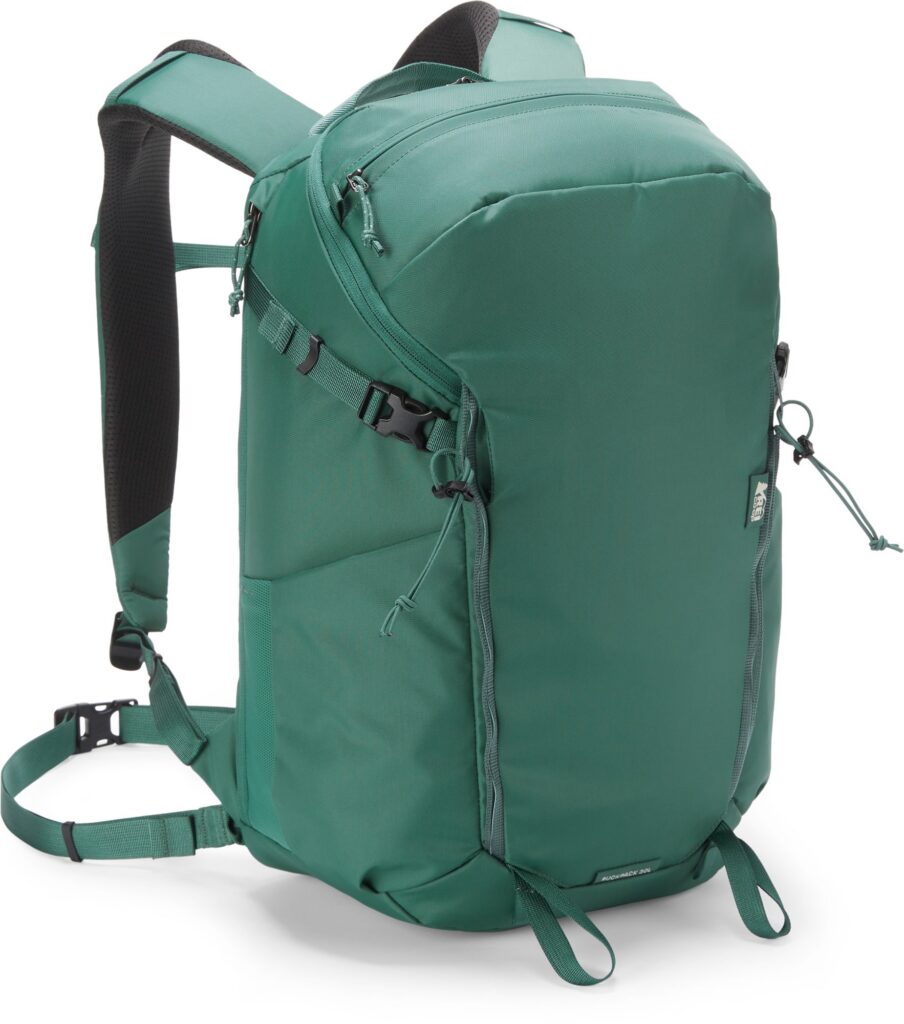
Elliot has been using the REI Ruckpack 30 for about five years and still loves it. It’s a super simple and affordable backpack that gets the job done. It has plenty of room to store gear, has a dedicated water bladder section, and a rain cover, which is conveniently stored in a dedicated pocket under the backpack.
💡 Pro Tip: If you purchase your backpack at your favorite outdoor store, a sales associate can help you size and fit your day pack for the best fit.
Hiking Shoes/Boots
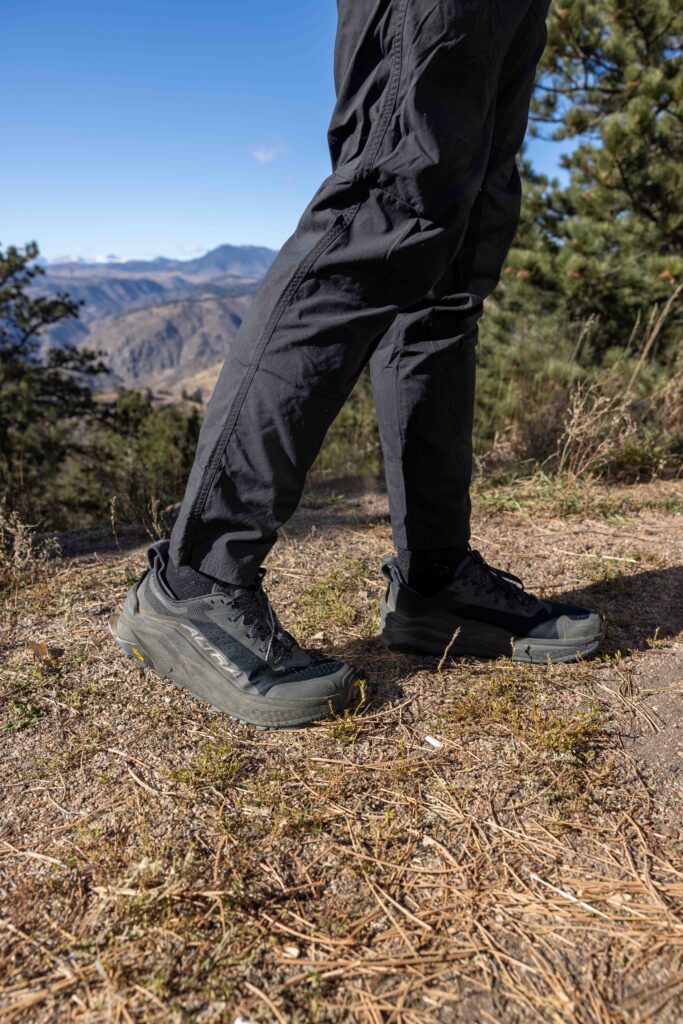
Hiking shoes might just be the one piece of gear that makes or breaks your hike. Of course, as a beginner hiker, you could easily hike in walking shoes for a beginner-level hike. As you continue hiking and expand out of beginner-level hikes into moderate, hard, or challenging hikes, you’ll want to invest in a pair of hiking shoes, hiking boots, or trail runners. Here’s the difference between different hiking footwear:
- Hiking shoes are ankle-high, provide good foot protection, and offer good value.
- Trail runners are ankle-high, lightweight, and super comfortable.
- Hiking boots cover your ankle a few inches, are extremely durable, and weigh the most.
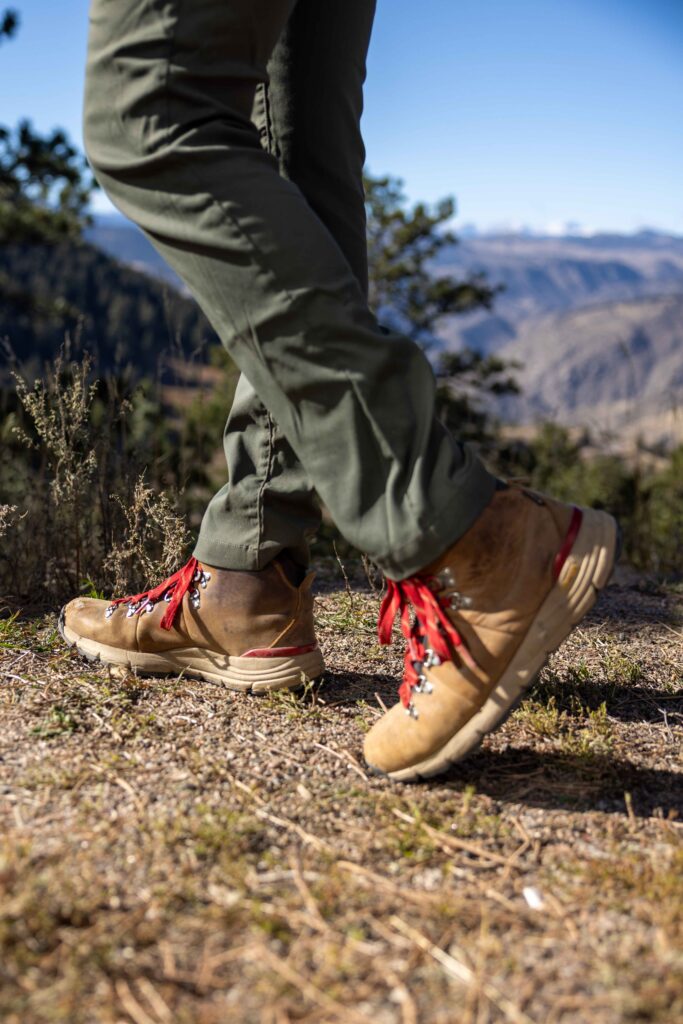
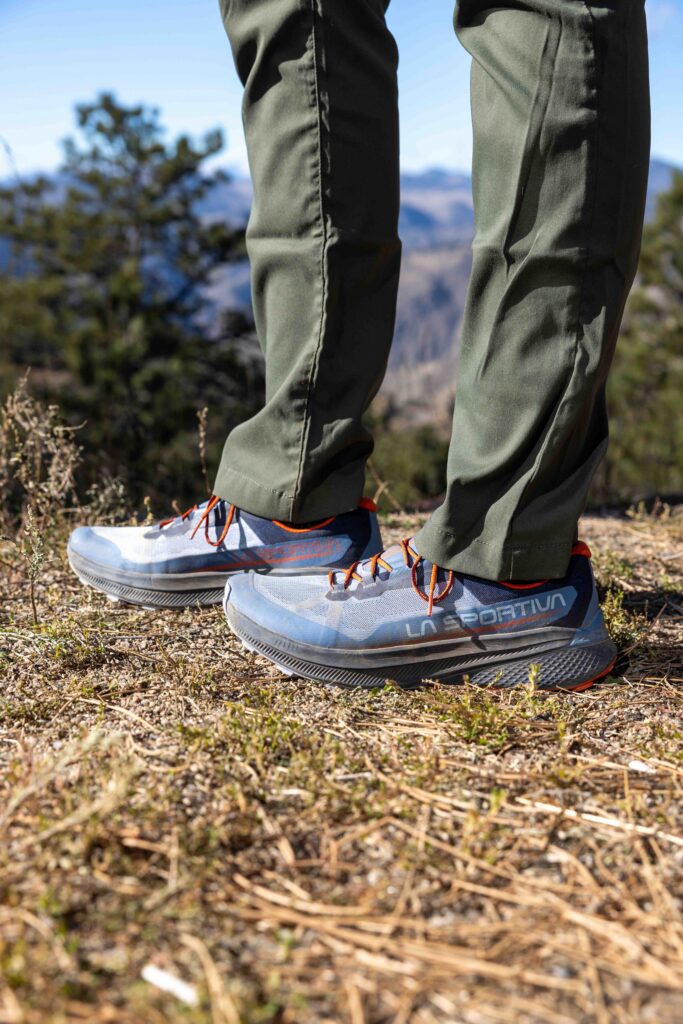
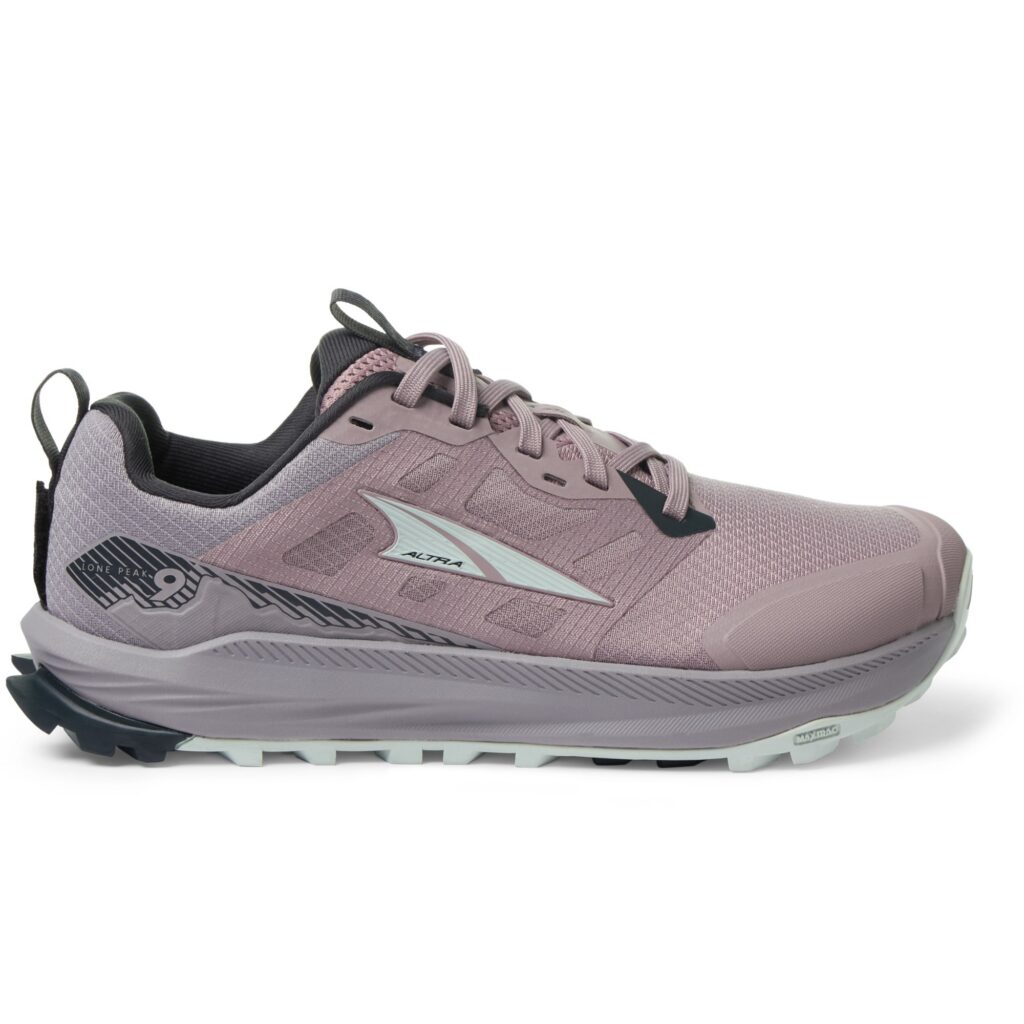
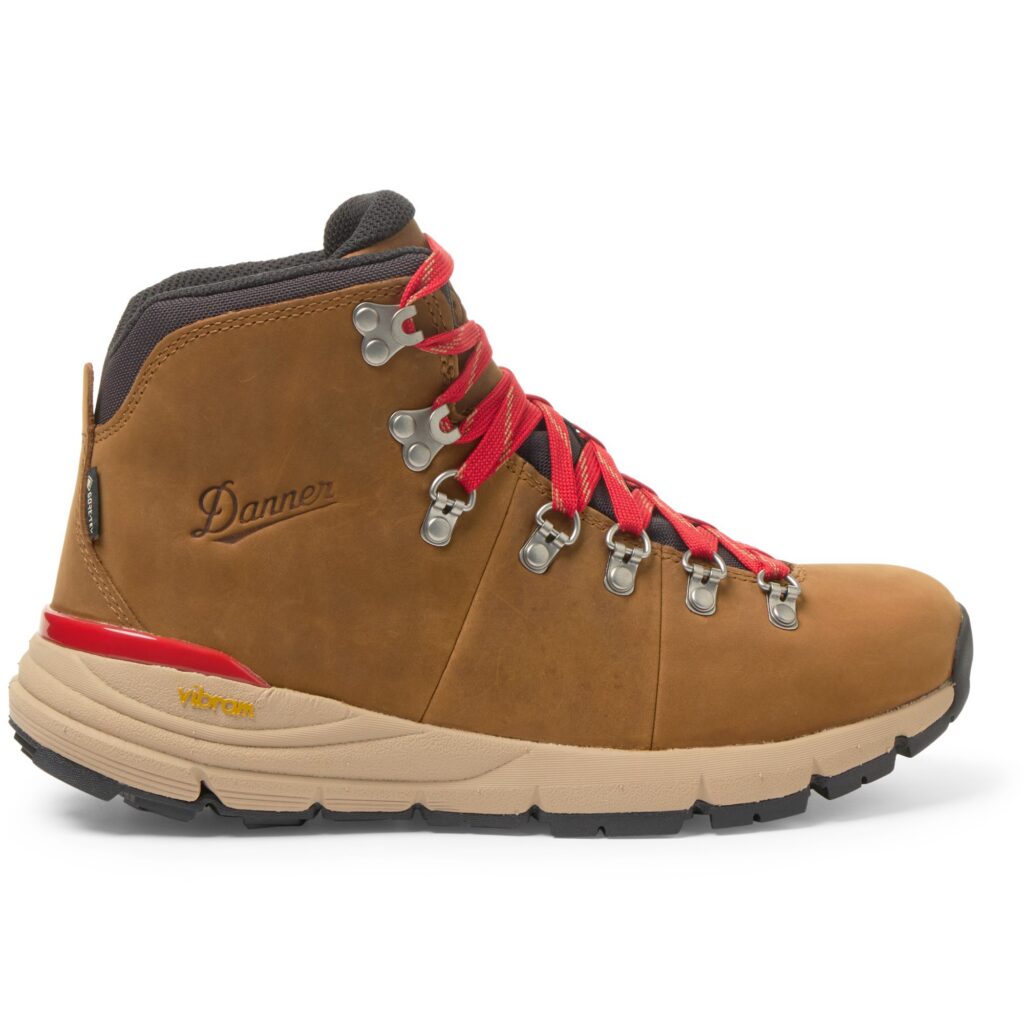
I currently have two pairs of hiking shoes. The first is my Danner Mountain 600 Hiking Boots. I love these boots for colder weather because they’re waterproof and keep my feet dry in the snow. I also have a pair of trail runners —the La Sportiva Prodigio Trail Running Shoes —and love them for being lighter and more like a normal sneaker. Since I have a narrow foot, I don’t specifically look for large toebox shoes, but if that’s what you’re looking for, you might consider the Altra Lone Peak 9 Trail Running Shoes.
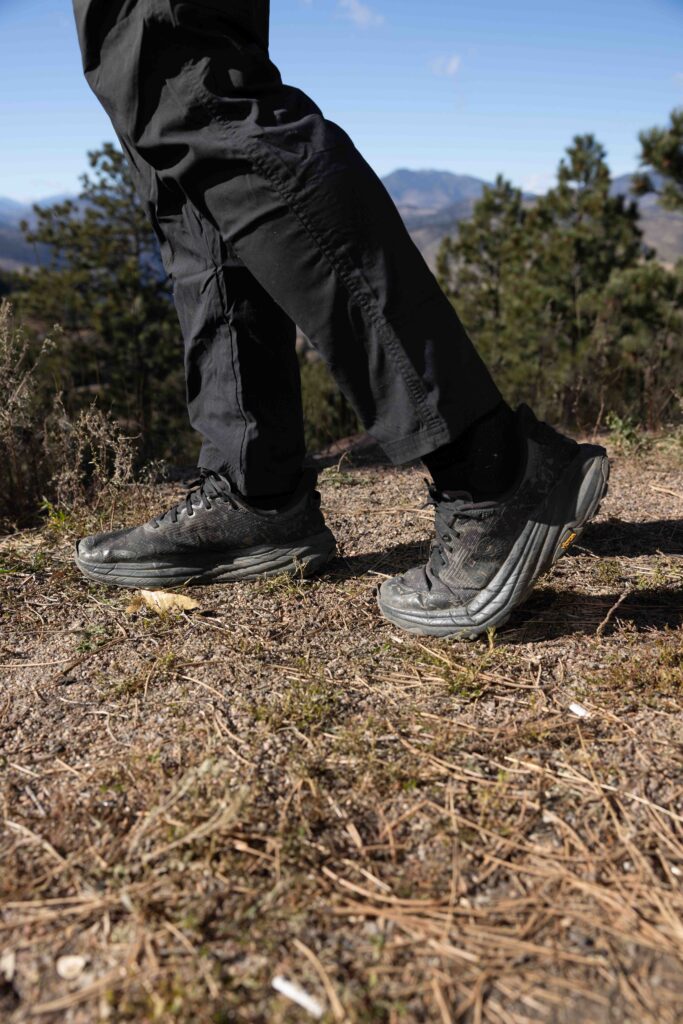
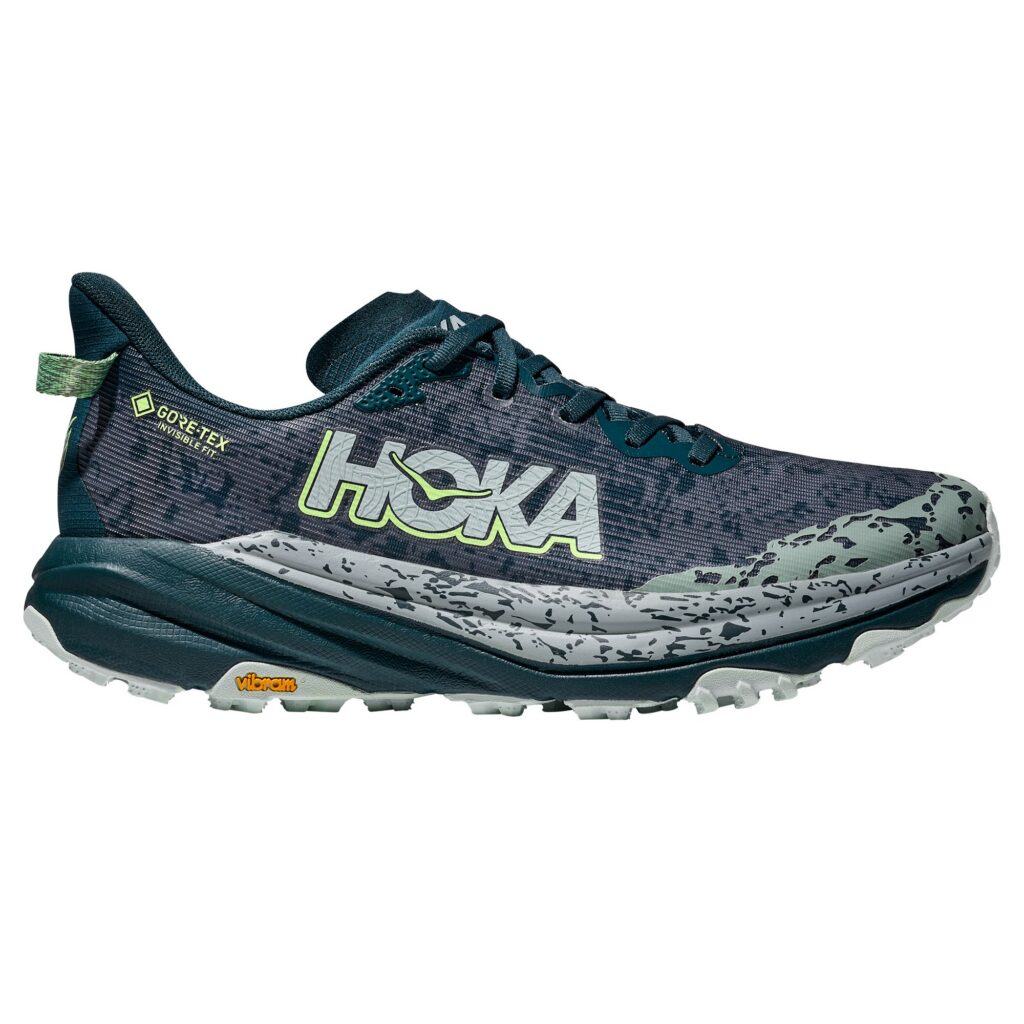
In his earlier years of hiking, Elliot wore North Face hiking boots, but this year he switched to trail runners for their lightweight and more comfortable feel. He transitioned to the HOKA Speedgoat 6 GTX Trail Runners and, once those wore out, most recently switched to the Altra Olympus 6 Trail Running Shoes. The sneaker-like feel and how lightweight trail runners are have converted Elliot to trail runners over hiking boots!
Hiking Shoes
Salomon X Ultra 5 GORE-TEX Low Hiking Shoes (women’s)
$170
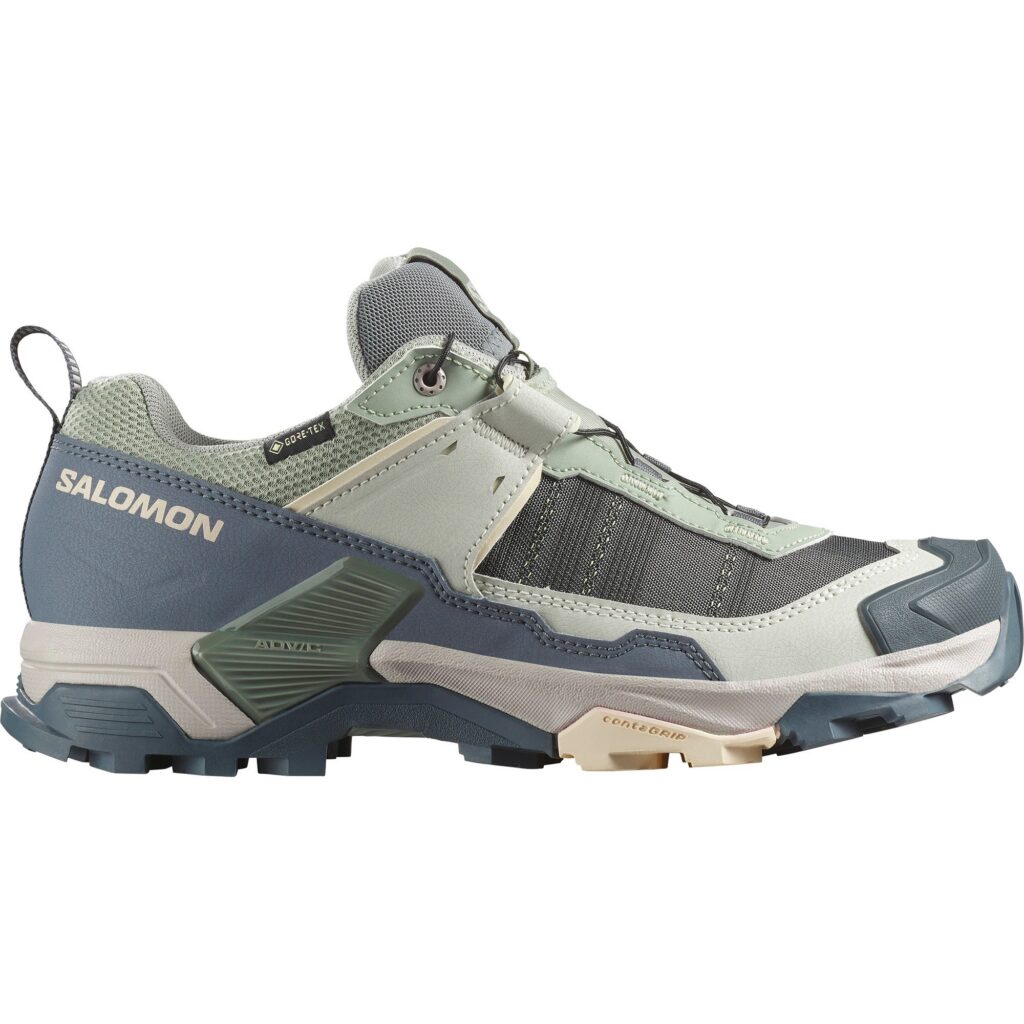
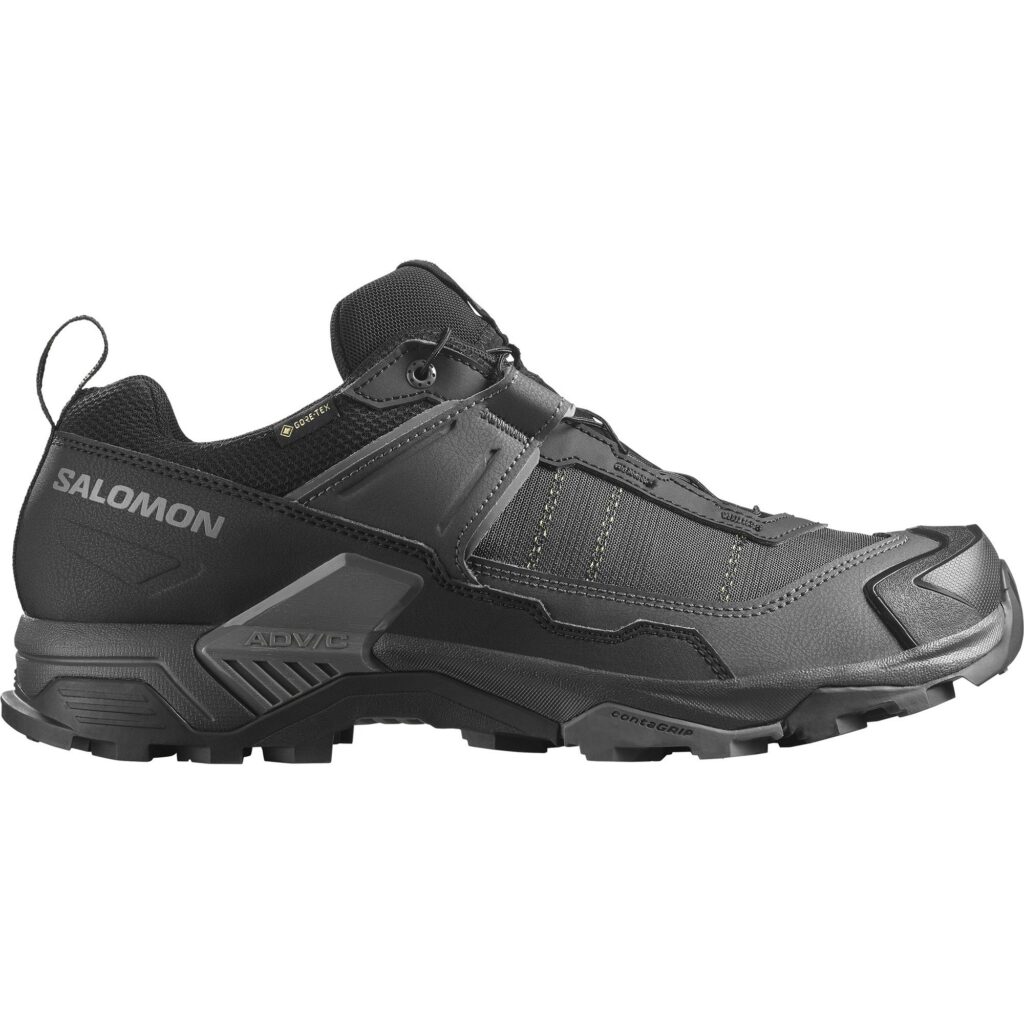
Salomon X Ultra 5 GORE-TEX Low Hiking Shoes (men’s)
$170
Trail Runners
Altra Lone Peak 9 Trail Running Shoes (women’s)
$145
HOKA Speedgoat 6 GTX Trail Runners (men’s)
$170
Hiking Boots
Danner Mountain 600 Hiking Boots (women’s)
$230
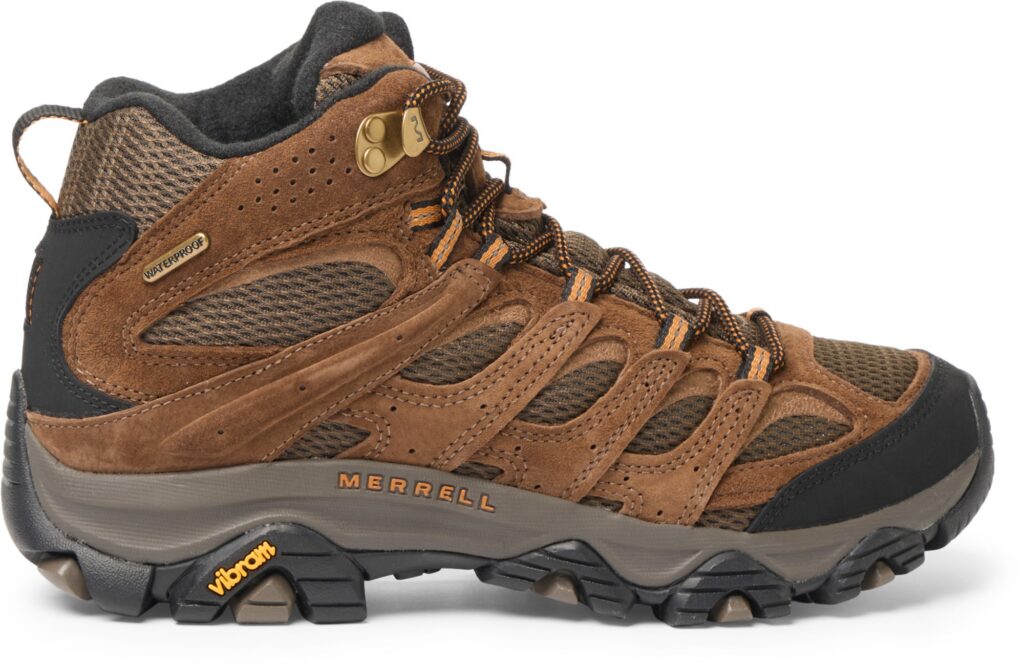
Merrell Moab 3 Mid Waterproof Hiking Boots (men’s)
$170
Wool Socks
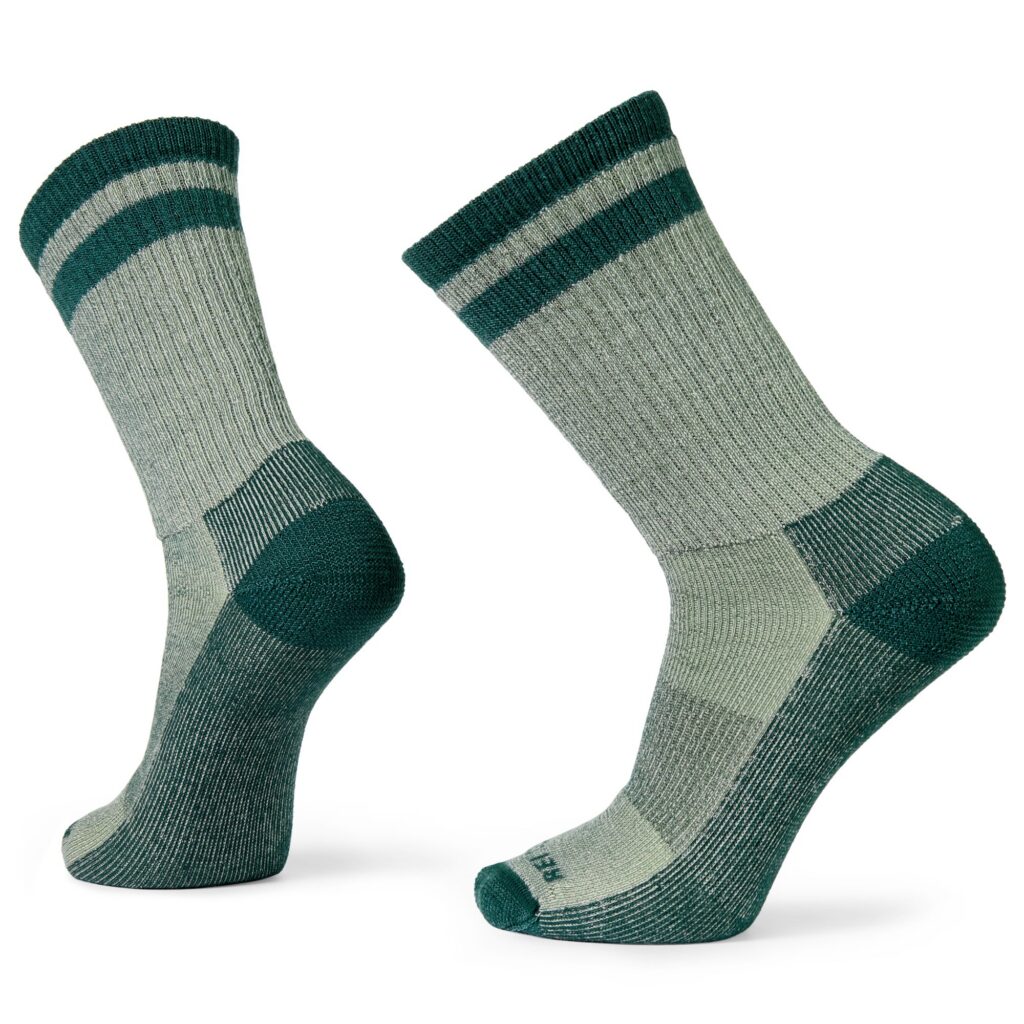
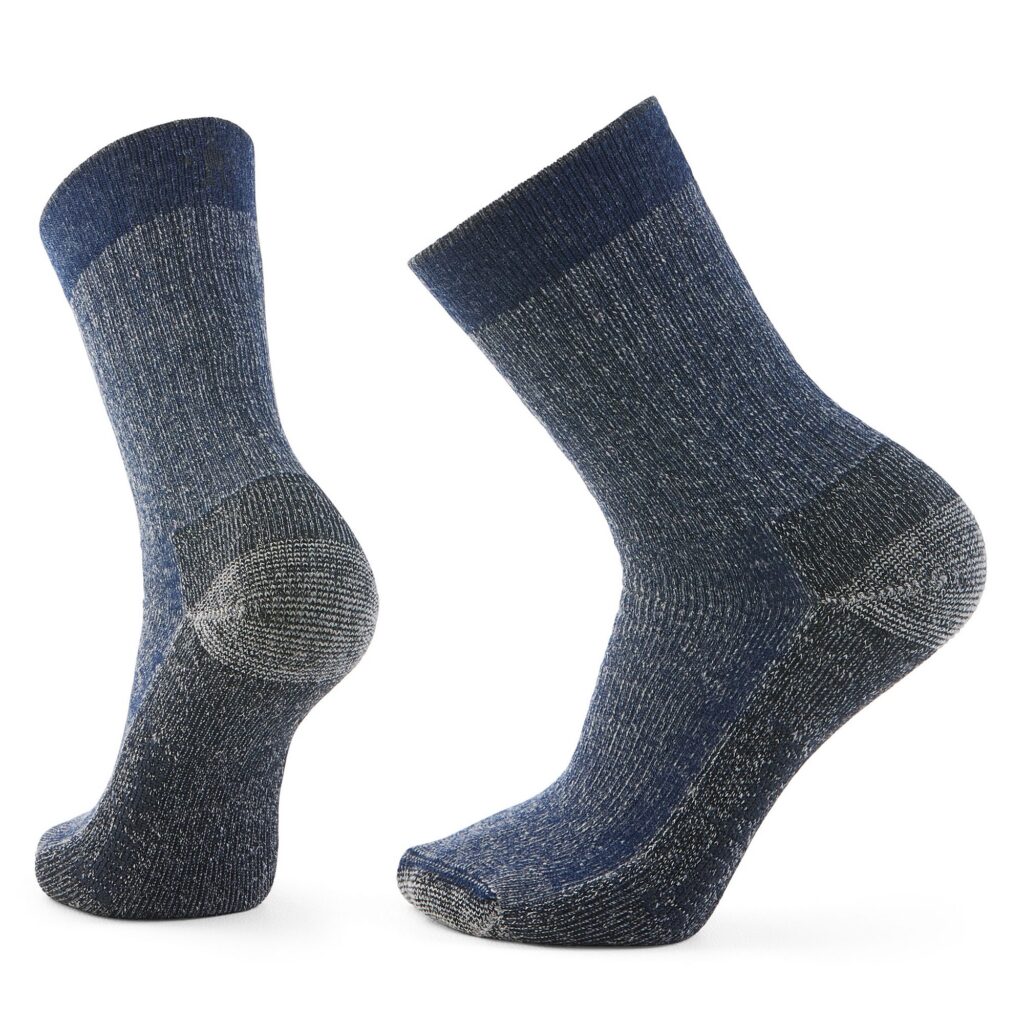
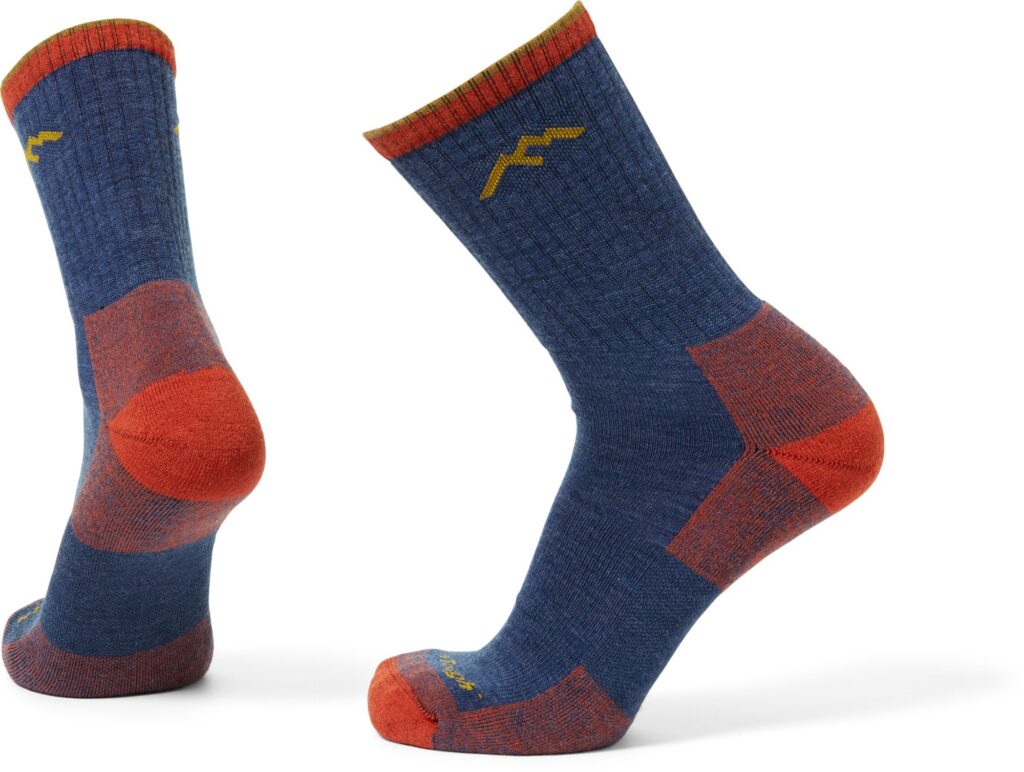
We wear wool socks when hiking because they keep our feet warm in cooler temperatures and cool in warmer temperatures. Our two go-to favorite sock brands are Smartwool Socks and Darn Tough Socks.
Water Reservoirs
There are multiple ways to carry water with you on the trail. The two most popular options are reusable water bottles and water bladders. Theres no “better option”, it’s a matter of personal preference. It’s essential to bring the appropriate amount of water on the trail, plus extra in case of an emergency. A good rule of thumb is to bring 0.5 liters of water per hour of hiking. We’ll share some pros and cons of each option:
Reusable Water Bottles
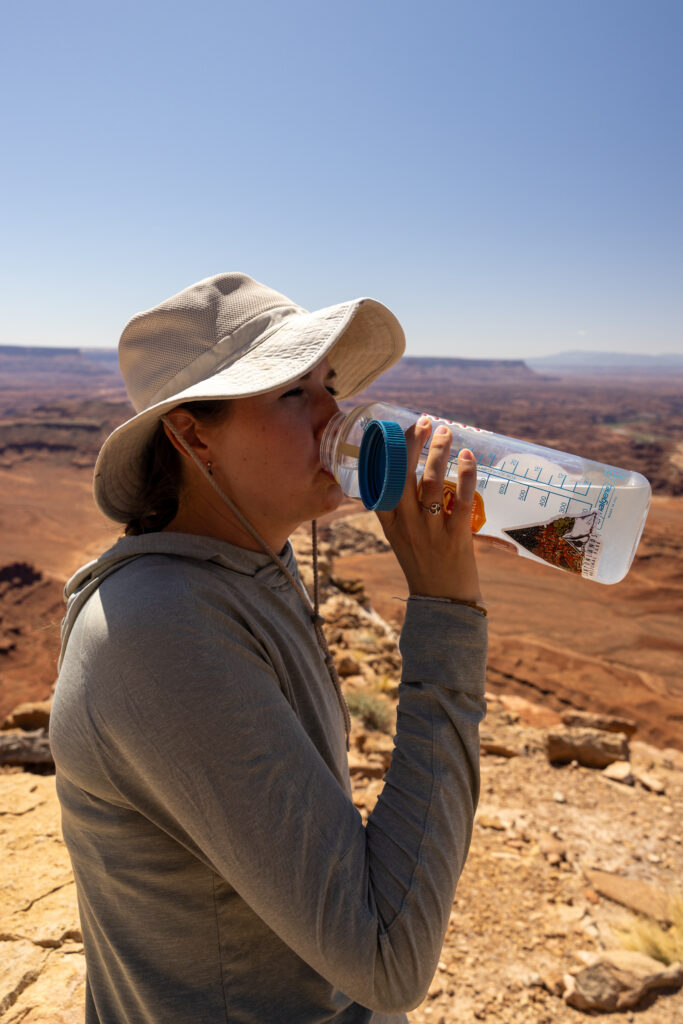
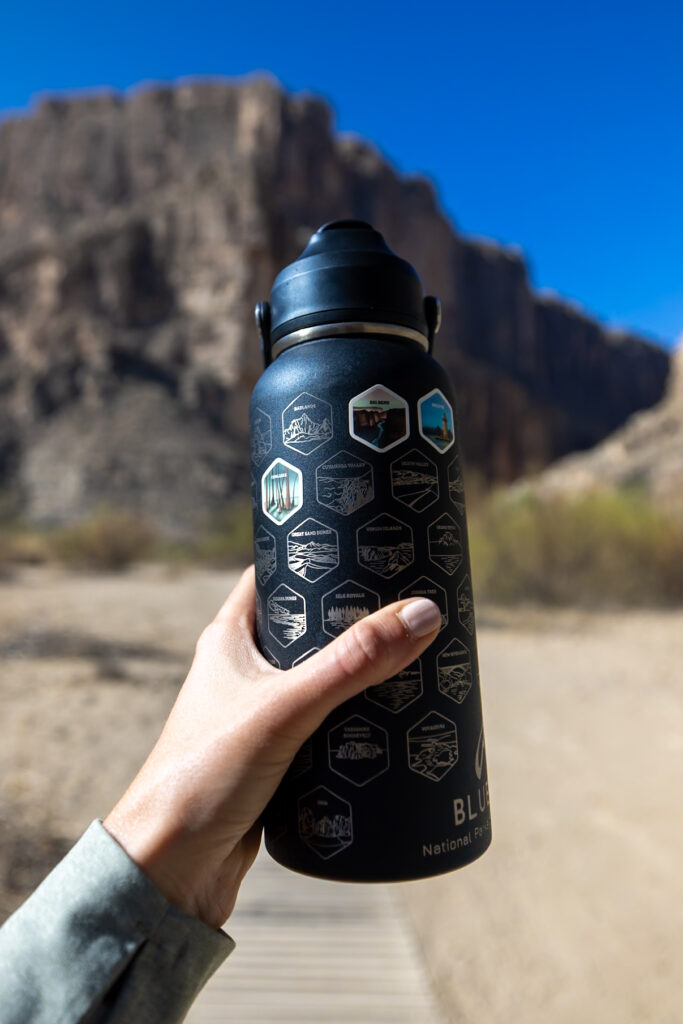
We each carry a water bottle with us on the trail so we can add electrolytes to it. Elliot uses the BlueTrail National Park Water Bottle, I carry a 24-oz. Owala Water Bottle, and each of us has a 48-oz Nalgene. The BlueTrail and Owala both have a straw, but the Owala water bottle can also be sipped from, which is a nice feature. I have the 24-oz water bottle, which easily fits in a car cup holder, whereas Elliot’s 32-oz water bottle does not. Elliot’s water bottle features stickers for all 63 US National Parks, a fun way to commemorate our travels to the National Parks. Whatever reusable water bottle you already have will work just fine!
Water Bladder
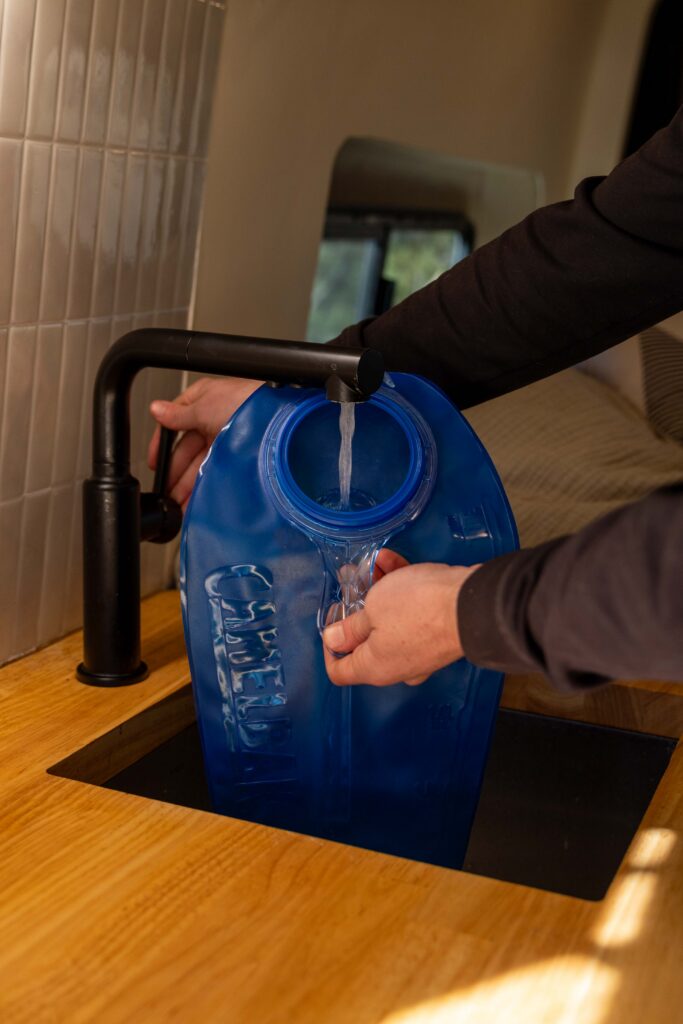
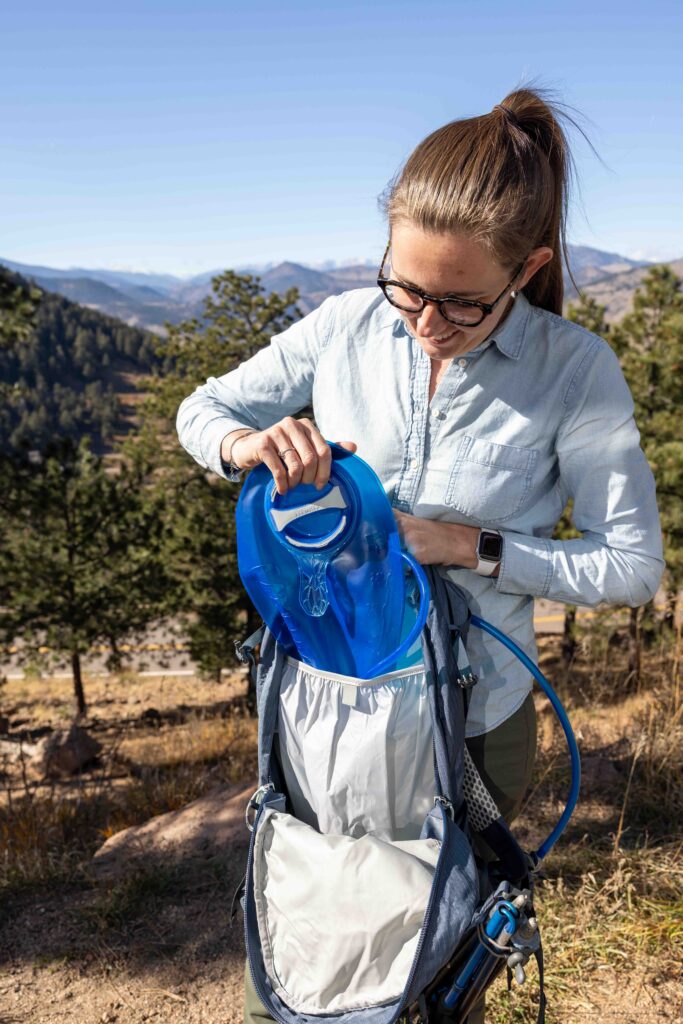
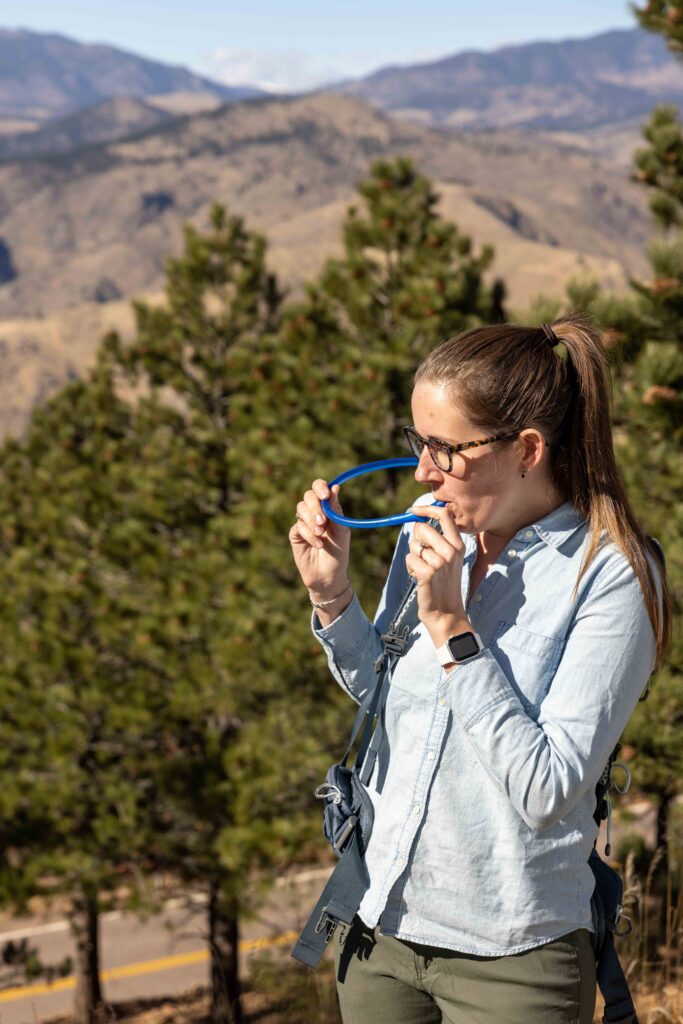
Water bladders are flexible water reservoirs that sit along your back in your backpack and include a flexible straw for sipping water as you hike. They’re super convenient since you don’t have to take off your backpack to access your water bottle. Most water bladders do not have to be the same brand as your backpack. It’s important to check the size of your water bladder to ensure it fits inside your backpack.
We have the Platypus Big Zip Evo Reservoir 2 Liters and the 3L Camelbak Water Bladder. The main difference between them, aside from size, is how each water bladder opens differently, which is an important consideration when cleaning your water bladder. The one major downside to water bladders is that you can’t see how much water you’ve drunk since the reservoir is in your backpack. If you’re going on a longer hike and need to space out your water, you might prefer a clear water bottle, like a Nalgene.
Water Filtration
On most hikes, you’ll be able to bring enough water; however, on backpacking trips or very long trails, you’ll need to filter water. We’ve tried several water filters over the years and started out using the Sawyer Squeeze Water Filter System. The components were lightweight, and it was a popular water filter method several years ago. Plus, it’s a great budget option! Sawyer recently upgraded their water filter to the Squeeze Water Filtration System with Cnoc Premium 2-Liter Bladder, which has fewer parts than the previous system. Its simple design and reliability make it a great option; however, it is more expensive.
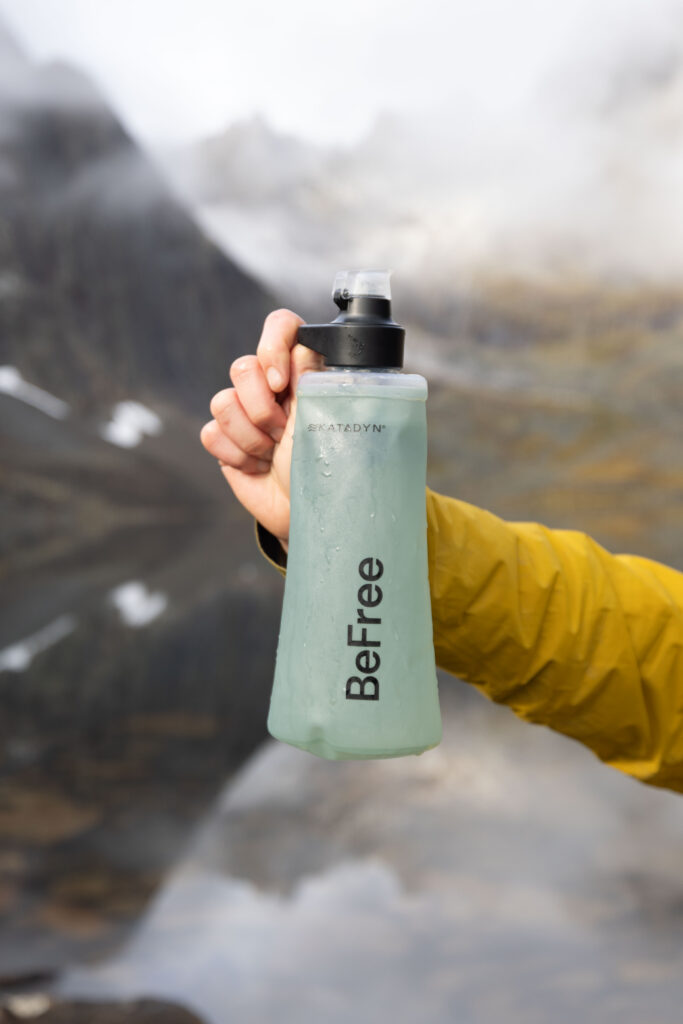
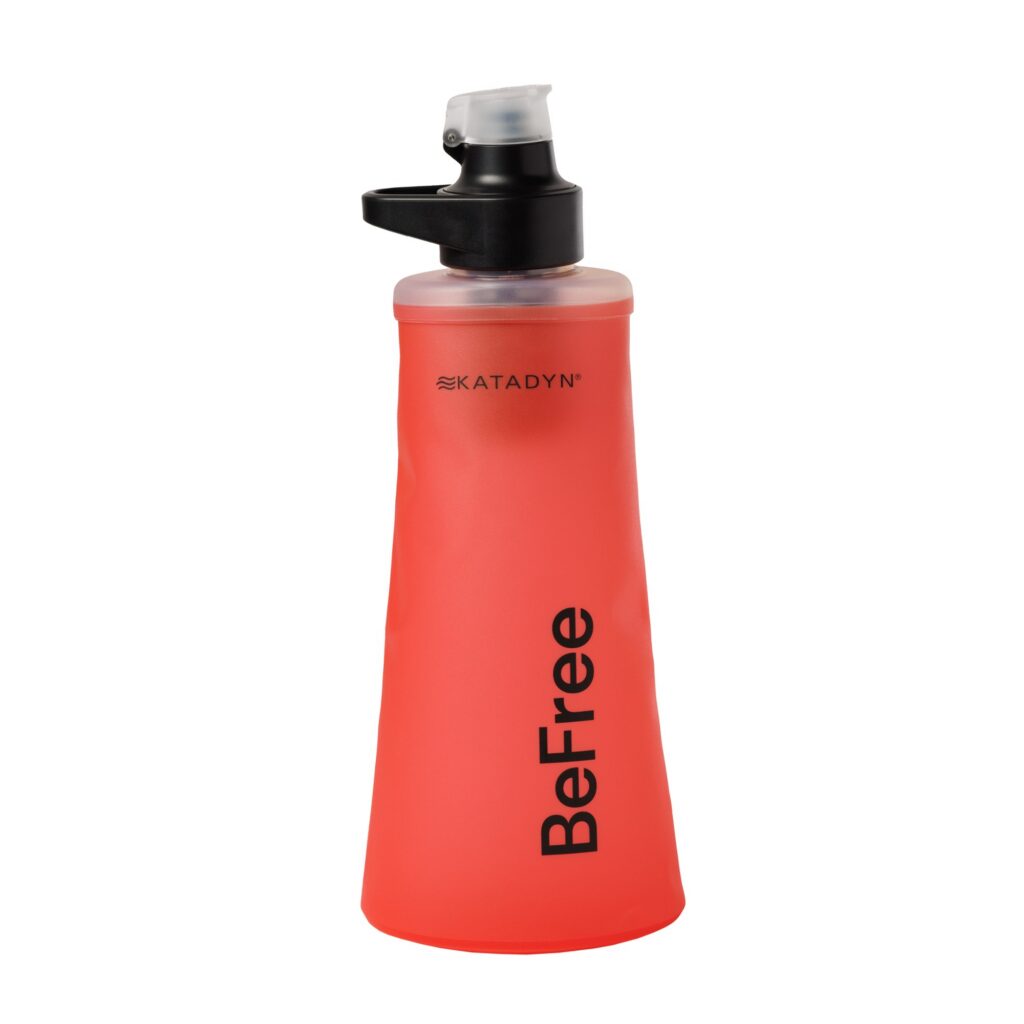
We currently use and love the Katadyn BeFree AC 1.0 L Water Filter Bottle. It’s extremely easy to use, has a limited number of parts, and filters water incredibly quickly. Plus, it’s super easy to clean the filter between trips. In our experience, the Sawyer Squeeze Water Filter was significantly slower than the Katadyn water filter, which is another reason we prefer the Katadyn water filter.
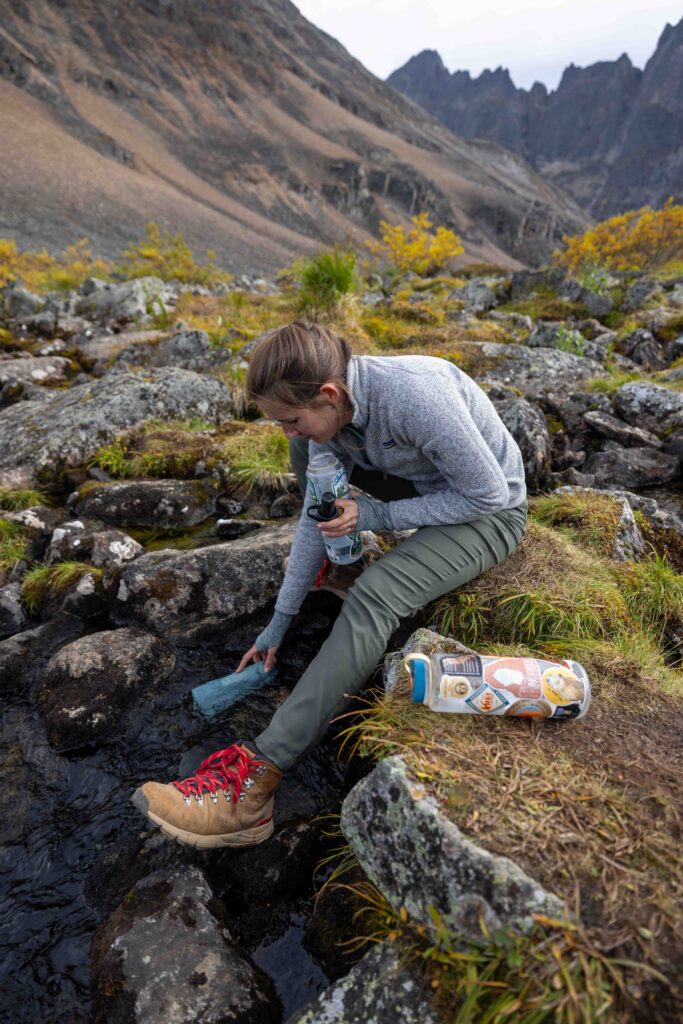
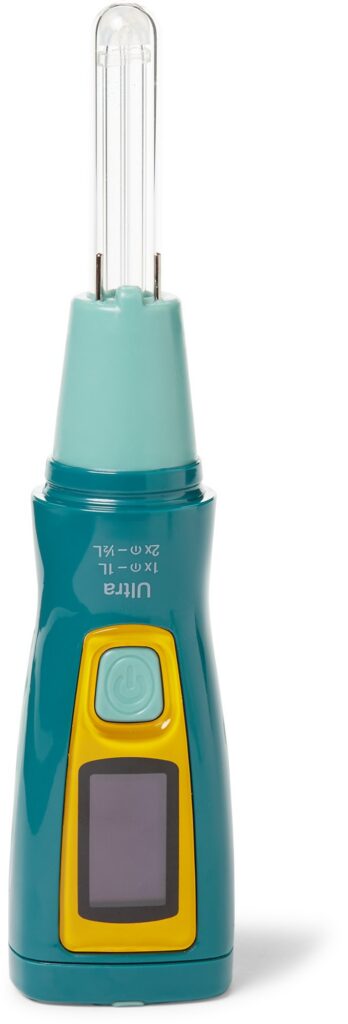
Other options include the Katadyn Steripen Ultra UV Water Purifier, which resembles a pen with a UV light at its end. To use it, fill your water bottle with water, insert the pen into the bottle, turn on the pen, and swirl the pen in the water until the light turns off. One downside to this method is that there is no physical filter to remove dirt. We’ve found that this is best suited for alpine lakes and other relatively clean bodies of water.
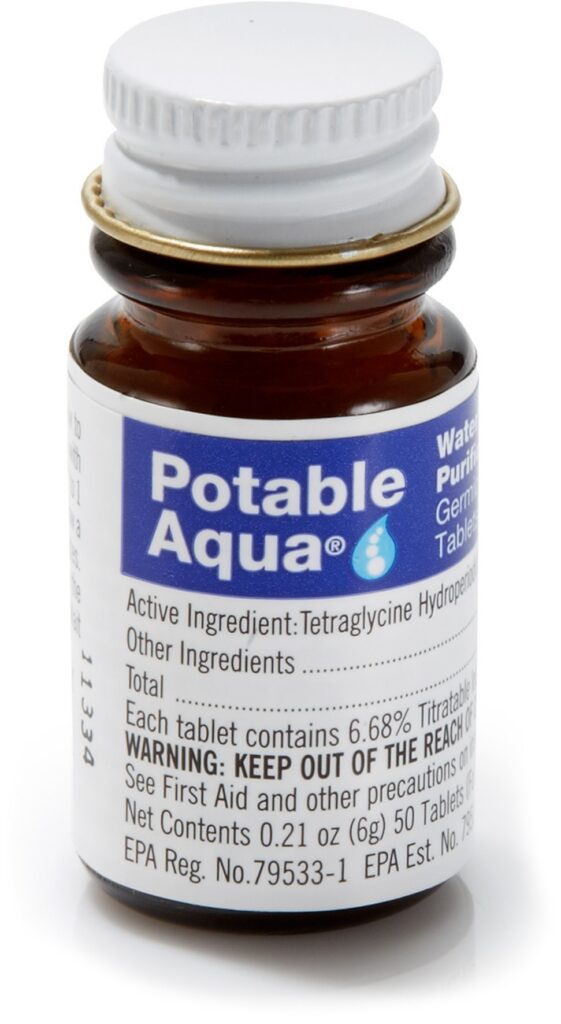
The last option is water iodine tablets, which we carry for emergencies. We carry them in our first aid kit to clean water in a pinch or if our water filter breaks.
Emergency SOS Device
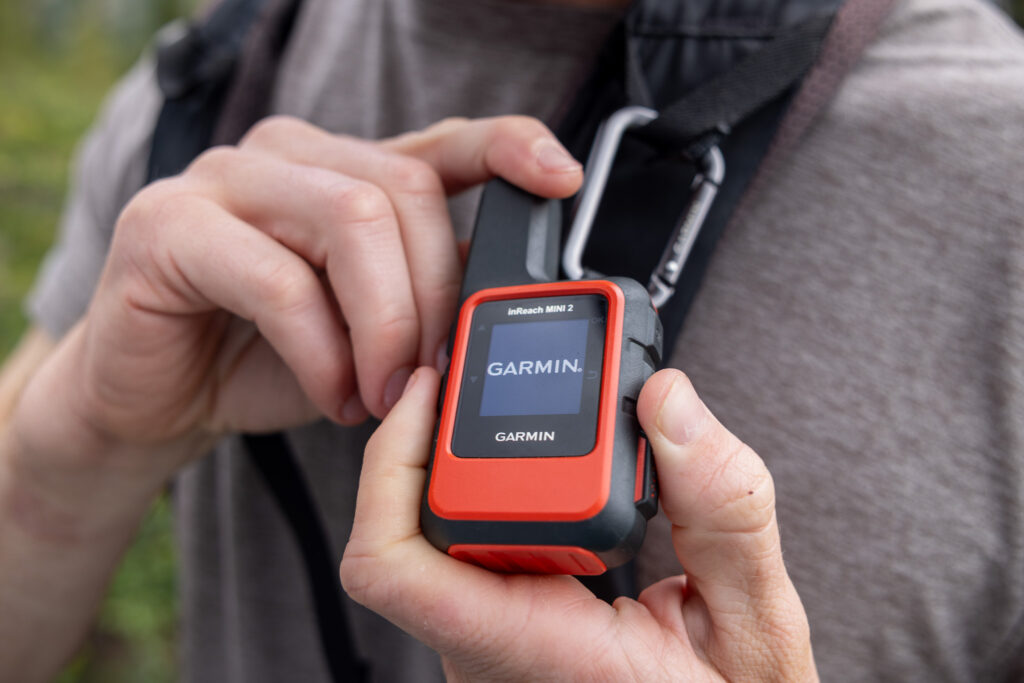
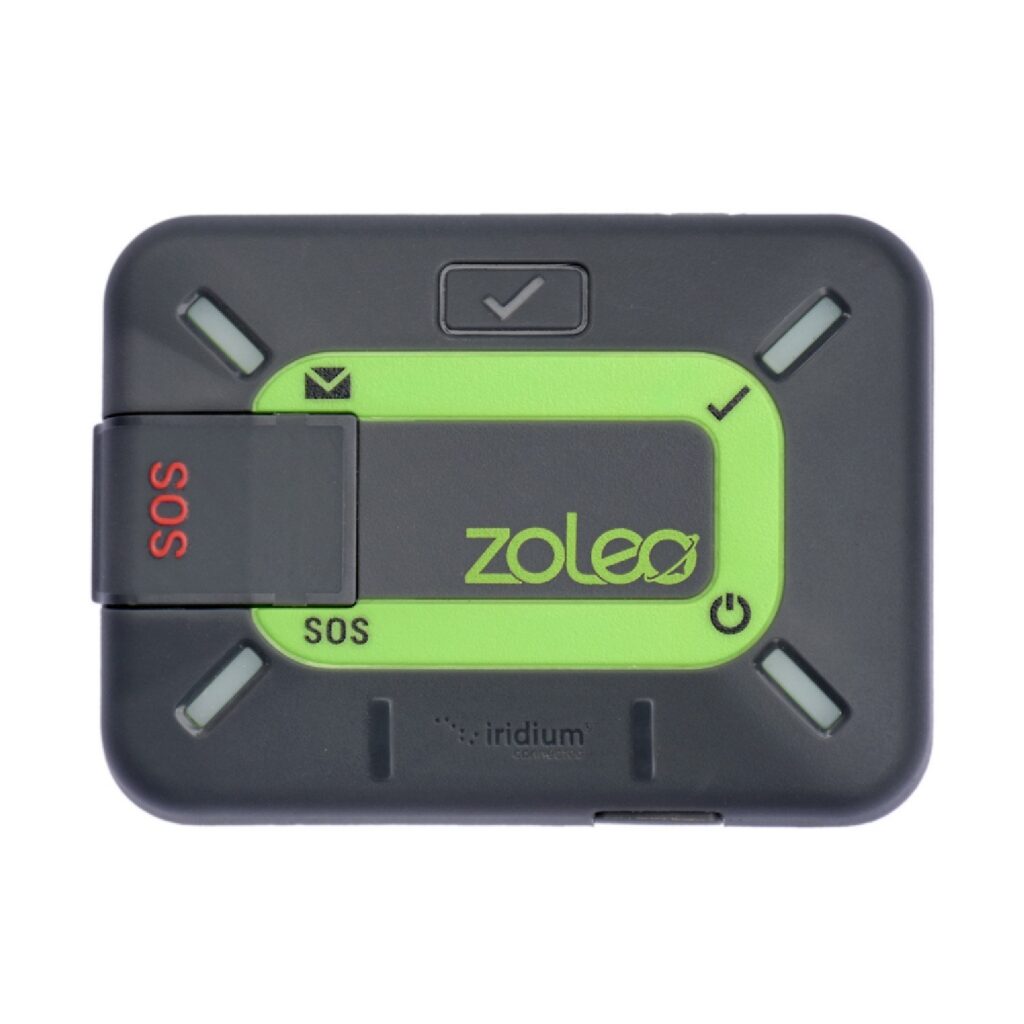
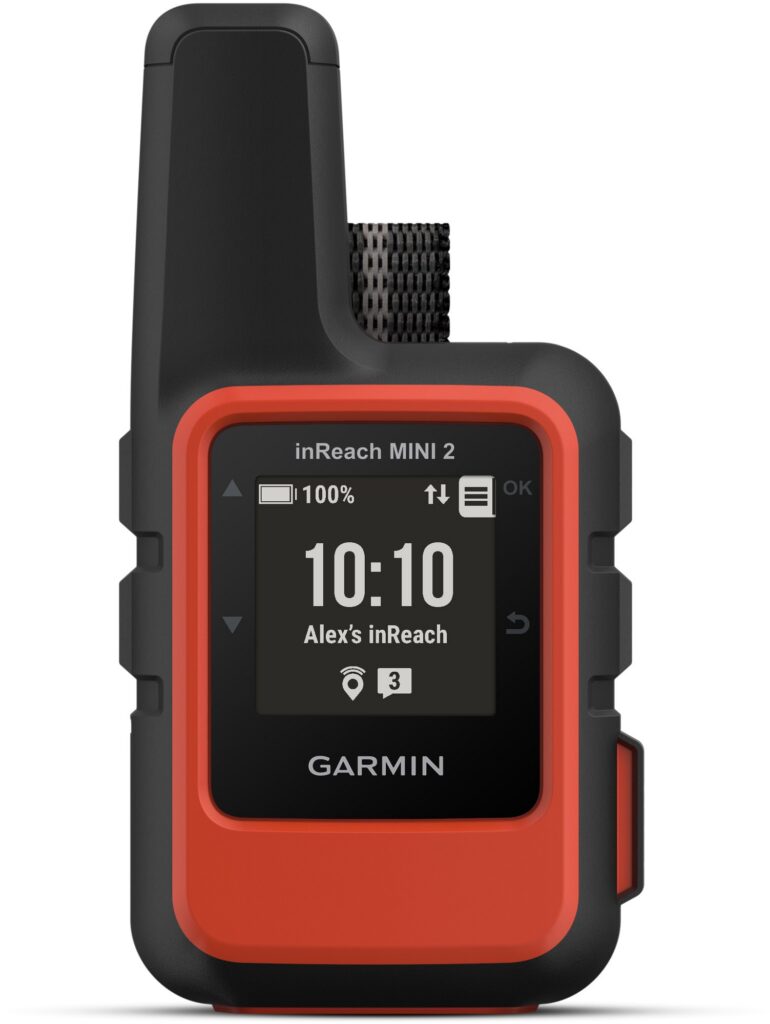
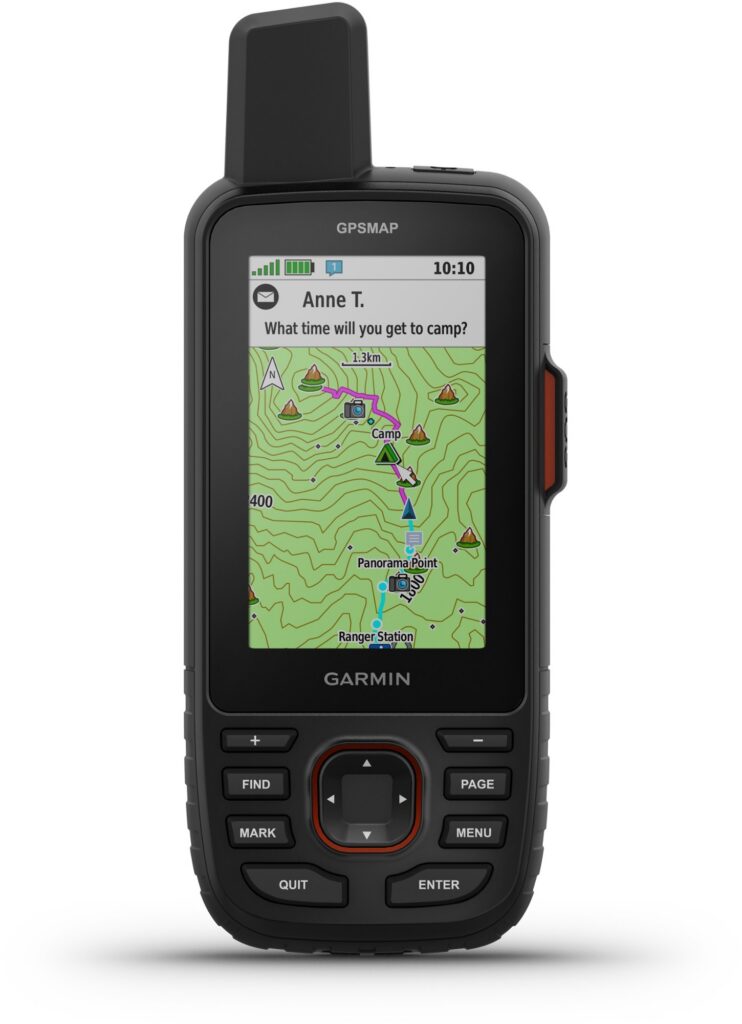
One of the best purchases we’ve made for beginner hiking gear was our Garmin InReach Mini 2! We always carry this little device on our backpack straps to give us and our family members peace of mind, knowing that if an emergency were to happen, we could contact emergency officials for help, regardless of our remote location. The Garmin products require a monthly subscription of $15 and allow us to send a message to our pre-assigned contacts before, during, and after we complete a hike. We’ve also used it to get weather conditions, which is more helpful on multi-day hikes.
First Aid Kit
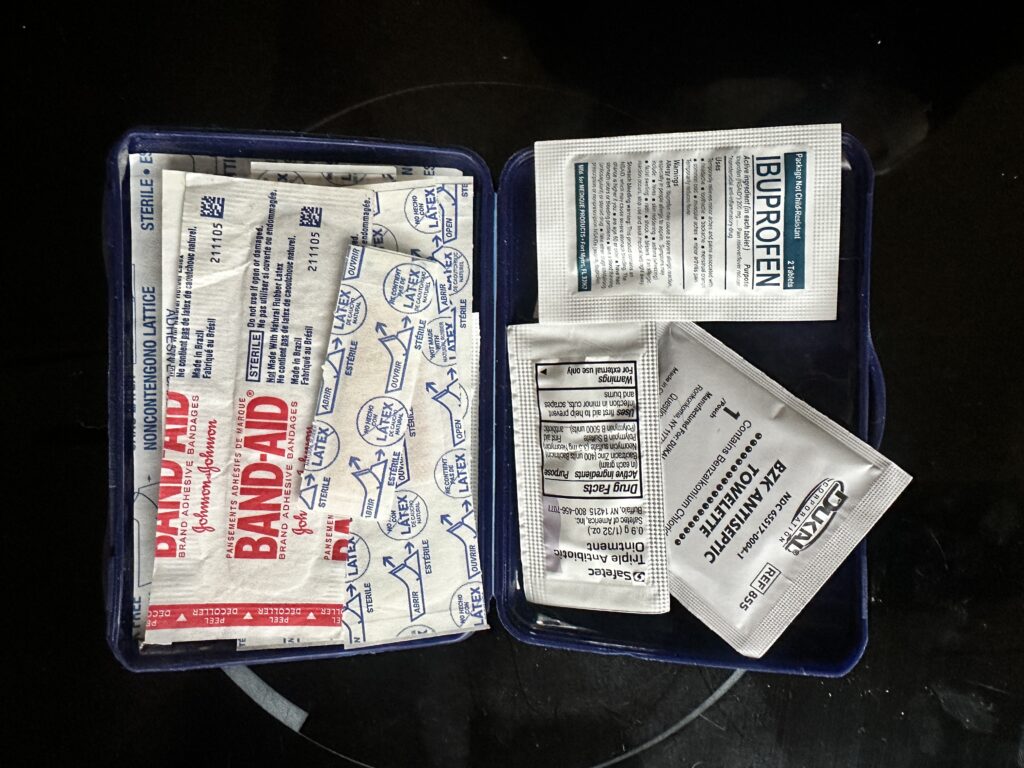
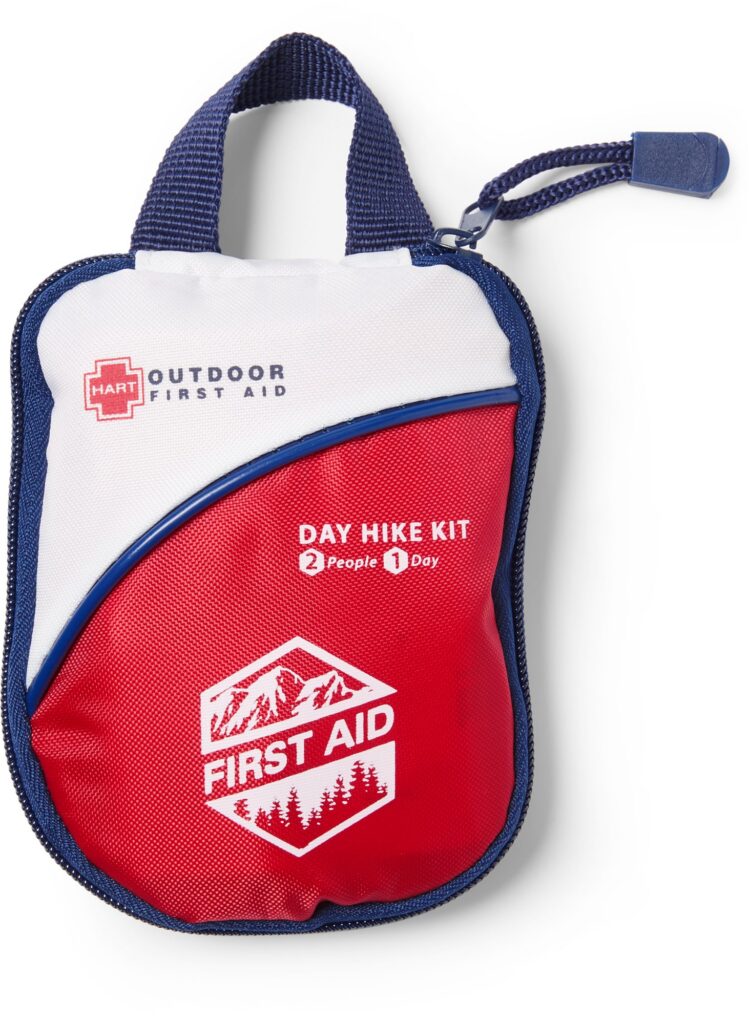
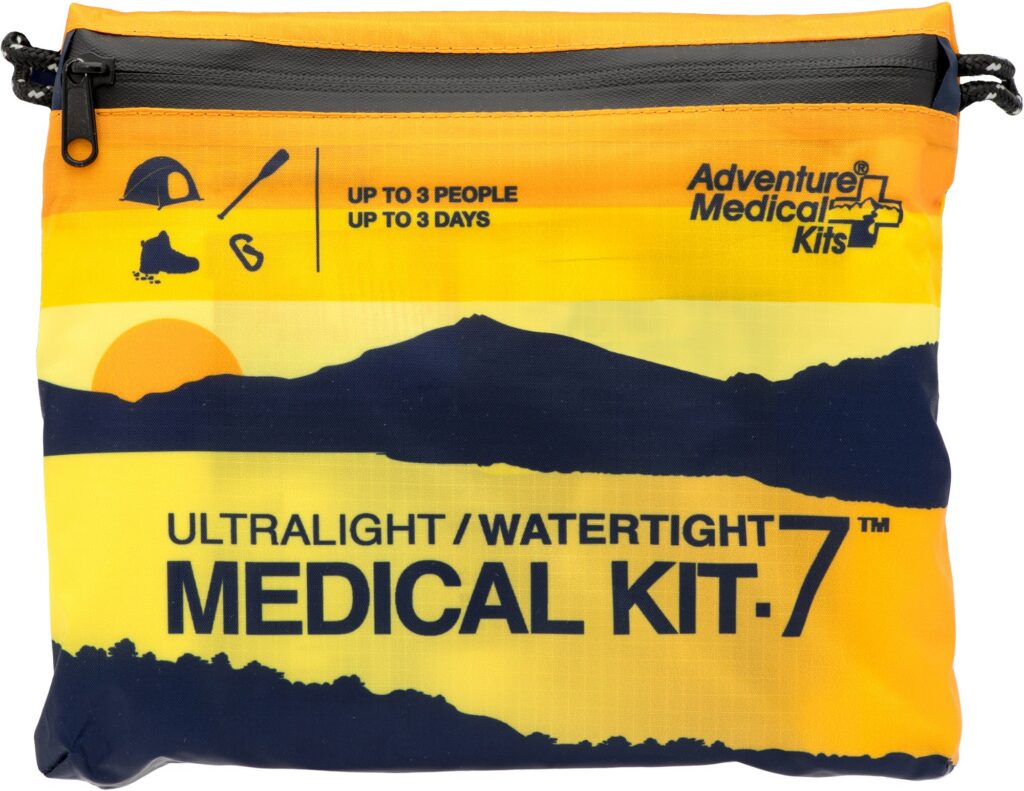
First aid kits are one of those essential pieces of beginner hiking gear that you hope to never need, but are happy to have when you do. We carry this day-hike first aid kit with us on all of our hikes. We purchased the complete kit, but if you have the time and want to save a little money, you can create your own kit.
Beginner/Budget
Build your own First Aid Kit
<$10
Hiking Poles
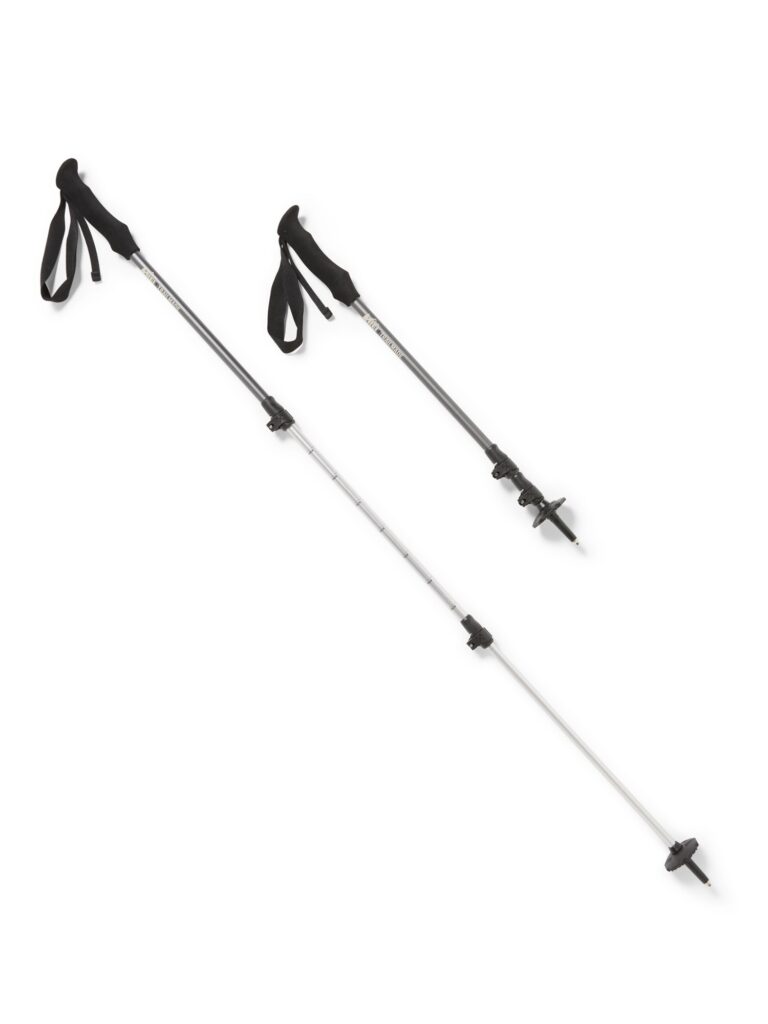
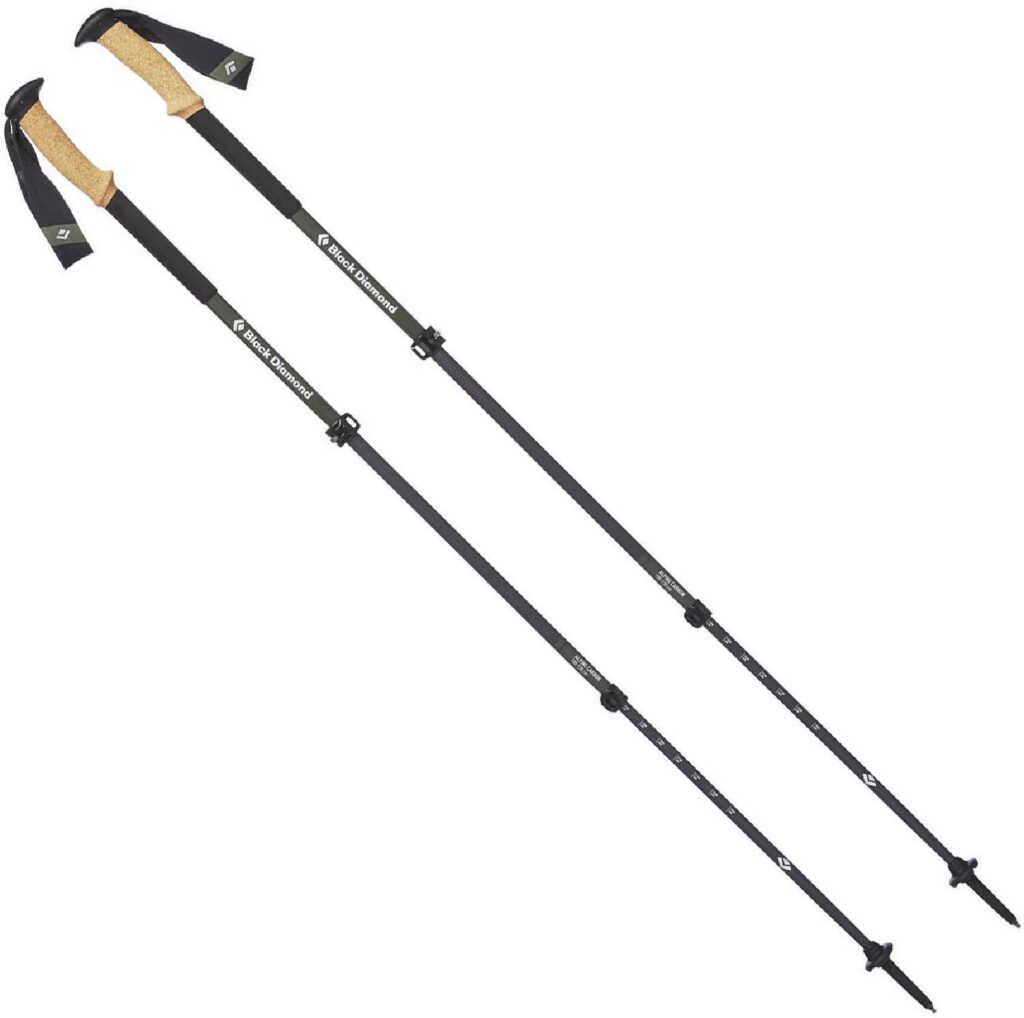
Hiking poles are the unsung heroes on our hikes. When we first started hiking in our early 20s, we didn’t use hiking poles. As we’ve gotten older and pay more attention to our joints, we’ve started using hiking poles. I love how trekking poles help pull me uphill, whereas Elliot loves that trekking poles help ease the impact on his knees when going downhill. One key consideration when selecting hiking poles is to choose a size that matches your height.
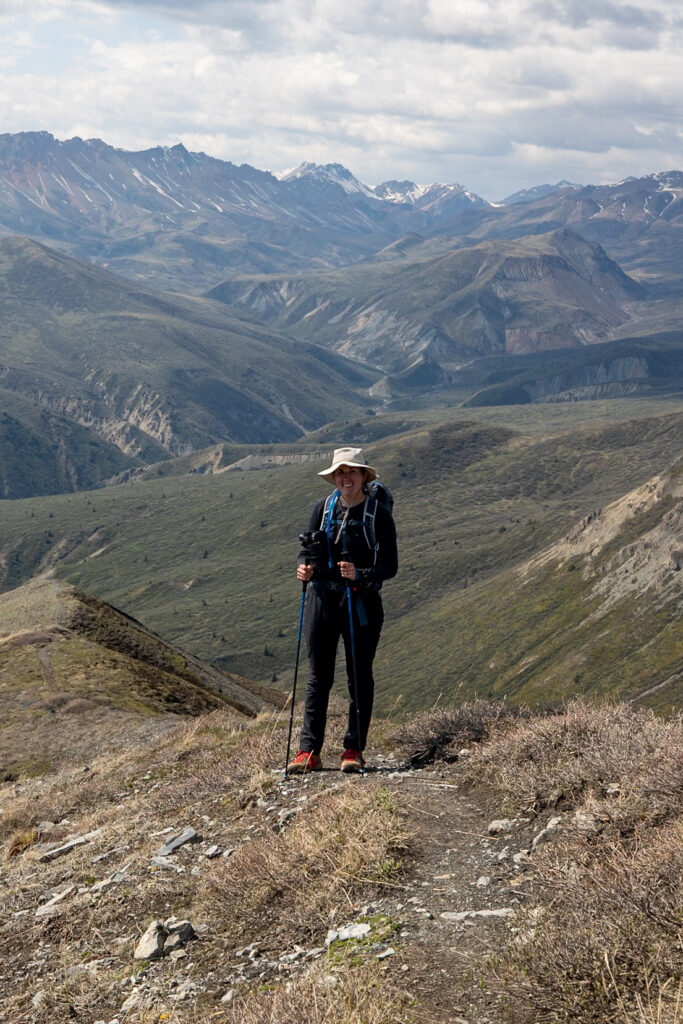
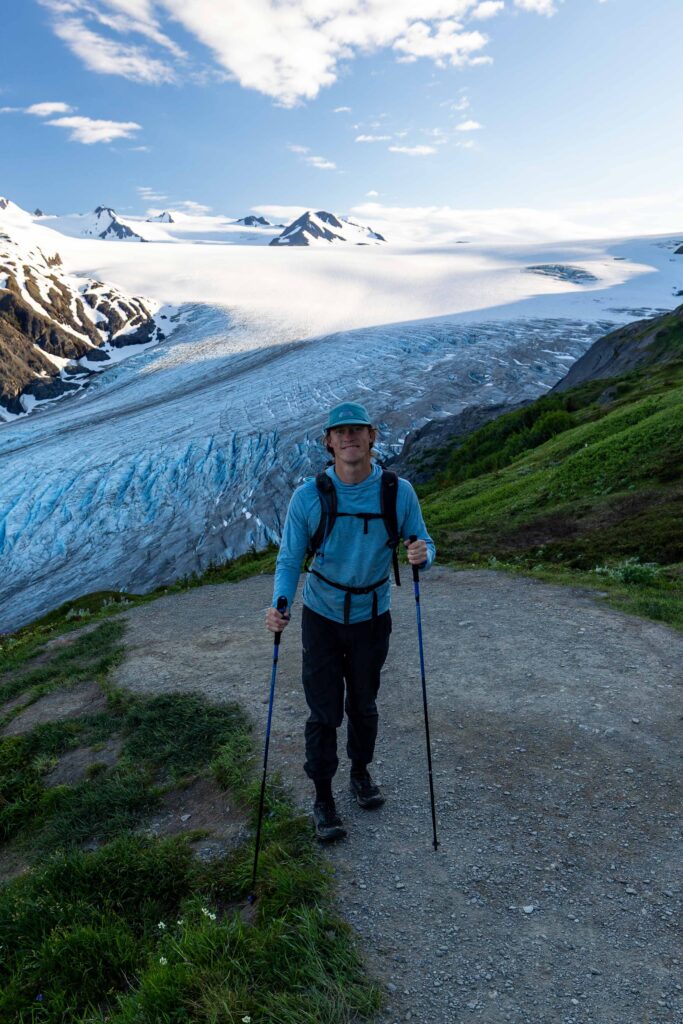
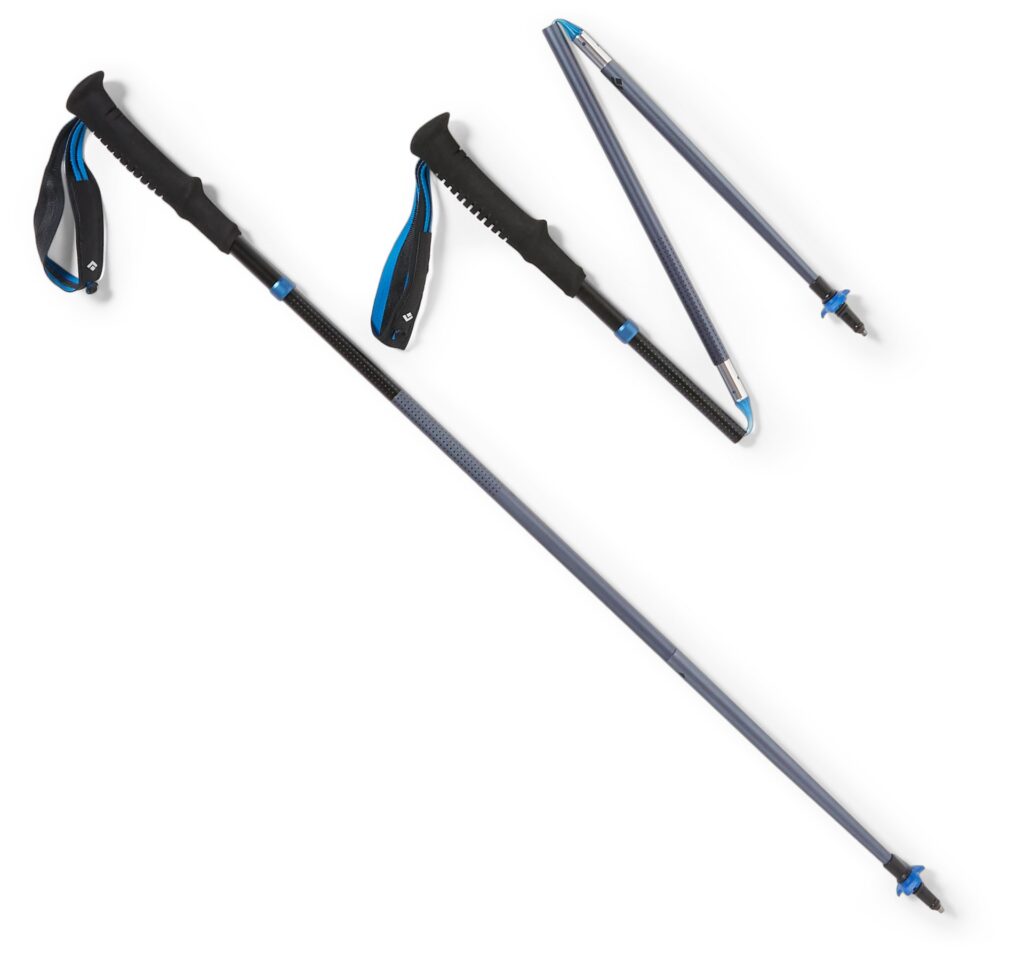
I use the Black Diamond Distance Z Trekking Poles. They’re lightweight, collapse quickly, and provide stability on uneven surfaces. My trekking poles are a great, moderate-budget option compared to Elliot’s trekking pole pick. It’s essential to choose the correct size based on your height. I’m 5’9″ tall and use the 120cm trekking poles, whereas Elliot is 6’1″ and would use the 130cm trekking poles.
Elliot uses the Black Diamond Alpine Carbon Cork Trekking Poles to help reduce the wear on his knees when hiking downhill. These trekking poles are a bit more expensive, but they are super lightweight, and the cork is great for his sweaty palms when hiking in warmer temperatures.
Headlamp
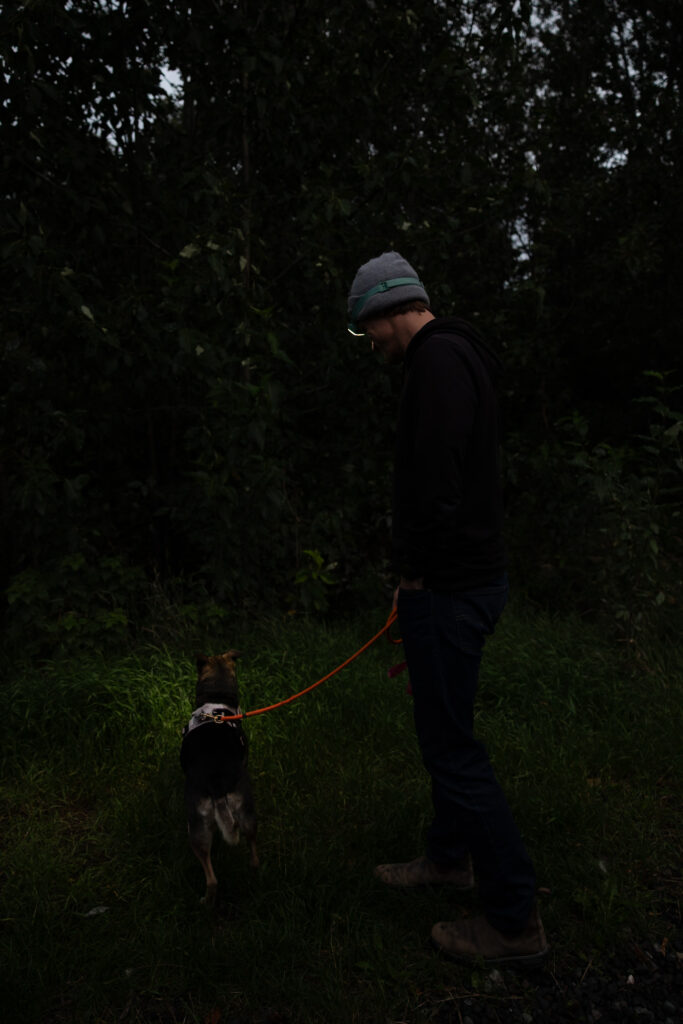
A headlamp is a crucial piece of beginner hiking gear to carry in case you start the trail early or end up on the trail later than expected. Having a hands-free light has been a game-changer compared to a traditional flashlight. We’ve tried several headlamps over the years and have fallen in love with the BioLite 400 Range Headlamp. We love its sleek design, two buttons for white and red (night) light, and it is rechargeable. The 400 range makes it extremely bright, allowing us to see on the trail, while camping, or in our tent at night. It’s our favorite headlamp!
Sunglasses
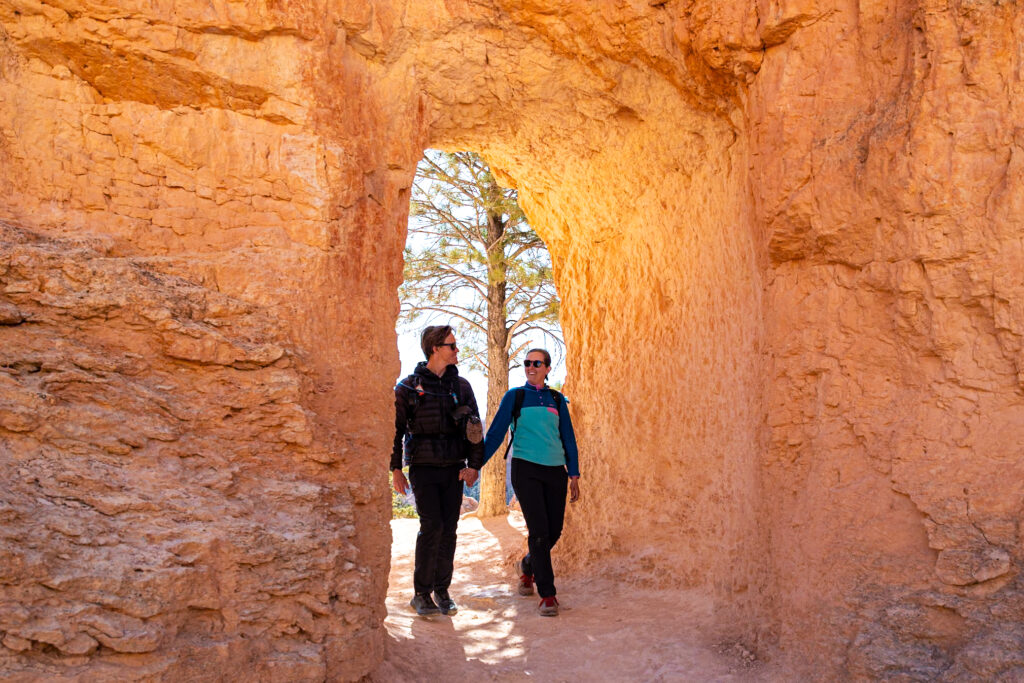
We both wear Goodr sunglasses because they’re inexpensive (we all lose a pair of sunglasses eventually), have polarized lenses, and have a variety of styles and colors.
Sunscreen
We love ThinkSport SPF 50 because it has a high SPF, is reef-safe, water-resistant, and is a mineral-based sunscreen. Having the right sun protection on the trail is important to keep you safe from the sun’s harmful rays.
Chap Stick
After hiking multiple times without Chapstick and getting dry, cracked lips, we started carrying Chapstick with us, especially in dry environments. We love Burt’s Bees Lip Balm, but it’s totally up to your personal preference.
Bug Nets
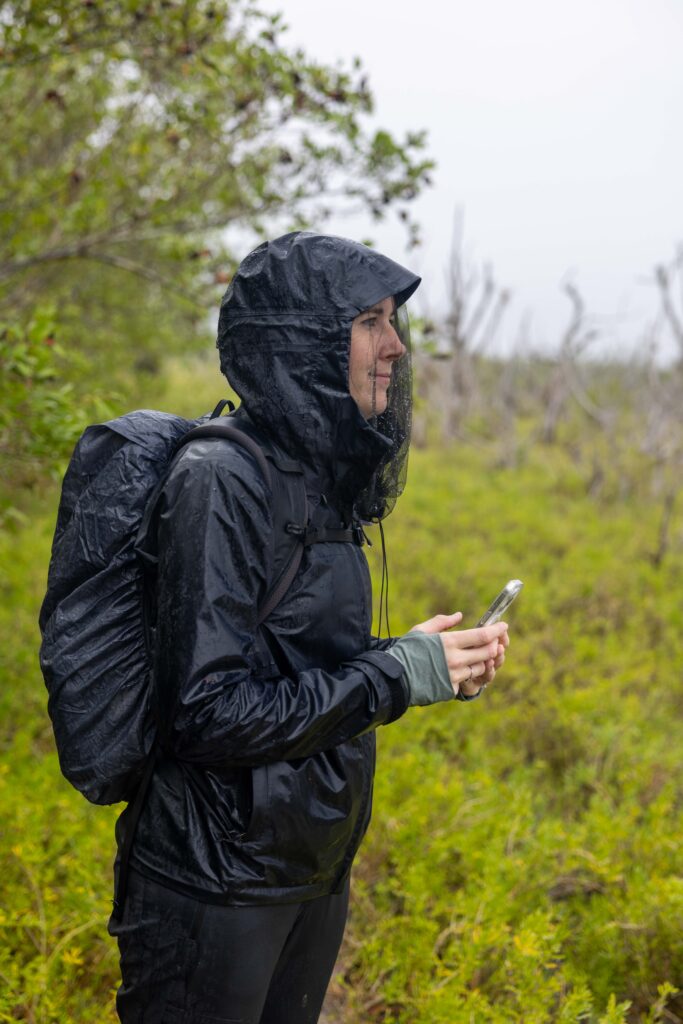
Depending upon where you’re hiking, you might be swarmed with a lot of mosquitoes, biting flies, or gnats. We carried these head bug nets throughout our time in Everglades National Park and Alaska. The bug nets are the farthest thing from fashionable and stylish, but they do help keep us sane when the bugs are insane!
Bug Spray
We never quite know how bad the bugs will be on a trail, so we always pack bug spray with us in case the bugs are bad.
Electrolytes
We’re pretty picky about our electrolytes and like to support brands that are transparent about their ingredients, which is why we love Skratch Labs Electrolytes. They come in several different flavors and making replenishing our electrolytes on a hike easy.
💡 Pro Tip: We carry a water bottle to add electrolytes to during our hike, whereas our water bladder is just for water, which makes post-hike clean up much easier.
Snacks and Nutritionally Dense Food
Packing great snacks and nutritionally dense foods is important on your hikes because it helps refuel your body. We have an entire post with our favorite hiking snacks, but some of our favorites include protein bars, Chomp sticks, peanut butter and jelly sandwiches, trail mix, and a seasonal piece of fruit.
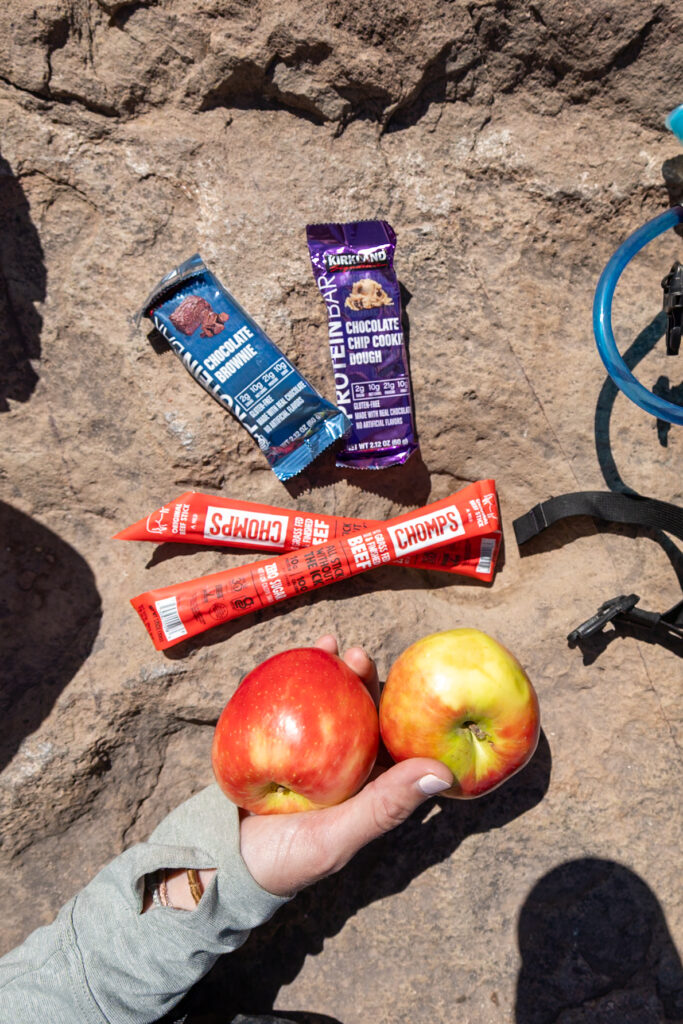
💡 Pro Tip: We love to get Chomp sticks, trail mix, and protein bars at Costco for the best price.
Warm Weather Hiking Clothes
Planning your hiking clothes is just as essential as planning your hike. Being too hot, cold, or just uncomfortable due to your wardrobe isn’t fun on the trail. For warm weather, we opt for moisture-wicking clothing to keep us comfortable on the trails.
We’ll share what clothing pieces we wear on hikes, but remember that we’ve worked up to the gear we have now. The most budget-friendly option for warm-weather hiking clothes is any athletic clothes you already have that are made of quick-drying material, such as synthetics. This will ensure your clothes don’t feel heavy from sweat.
Shorts
Shorts are an obvious option for warm-weather hiking clothing. Depending on the trail and weather conditions, we often opt for hiking pants for sun protection and to protect our legs from branches, twigs, or poison ivy that may rub against them. It’s certainly a personal preference between shorts and pants when hiking in warm weather.
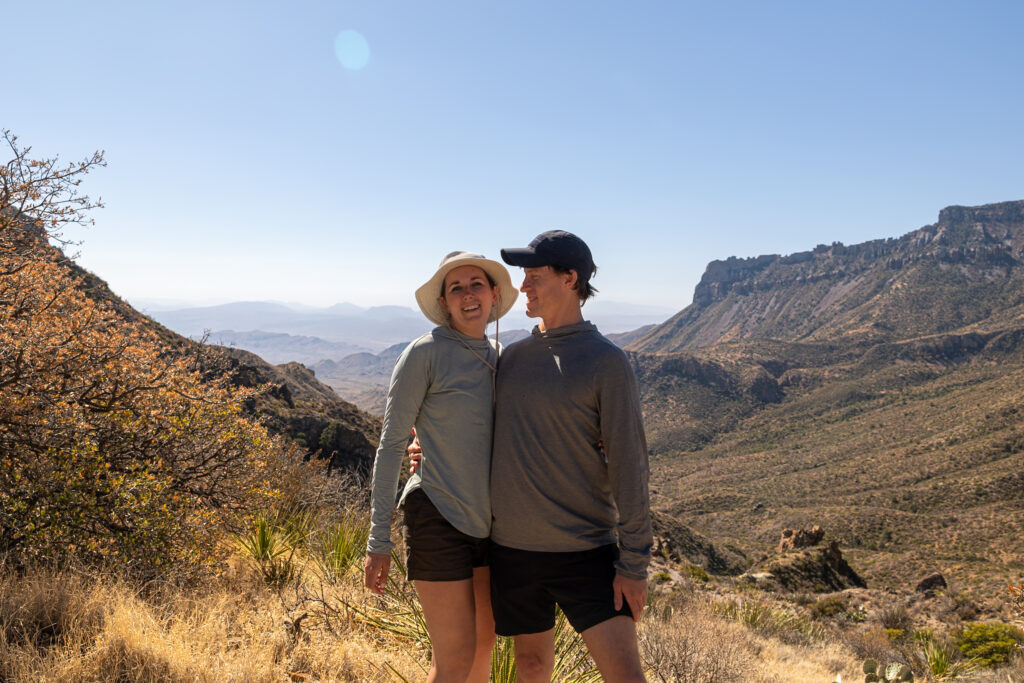
I love the Vuori Clementine 2 Shorts and the Vuori All The Feels Shorts. The Clementine shorts are great because the fabric wicks moisture, dries fast, and resists odors. Vuori is a Climate Label Certified brand, which makes us happy to support brands that prioritize our environment. The All The Feels shorts are like biker shorts —super soft and overall very comfortable.
Elliot has a few favorite hiking shorts. The first are Lululemon Pace Breaker Linerless shorts. Elliot is 6’1” and has the 7” inseam shorts. They’re his go-to all-around shorts for shorter hikes, trail running, city running, and are even his swim shorts. They truly are an excellent all-around short. His second favorite short is the Vuori Kore Short.
Short-Sleeve Shirt
We prioritize short-sleeve shirts over sleeveless shirts so that our shoulders are covered for better sun protection. Plus, short-sleeve shirts prevent our backpacks from rubbing against our skin in an uncomfortable way. We recommend a breathable short-sleeve shirt.
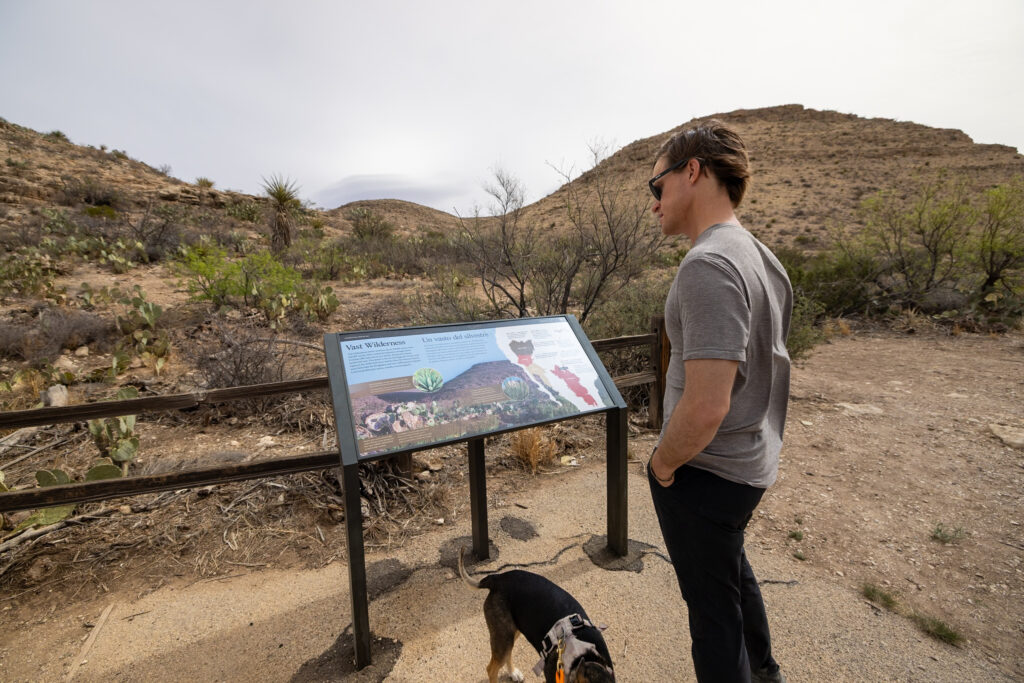
Elliot loves his Vuori Strato Tech Tee for short hikes where UV protection isn’t as crucial. He’s also worn the Smartwool All Seasons Merino T-shirt and the Patagonia Capilene Cool Lightweight Shirt for hiking and liked them both.
I wear a simple Nike moisture-wicking tee and a Smartwool Classic All-Season Merino T-Shirt. The Nike shirt is great for super hot days, and the Smartwool shirt is great for cooler mornings with warm afternoons.
Long-Sleeve UV Hoodie
Almost every time we go hiking, we wear a UV hoodie. Sometimes it’s our only upper layer, and other times it’s a base layer. The lightweight, breathable, and UV-protective fabric means you don’t have to apply sunscreen (which is helpful living in a van). We both have the REI Sahara Sunshade Hoodies. Elliot wears the REI Sahara Hoodie (men’s), and I wear the REI Sahara Hoodie (women’s).
🌞 If you only buy ONE piece of hiking gear, we recommend a sun shirt.
Wind Breaker
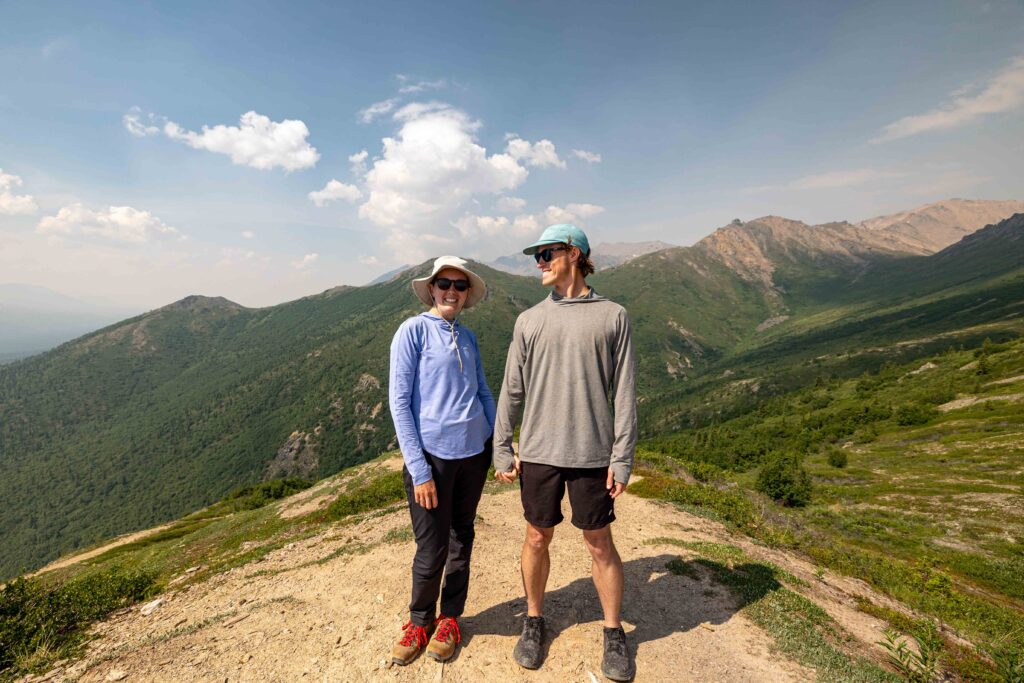
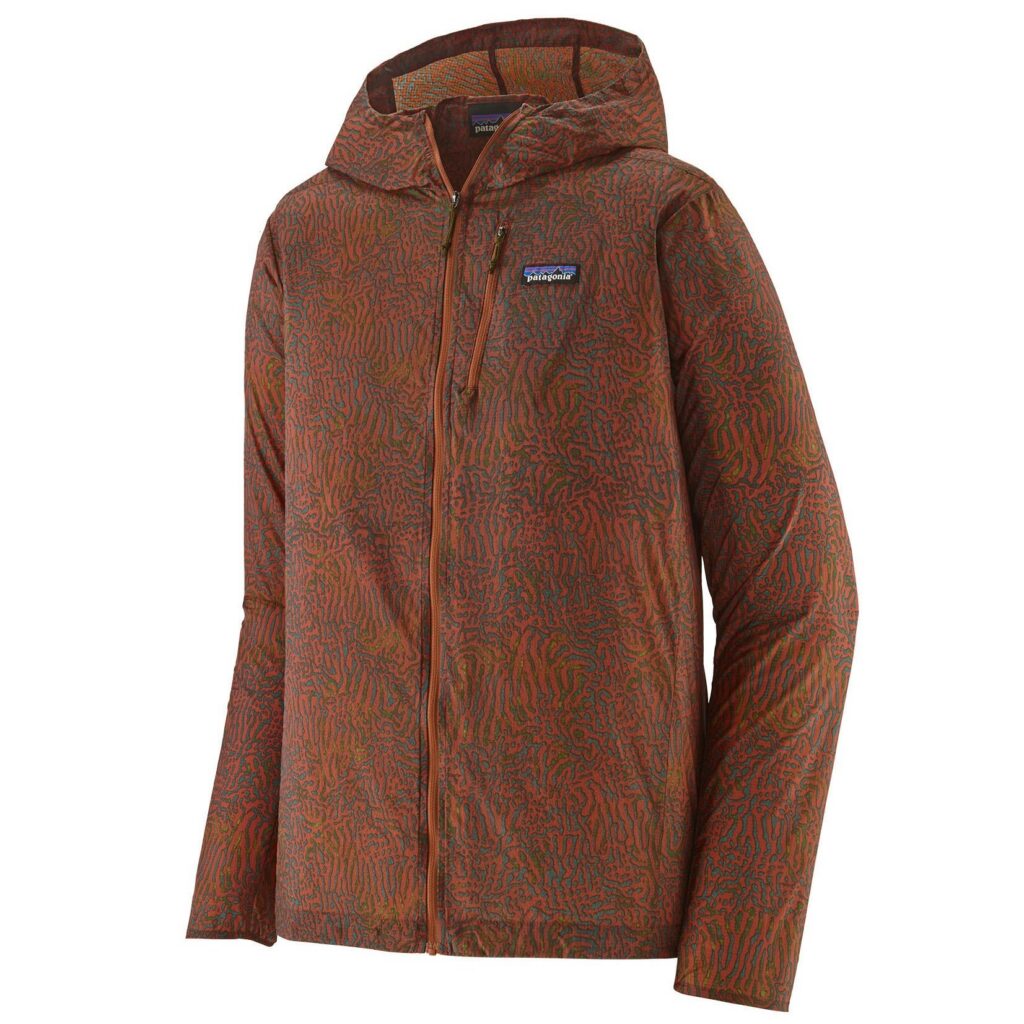
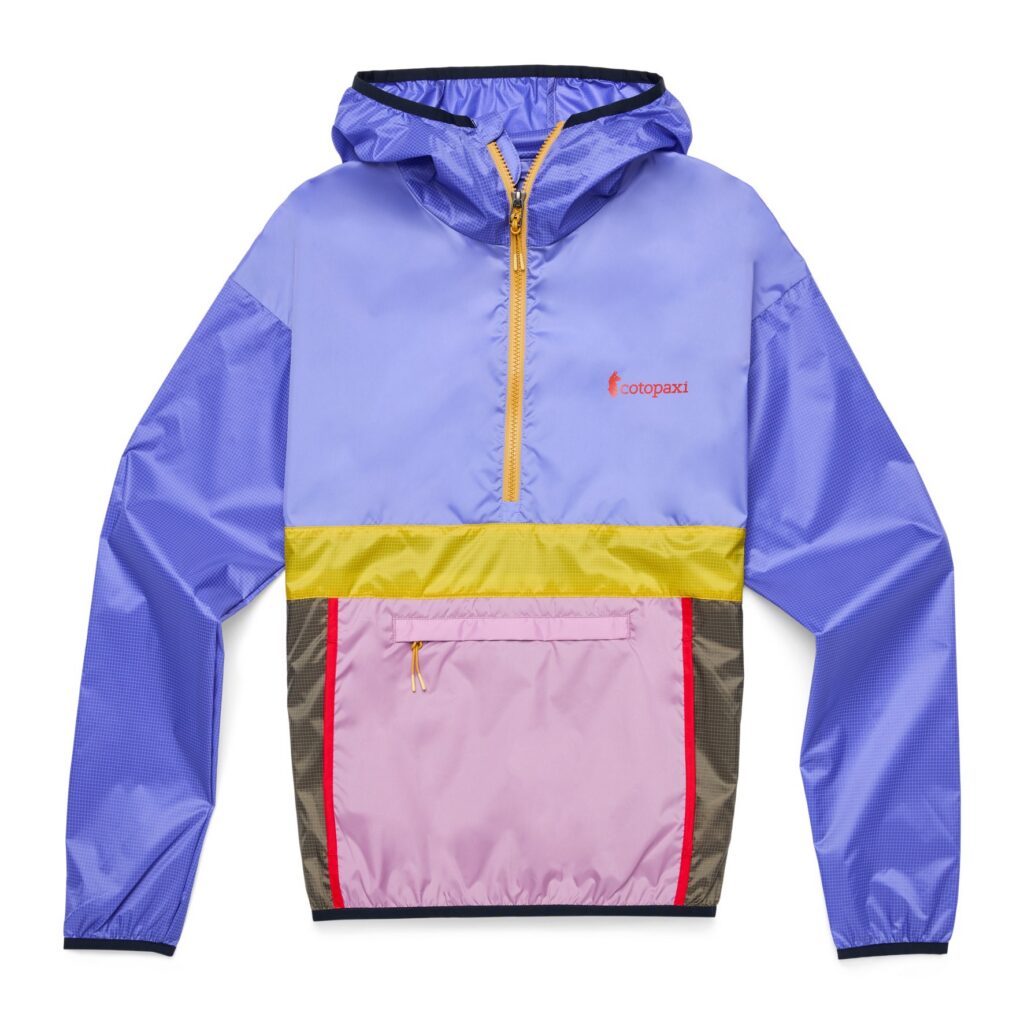
Wind breakers are a great option for the days when there’s theres a slight breeze or it’s just cold enough to want more than a short-sleeve shirt but not cold enough to warrant a fleece mid-layer. The windbreaker is a great option! They also serve as a great way to prevent bug bites and protect you from sunburns.
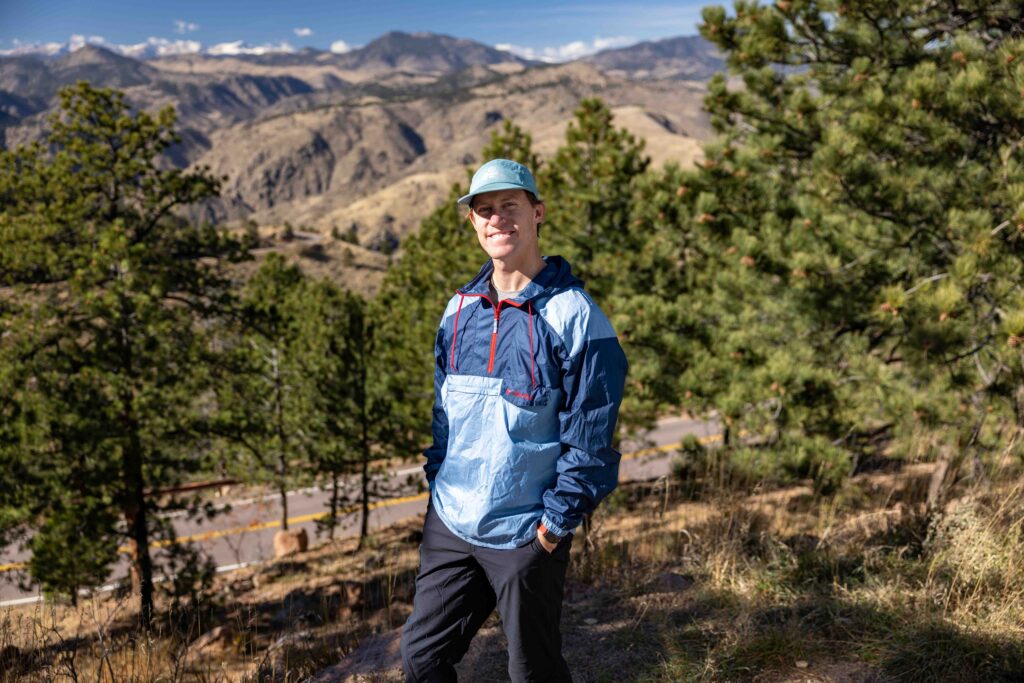
We love the Patagonia Houdini Jacket (men’s) and Cotopaxi Teca Half-Zip Windbreaker (women’s). They’re a great lighter-weight option than rain jackets.
Wide Brimmed Hat
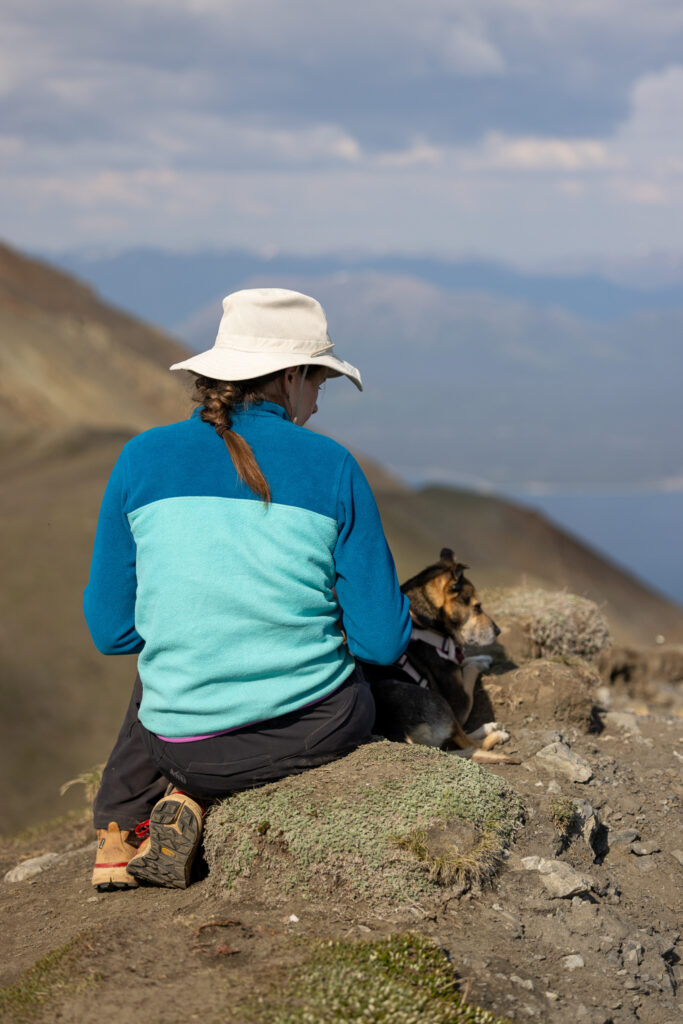
Sun protection is crucial on the trail and is something we would definitely prioritize bringing as part of our hiking gear for beginners. The most budget-friendly option is whatever hat you already have. A ball cap, bucket hat, or similar headgear that covers your face and ideally your ears is a great option. We have a wide-brimmed hat we bought years ago in Australia, but the Outdoor Research Oasis Sun Hat is a similar option to protect your face and ears from the sun. If you also want to protect your neck from the sun, this Sunday Afternoon’s Ultra Adventure Hat is a great option, featuring a long back cover.
Cold Weather Hiking Clothes
When hiking in cold weather, we learned the importance of layering with the appropriate clothes to stay warm on the trail. Often, we prioritize merino wool clothing as base layers, but you can also wear athletic clothes for this, depending on the temperature. It’s really up to your preferences and the weather conditions you’re going to be in.
Hiking Pants
Hiking pants are suitable for wear regardless of the weather, whether it’s warm or cool. I often wear my hiking pants in warm weather to provide sun protection and shield my legs against any branches, twigs, or poison ivy that may rub against them along the trail.
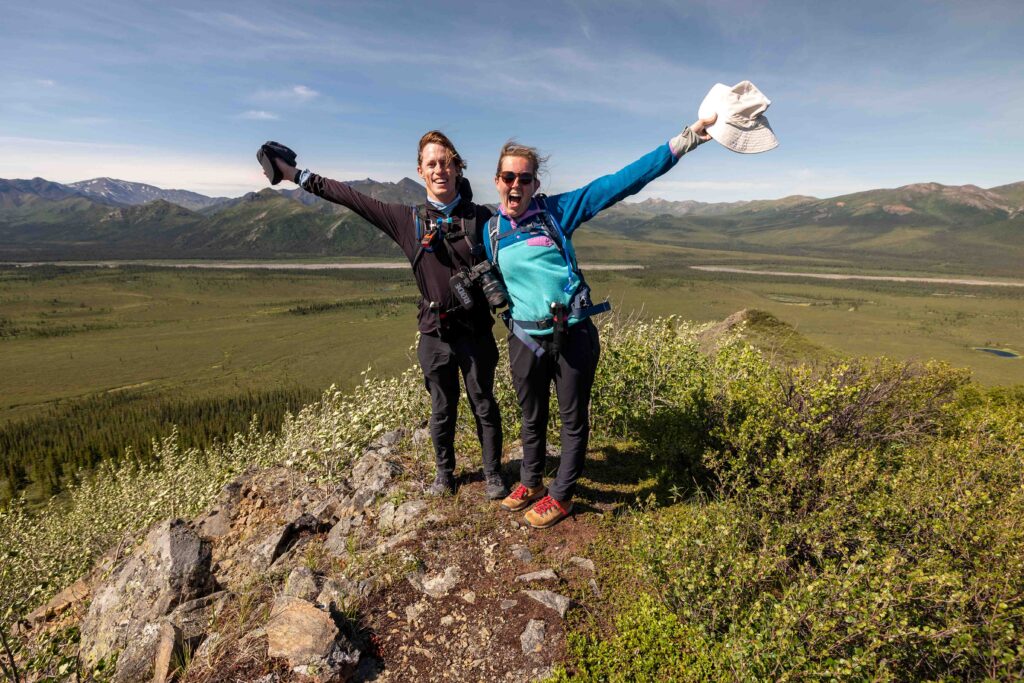
I started out wearing the REI Activator Pants, which are great! They have a slight stretch to the waistband, which I love as a woman. I decided to try another pair of hiking pants after losing weight (we hiked a ton this year!), so I went with the prAna Stretch Zion Halle Pants, which I also love! The prAna pants have a comfortable stretch and a waist tie. They also have air holes around the crotch for ventilation, which may not sound exciting, but it’s a nice feature. Occasionally, I like to wear yoga pants, and my all-time favorite ones are the Lululemon Align High Rise 28”. They’re not cheap, but they’ve lasted me years and are my go-tos.
Elliot wears the REI Trailmade Pants and loves them! His first pair were back in 2016, and since then, he’s brought a second pair. They’re a great overall hiking pant. Lightweight, affordable, long-lasting, and stylish! Everything you want in a pair of hiking pants!
Base Layer Bottoms (Long Johns)
Wearing a base layer under your hiking pants can provide extra warmth in the winter months. We often wear long johns, and if the temperatures warm up enough on the trail, we just take them off and put them in our backpacks.
I have two pairs of long johns, depending on how cold it is, since I tend to get cold easily. My heavier long johns are the Smartwool Thermal Merino Base Layer Bottoms. They’re great because they’re thermal, making them super warm! I also have the REI Merino base layer bottoms, which aren’t as warm, but make for a great in-between layer. In really cold conditions, I wear both base layer bottoms to keep warm since I tend to be colder.
Elliot has had these REI Merino base layer bottoms for almost 10 years and still uses them today. They’re great for temperatures down to about freezing, but for temperatures further below that, he might consider upgrading to a warmer base layer bottom.
Base Layer Top (Wool Long Sleeve)
A merino wool long-sleeve top makes a great base layer for your top. My base layer during the winter months is the Smartwool Merino Long Sleeve, which I wear as soon as the temperature starts to drop. It’s easily my favorite winter shirt because it keeps me warm and cozy. Elliot also wears the Smartwool Merino Long Sleeve as a base layer, but is more likely to switch between an athletic shirt if it’s not as cold, since he tends to run warm.

Mid-Layer
This mid-layer acts as insulation to help you stay warm in colder winter temps. I have two mid layers that I interchange depending on my style for the day. My first midlayer is the Patagonia Quarter Zip Better Sweater, which is one of my all-time favorites! My second is the Patagonia Synchilla Fleece Pullover.
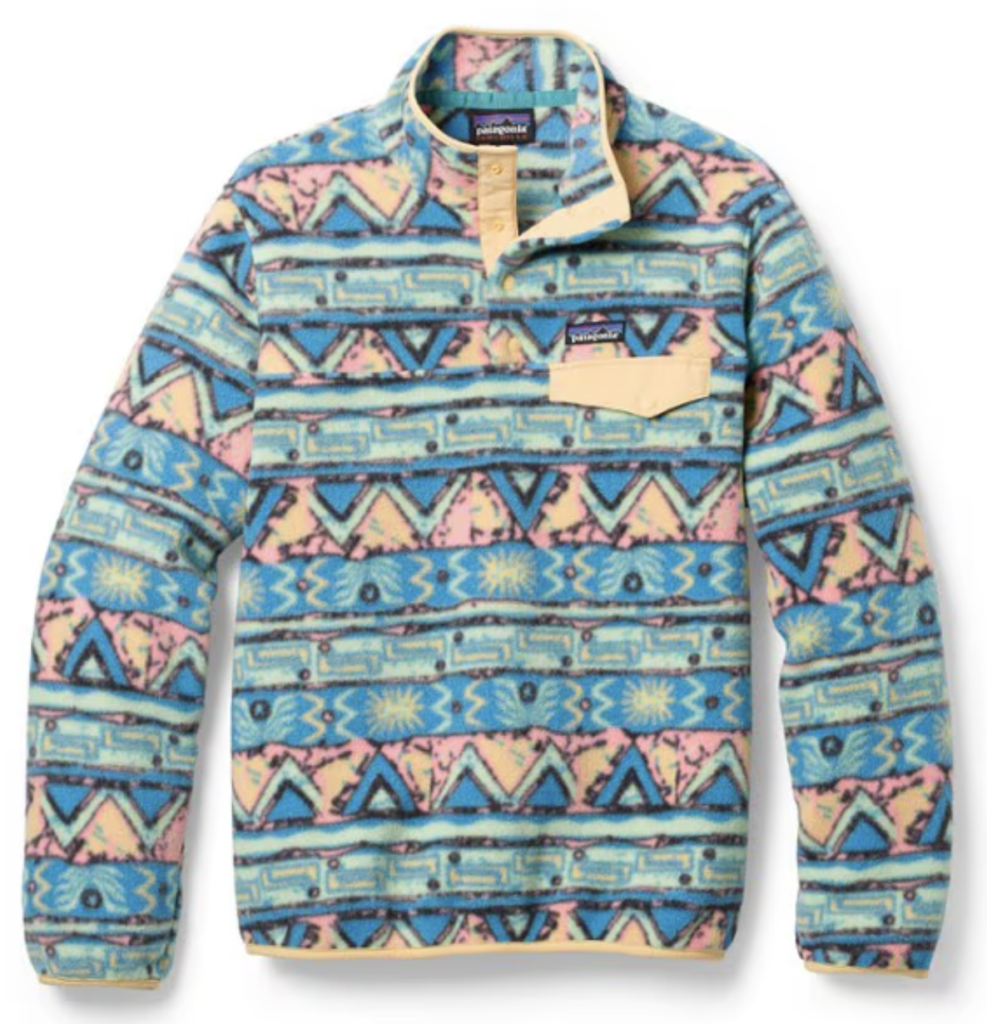
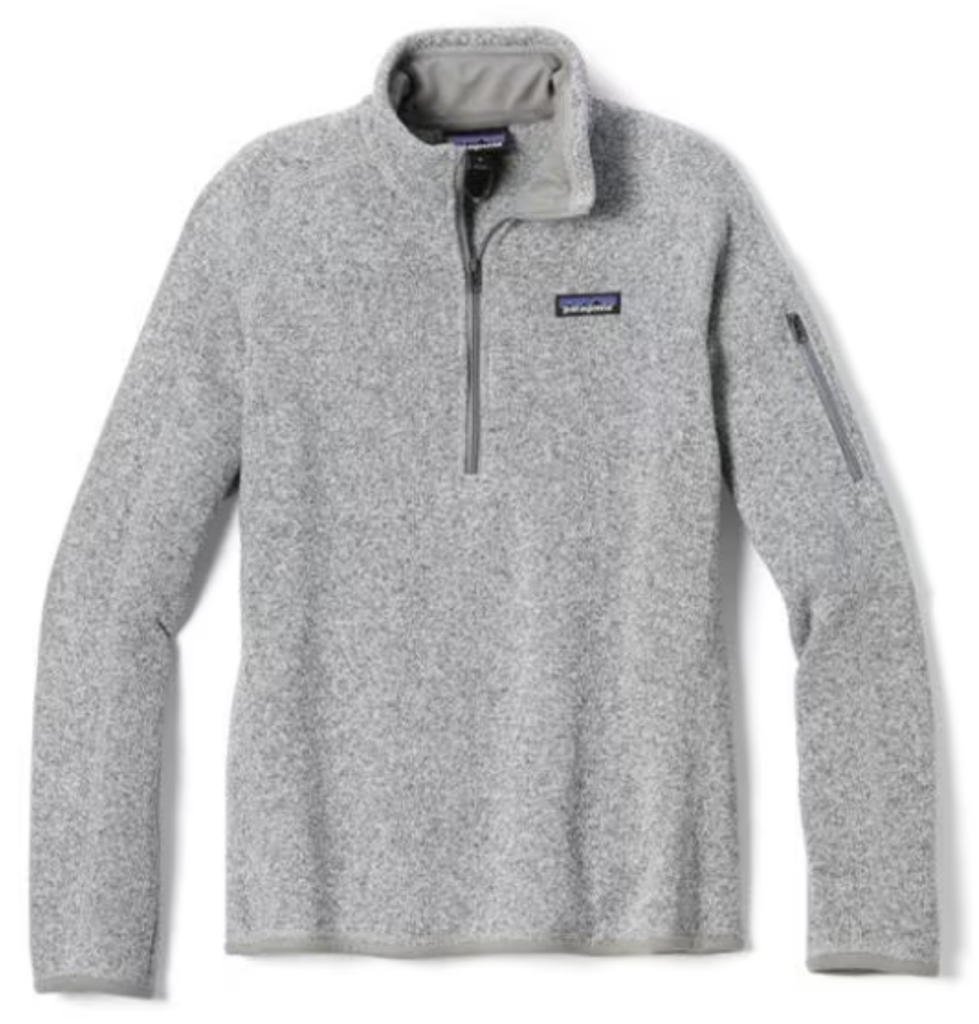
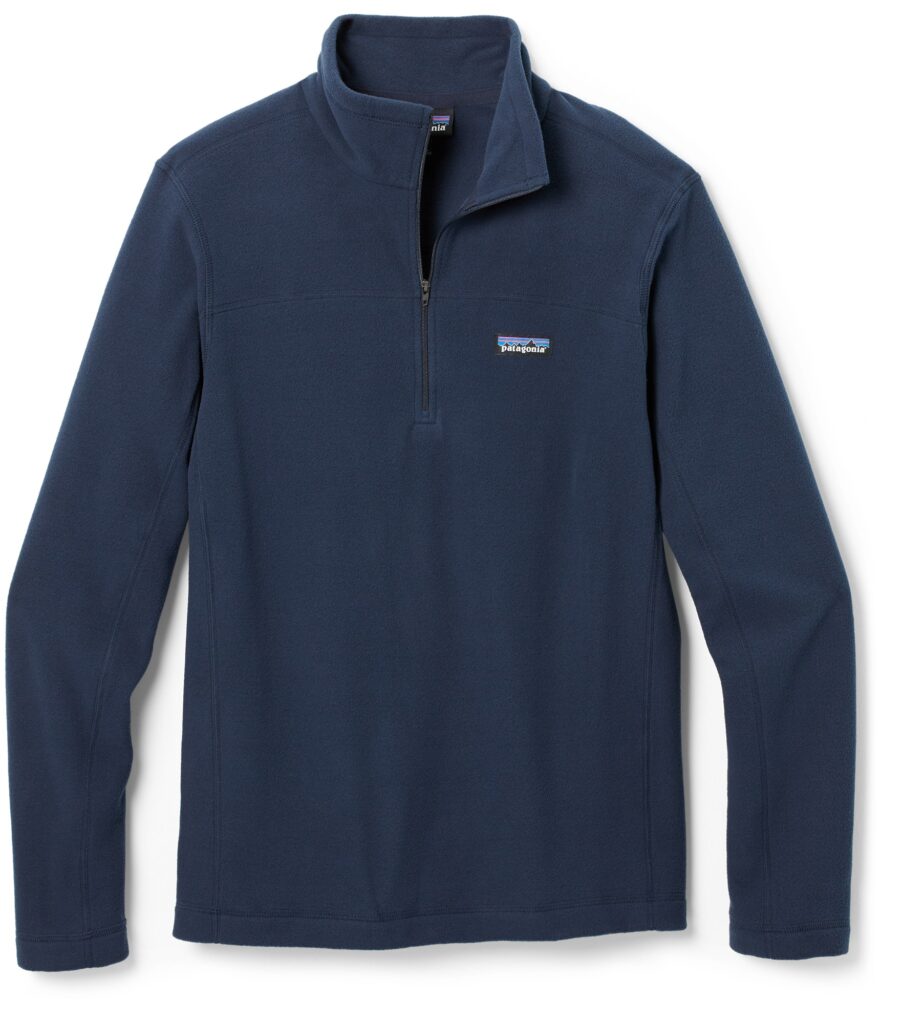
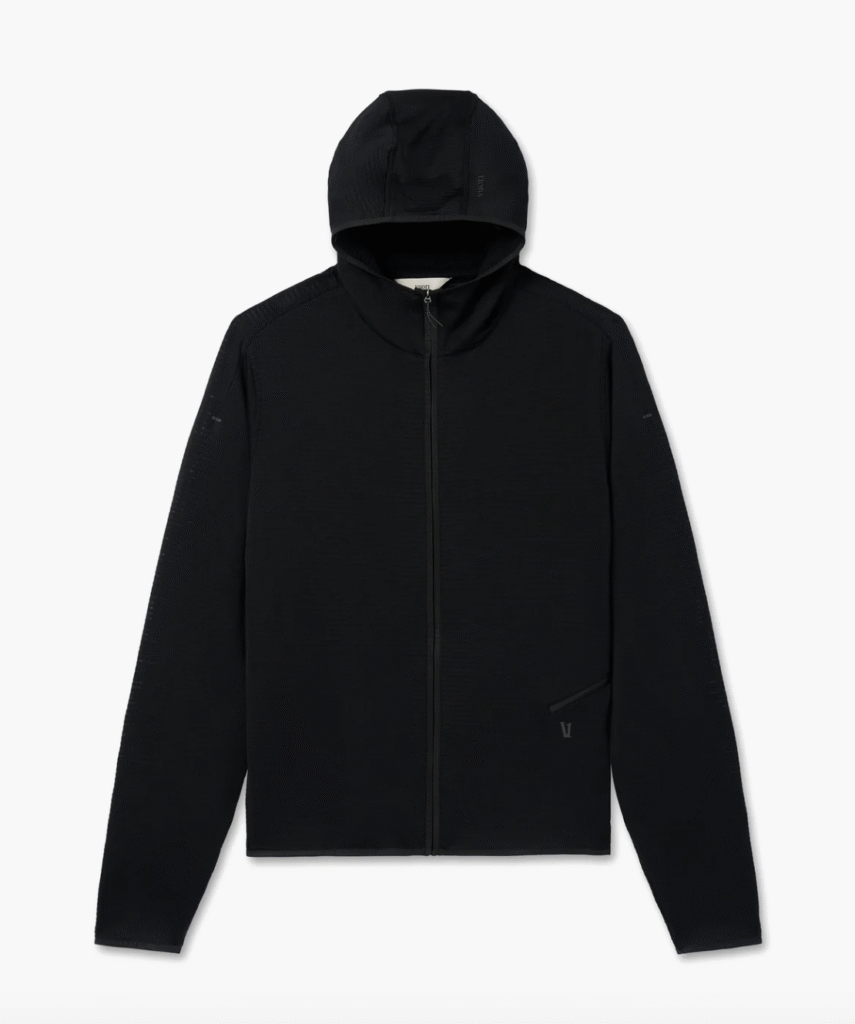
Elliot switches between his Patagonia Micro Fleece Pullover and his Vuori Powergrip Full Zip Jacket. The fleece pullover is great for colder conditions, whereas the Vuori jacket is good for another layer when the afternoons are going to warm up, allowing him to unzip the jacket when it’s warmer.
Outer Layer
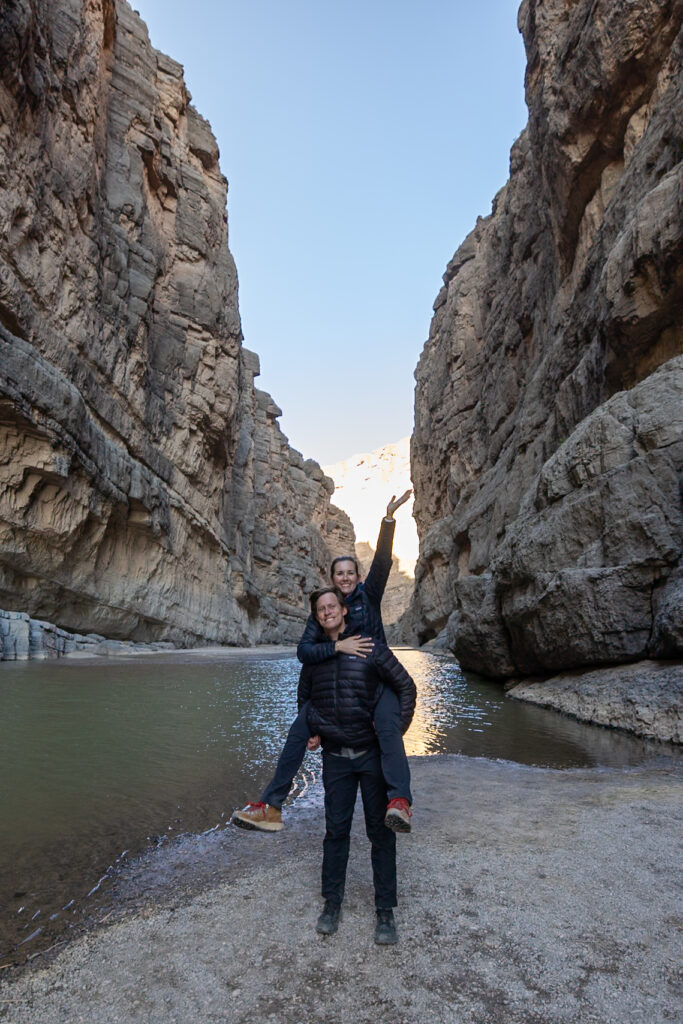
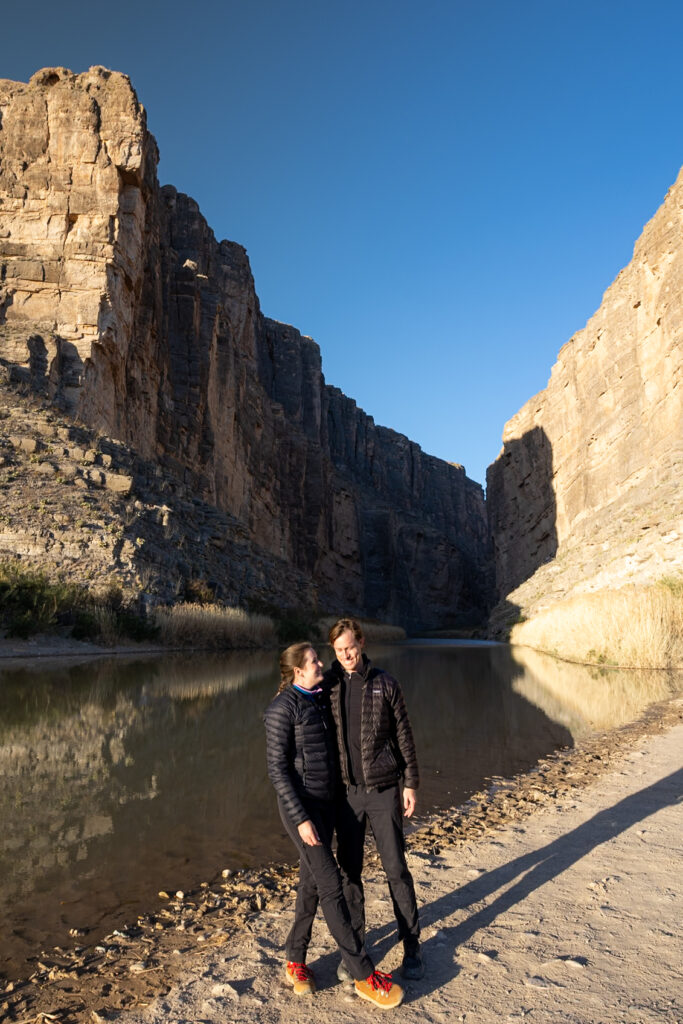
The last layer should be a sealing but breathable outer layer that provides additional warmth and protection from wind or snow. We opted for puffy jackets that aren’t waterproof, but we often take our rain jackets with us to provide a waterproof outer layer. I love my Patagonia Down Puffy Jacket, and Elliot loves his Patagonia Down Puffy Jacket as well. Any warm outer layer will work well.
Gloves or Mittens
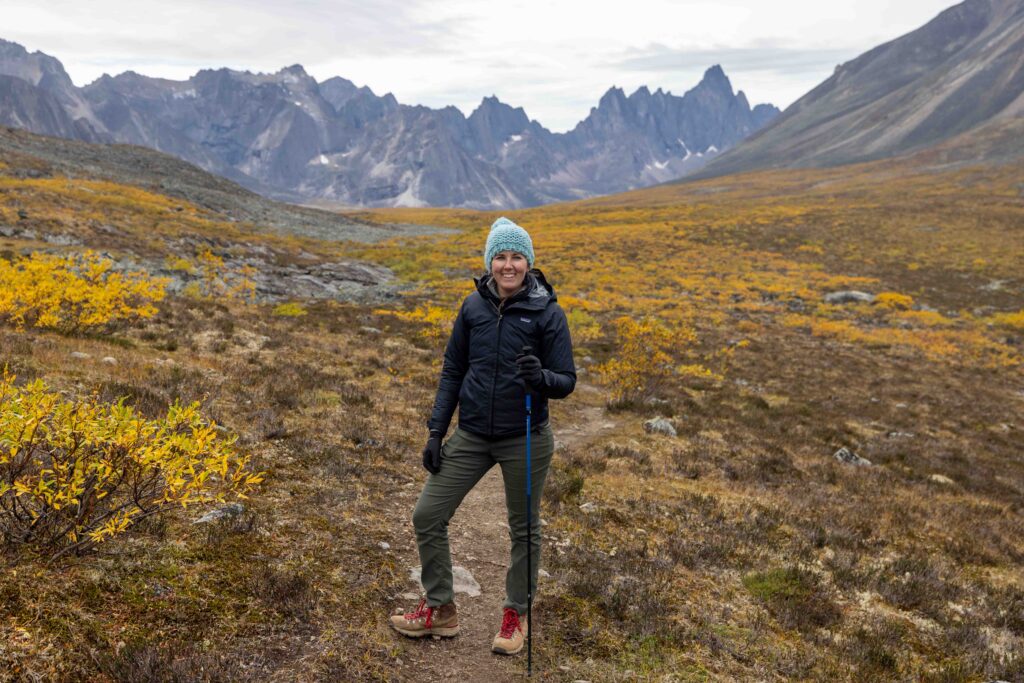
As beginner hikers, we often make the mistake of forgetting about our hands when thinking of staying warm on the trail. We now carry Smartwool Gloves with finger tips that allow you to touch your phone while keeping your gloves on. Wearing gloves helps keep our hands warm, rather than keeping them in our pockets, which can be dangerous if we fall and are unable to steady ourselves with our hands. Either gloves or mittens will do well.
Beanie
We each carry a beanie with us when hiking in the cold. We’ve found that a fleece-lined beanie helps keep our heads and ears warm the best.
Rainy Weather Hiking Clothes
If there is any chance of rain in the forecast, we’re bringing our rain gear with us on the trail because we don’t want to get caught out in the middle of nowhere, wet, and possibly cold. We also don’t want to avoid the trail if it’s only going to rain for a part of our hike. So packing accordingly is key.
Rain Jacket
Any waterproof outer layer is great, but a good-quality rain jacket will really help you stay dry. I love my Patagonia Torrentshell 3L Rain Jacket, and Elliot wears his Patagonia Torrentshell 3L Rain Jacket.

Rain Pants
After being caught in the rain on a backpacking trip in the rain without rain pants, they’re now a must-bring any time there’s a chance of rain or snow in the forecast. Elliot has the REI Trailmade Rain Pants, and I have the REI Trailmade Rain Pants. We both love them because they’re easy to put on over your hiking pants.
Dry Bag
If we know it’s going to be rainy on our hike, we pack a small dry bag to keep our camera gear and electronics dry. It’s a little extra, but it goes a long way to give us peace of mind.
💡 Pro Tip: We like to pack a little trash bag to pick up any trash we find on the trail so we can leave it better than we found it. This helps to lessen our impact on our favorite trails and the natural environment.
Hiking Bathroom Essentials
Trowel
There will be a time on the trail when you have to go #2. You have three options when that happens: 1) you can dig a cat-hole, 2) carry it out with you in a plastic bag, or 3) run back to the trailhead. We carry the Vargo Titanium Dig Dig Tool to dig cat holes for bathroom breaks when hiking. Once we’ve done our business, we use the trowel to move dirt to cover the hole and then move on. We do not bury any toilet paper in the hole and instead carry toilet paper out with us. If the ground is too hard to dig a cat-hole, bring an extra plastic bag to carry it out.
Kula Cloth
As a female, I usually use my Kula Cloth for going number one. I love that it helps reduce trash and can be cleaned and easily reused for my next hike after a quick wash. It’s washing machine friendly, and while on a multi-day backpacking trip, I clean it with clean water and biodegradable soap.
Toilet Paper
We always carry toilet paper on any hike. Once we go to the bathroom, we pack out our toilet paper by putting it in a secondary plastic bag, labeled “dirty,” and throw it away once we get back home.
Mini Hand Sanitizer
We carry a small hand sanitizer spray with us on the trail. You can easily use a gel or spray.
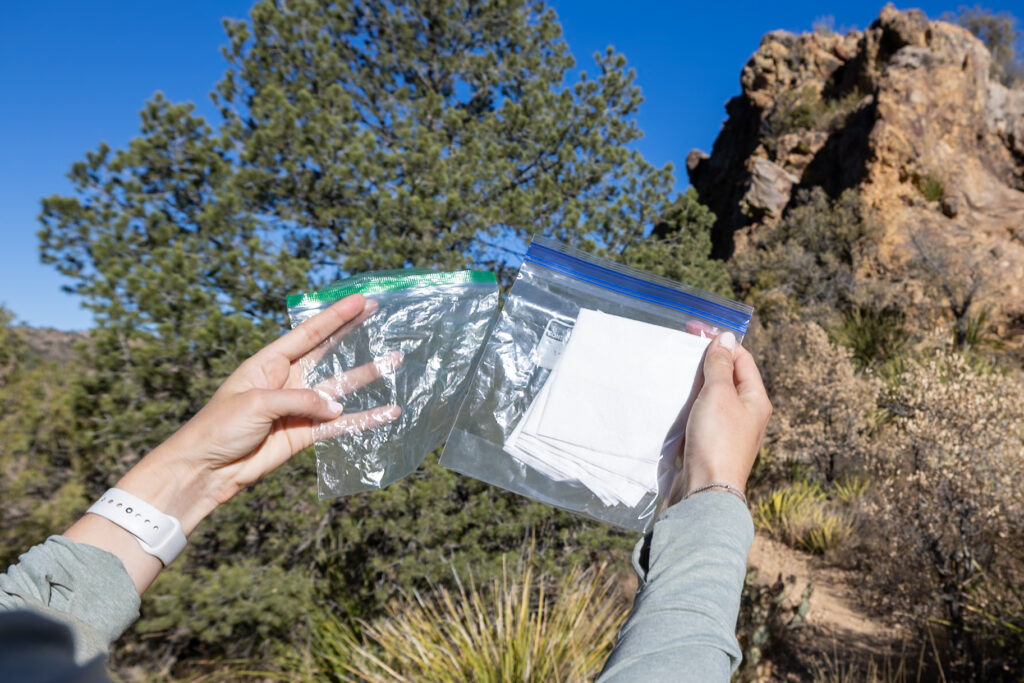
💡 Pro Tip: We recommend carrying a medium-sized plastic bag with your hiking bathroom essentials, plus a second medium-sized plastic bag for the dirty toilet paper. This follows the 7 Leave No Trace Principals and helps keep the trail for the next person.
Hiking Navigation
AllTrails+
Before every hike, we download the trail map so we know where we’re going and how to get back to the trailhead. We have a subscription to AllTrails+, which lets us download the trail map to our phones, receive notifications if we stray from the trail, and stay up to date on current conditions.

With offline maps, wrong-turn alerts, and extra planning features, make the most of every outside adventure with AllTrails Plus. Get 7 days of AllTrails Plus for free!
Specialty Gear
Garmin Watch
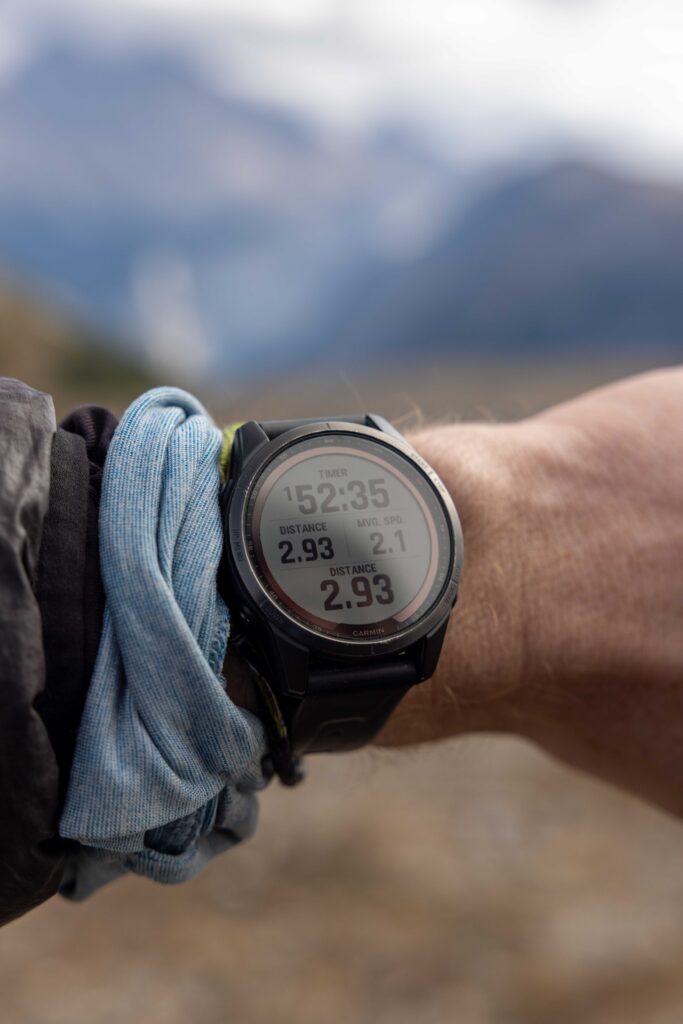
An athletic watch is not necessary and is purely a nice-to-have. Elliot loves to track his hikes using this Garmin Fenix 8 watch. It tracks his route on the trail, heart rate, and so much more. He uses it for hiking on the trails, as well as for running, swimming, biking, and other activities.
Backup Battery Bank
We carry this Ankr Portable Battery Bank to charge our phones, which we use for navigation on the trails. It helps give us a little peace of mind in case we’re out on a long trail!
Hiking Seat
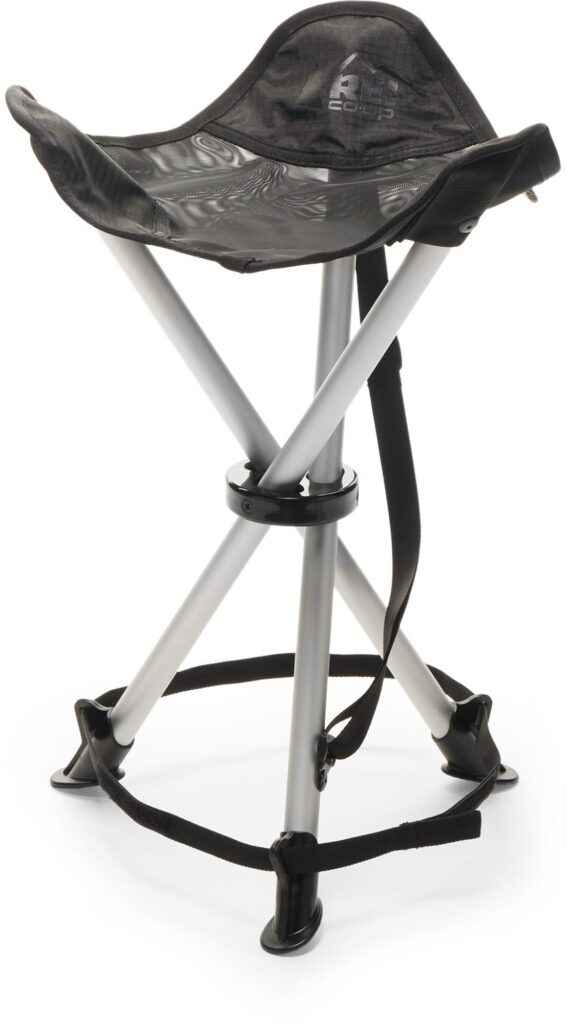
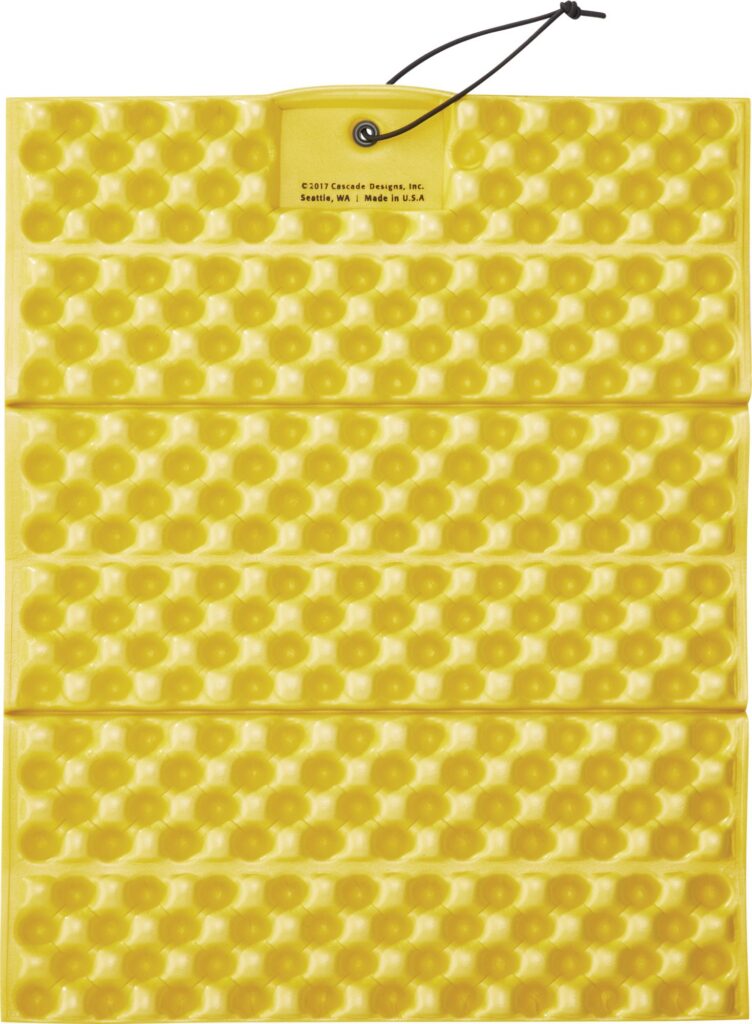
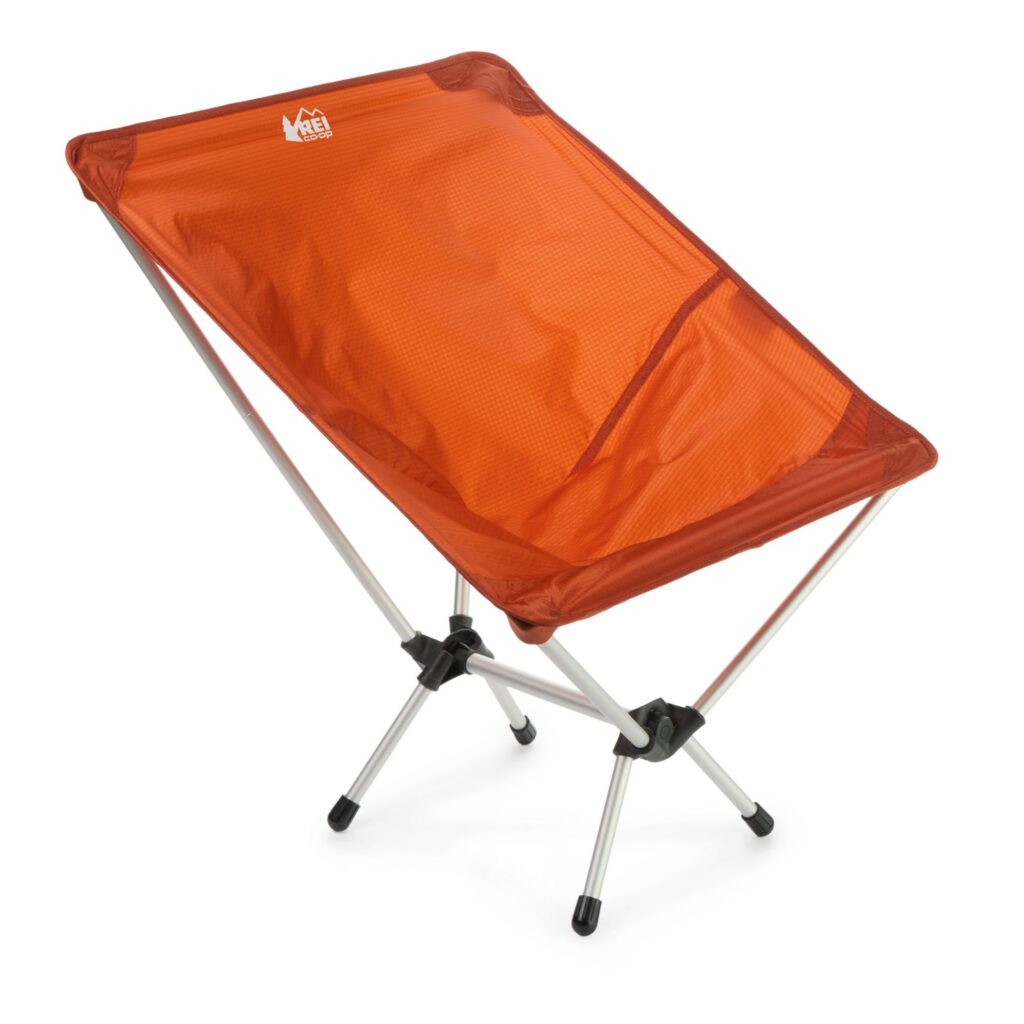
Hiking seats are not necessary to take with you and are a matter of personal preference. There are generally three types of seats you can take while hiking:
- a foldable foam pad
- a collapsible stool
- a collapsible chair
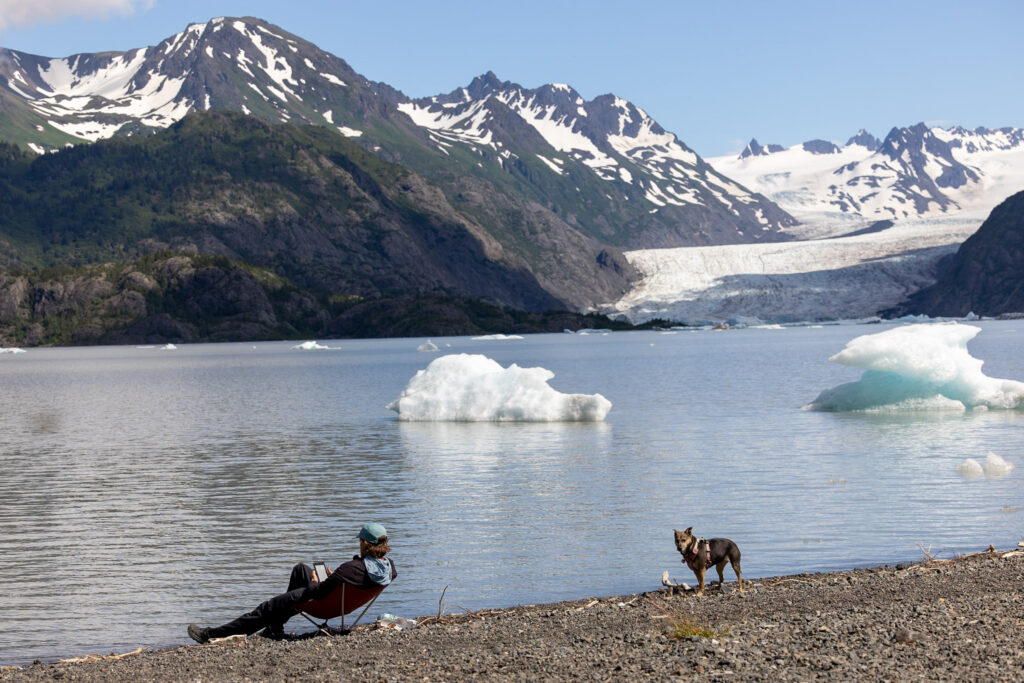
We don’t usually take a seat with us for day hikes, but we recently started taking one with us for backpacking trips. That little piece of joy, sitting on something more comfortable than the hard ground, has convinced us to take a seat on longer day hikes when enjoying lunch or a short break. Seats can vary in size and types, but we’ve enjoyed the Therm-a-Rest Z Seat Pad because it’s super lightweight, folds up quickly, and can be stored on the outside of our packs. For backpacking trips, we have the REI Flexlite Air Chair and love it for back support.
Hydration Vest
If you’re planning a shorter hike and don’t need to carry a backpack, a hydration vest is a great option. Running vests come in a variety of sizes, depending on the distance you plan to cover and what you want to carry. Elliot uses the Salomon Active Skin 12, which is great for trail running because it has a large compartment in the back for snacks, phone, keys, a light jacket, and more.
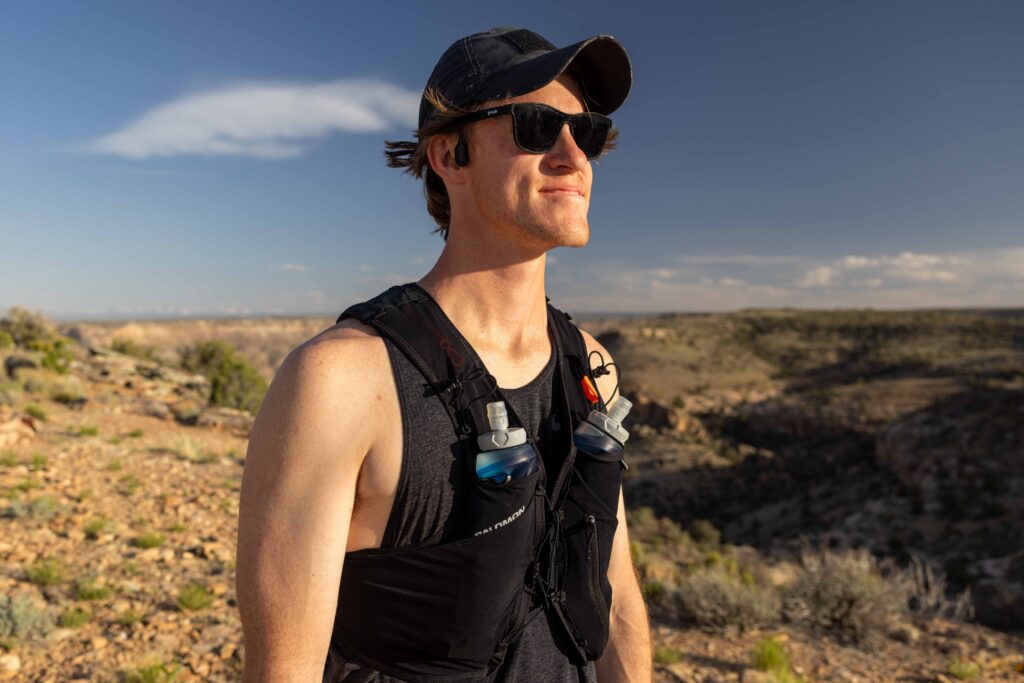
💡 Pro Tip: Hydration vests make for a great option for kids to wear instead of wearing an entire backpack. Adults can carry a backpack with all the necessary gear and kids can wear these, filled with their water.
Micro Spikes
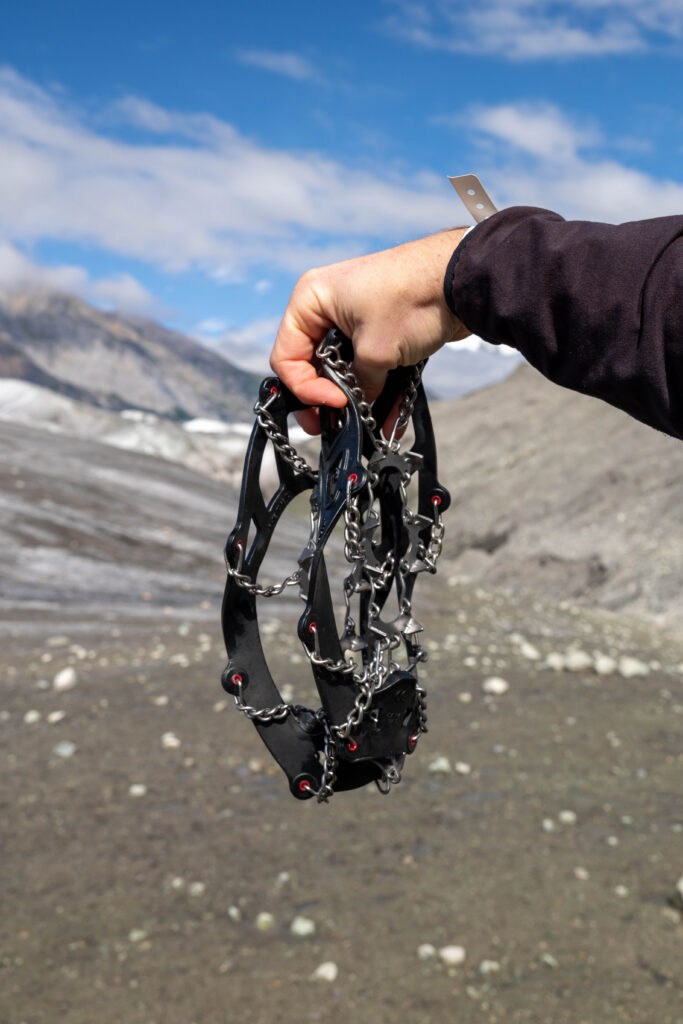
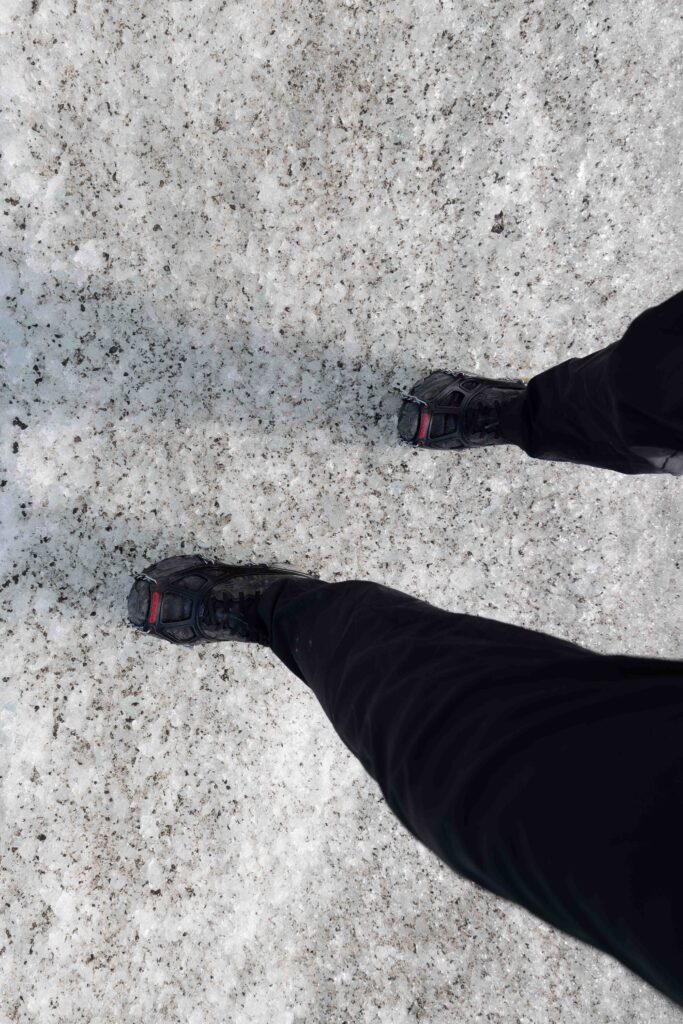
When we visited Alaska, we often carried these micro spikes with us on snowy or icy trails. These Kahtoola Micro Spikes are extremely easy to attach to your hiking shoes or boots, giving you more traction on the trail. These micro spikes come with a little stuff sack, which helps ensure you don’t get snow, dirt, or mud on your gear in your backpack when you’re done using them.
Bear Spray
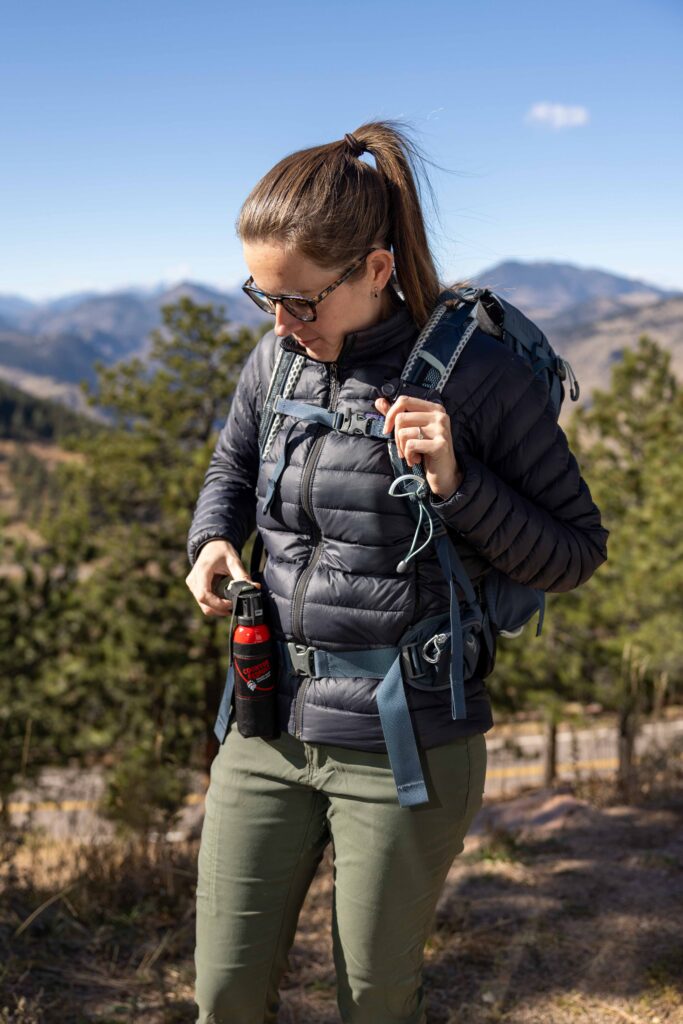
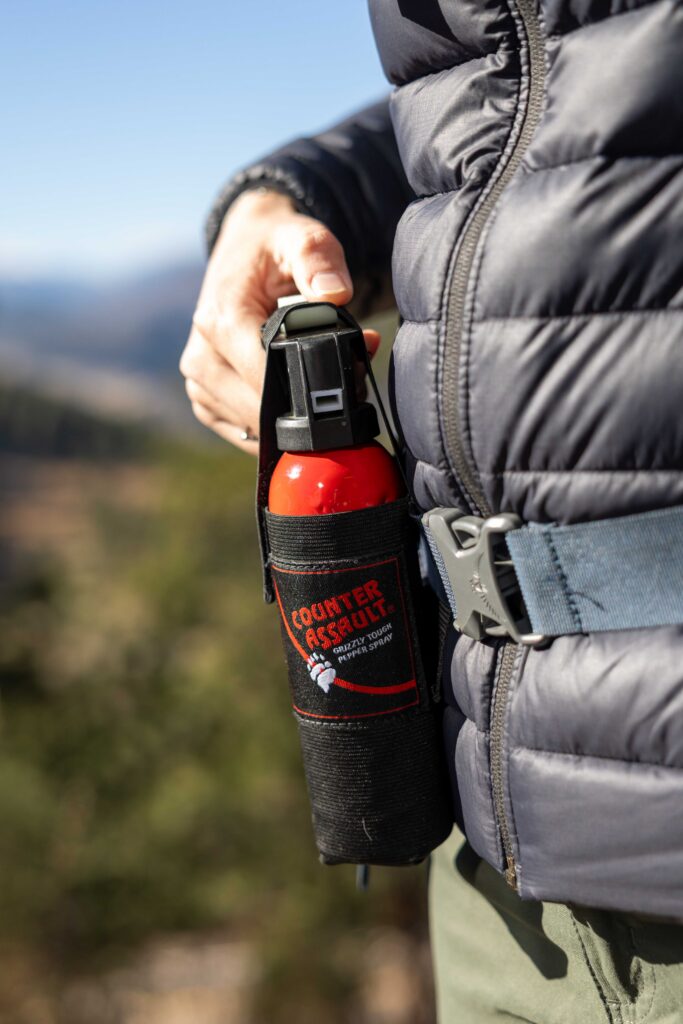
It’s super important to research your hike ahead of time, and one reason is to know whether you’re hiking in grizzly bear country. We each carry bear spray in a holster when hiking in grizzly territory. The holster makes it easy to attach to the belt of our hiking backpack, so it’s extremely accessible in case of an emergency. Bear spray can be used for more than just bears. It can also be used on mountain lions and humans, serving as a safety measure for a solo female hiker.
Permethrin Pump Spray
If you plan to hike in tick-infested areas, consider using Permethrin. We’ve enjoyed many trails without it, but it can be a powerful preventive measure. Nowadays, we treat our clothes with Permethrin every year if we plan to hike in tick territory, which covers most of the lower 48 states. We use this Permethrin Pump Spray, but you can also purchase Permethrin concentrate and mix it with water to make it more cost-effective.
Hand Warmers
Depending on the length of the hike and the weather, we switch between two hand warmers. We use these Grabber Hand Warmers, which stay warm for 7+ hours and just need to be exposed to air and given a slight shake to initiate the warming. We also have these rechargeable hand warmers for day hikes (we don’t bring these on multi-day hikes).
Camera
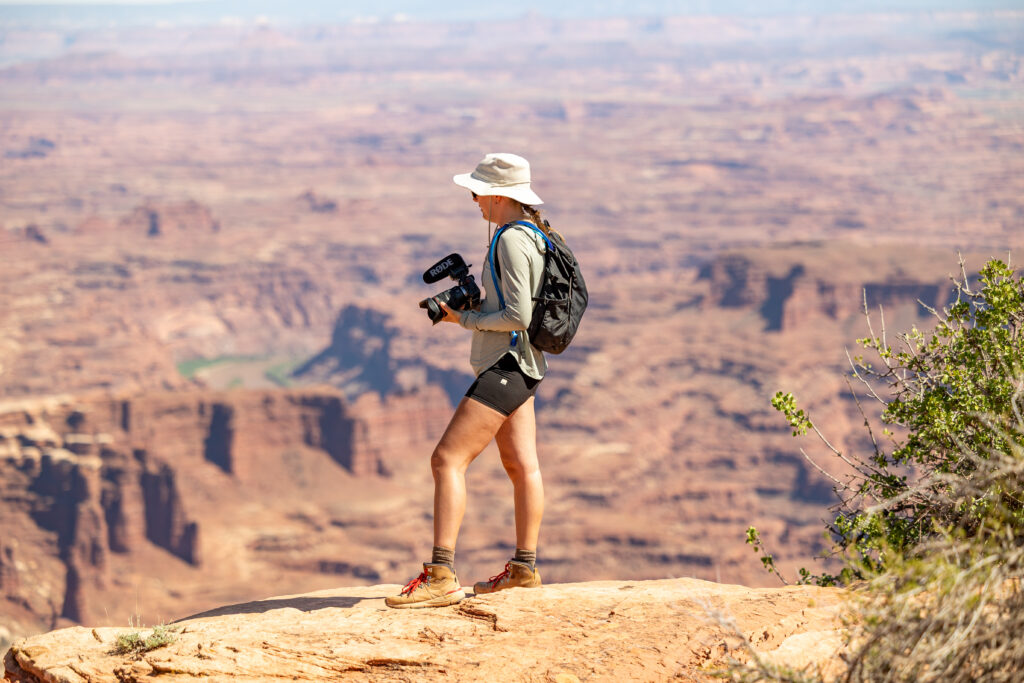
We usually bring our full camera setup when hiking. Others might prefer to bring a journal, a watercolor notebook, or a Polaroid camera to capture moments along the trail.
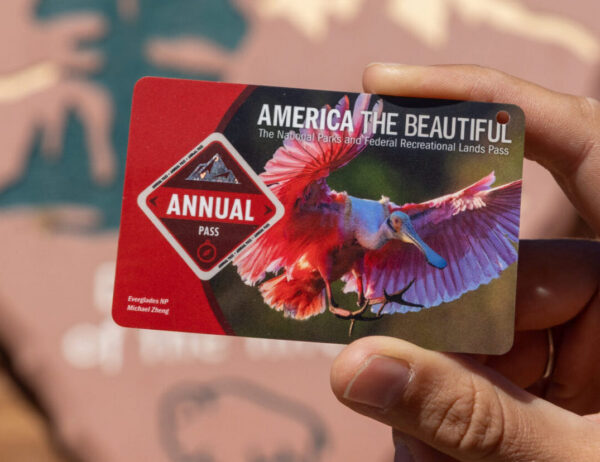
🎫 Consider investing in the America the Beautiful pass for $80 like we did if you’re planning on travelling to several parks within the year.
Post Hike Recovery
Sandals
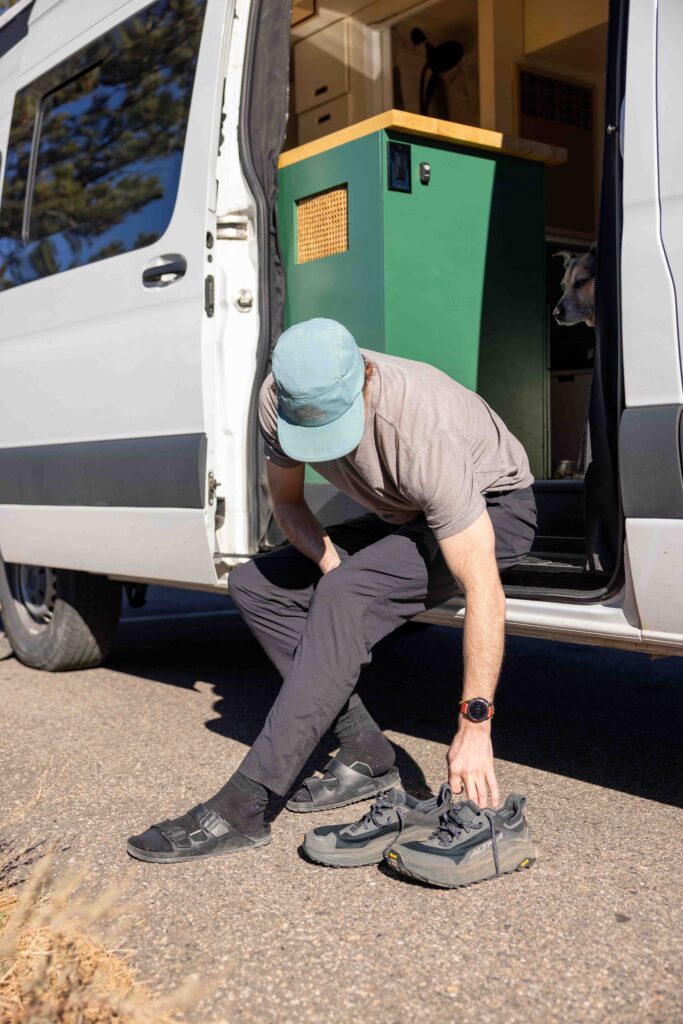
As soon as a long hike is over, the first thing we want to do is take off our hiking shoes and let our feet breathe! We love to keep a pair of lightweight sandals in our van (or car) to swap into after the hike. We love to wear our Birkenstock sandals because they have a wide toe box and let us keep our socks on—for the ultimate style. We have also enjoyed Crocs and Tevas, but ultimately, it comes down to personal preference.
TheraGun Mini Massage Gun
After some of our long hikes, we love using our TheraGun Mini to massage our sore muscles. Since we live in a van and don’t have a lot of extra space, we like the mini size.
Foam Roller
After a long hike, rolling out our sore and tired muscles feels so relaxing. We used this Trigger Point Foam Roller when we lived in Atlanta and hiked in the Georgia mountains. Now it’s too big for us to include in our van, so we stick to our TheraGun since it’s more compact for our van.
What Beginner Hiking Gear Not to Bring
We don’t recommend wearing anything made of cotton because it isn’t very breathable. Plus, when you sweat in cotton, it doesn’t dry quickly. We also don’t recommend hiking in jeans, as they’re pretty heavy and not great for mobility. Lastly, we don’t recommend carrying any glass, like beer, wine, or water bottles. Not only are they heavy, but they can also easily break and create a mess!
Hiking Gear for Beginners Checklist
We created this printable hiking gear for beginners checklist to help you get out on the trail with ultimate comfort and ease in mind.
FREE Beginner Hiking Gear Checklist
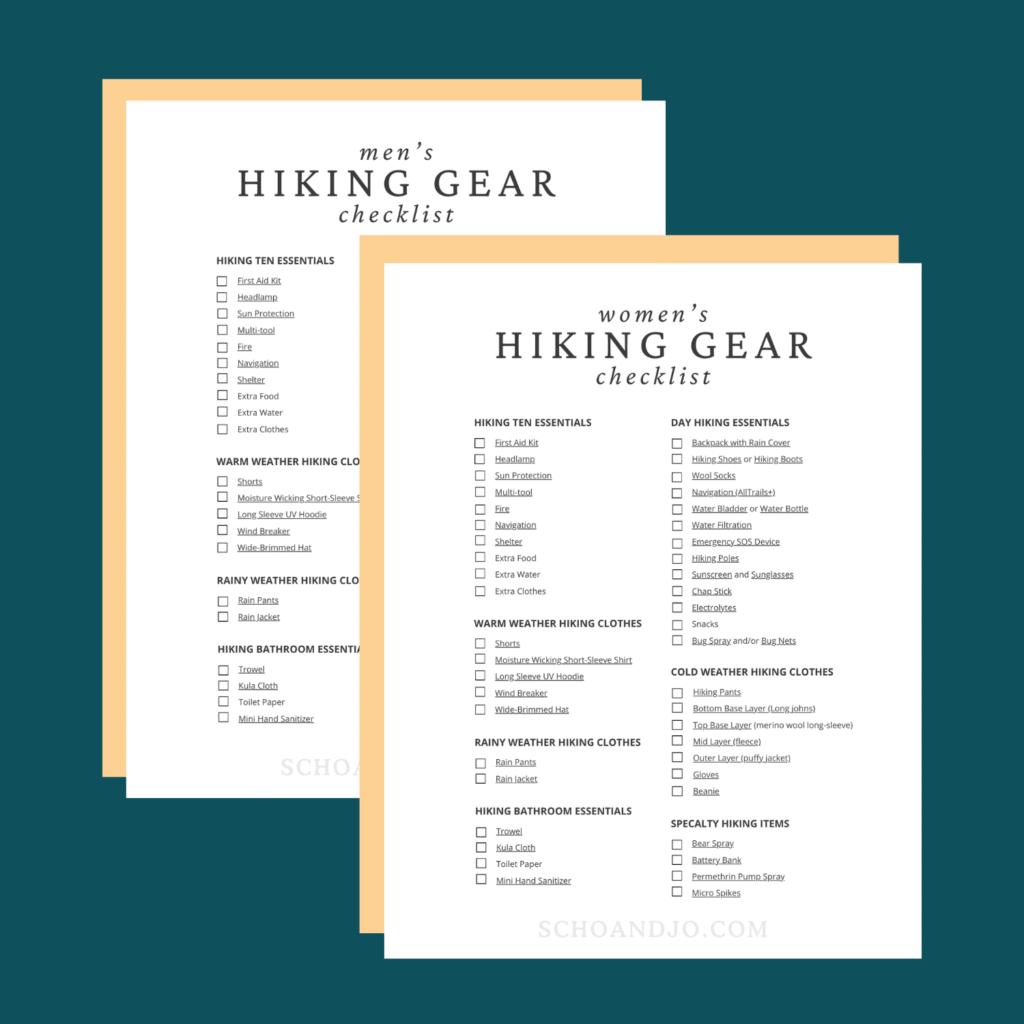
Download our FREE CHECKLIST to build your hiking gear for beginners!
If you have tried and tested hiking gear, we’d love to hear about it in the comments below! Although we’ve done our fair share of hiking in the past year, we’re sure there’s more to learn.
Where to buy Beginner Hiking Gear for any Budget
We’re firm believers of the philosophy to “use what you have”. Using the backpack, breathable athletic gear, or reusable water bottle you already have is fantastic starting hiking gear for beginners, and is a great way to get started on the trail. Excluding safety items, don’t let gear prevent you from exploring the outdoors – if you get out there with the gear you have, you’ll be able to understand what works and doesn’t work for you.
Once you’re ready to upgrade to beginner hiking gear because you want to hike on moderate, hard, or challenging level hikes, or you want to invest more money into this hobby, or improve your comfort and experience, you can upgrade to the more expensive options. For each piece of gear below, we provide a budget, moderate, and expensive option to suit any budget.
You certainly don’t have to buy all of this gear at once. We’ve slowly accumulated our beginner hiking gear over the years, filling in gaps as needed. We’ve been building our outdoor gear for over ten years and continue to refine it as we grow and needs change.
💡 Pro Tip: Buying used is a great way to save money and practice sustainability.
📰 Related Articles
We have more articles in our entire Hiking 101 series! Read them here:
- How to find Hiking Trails
- Hiking Etiquette
- Hiking Ten Essentials
- Best Hiking Snacks
- Best Gifts for Hikers
📌 Pin This Article!
Pin this guide to hiking gear for beginners to make planning your upcoming trip a breeze!




Leave a Reply